


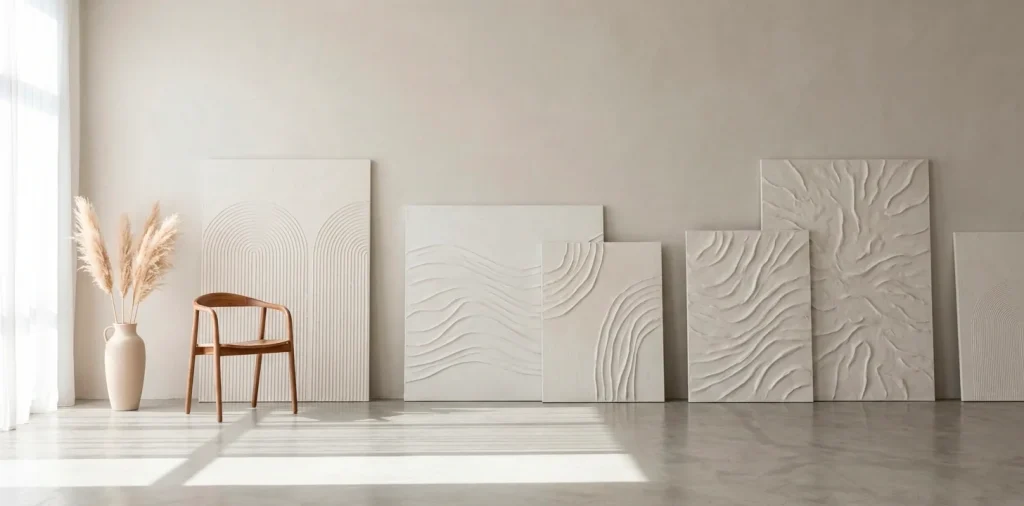

My white walls used to look like a hospital ward until I discovered the magic of joint compound. You don’t need a fine arts degree to make something stunning; you just need a bucket of goop and some courage. I’ve spent way too many Saturdays covered in white dust, so I’ve narrowed down the best projects for that ‘expensive gallery’ look. Ready to get messy? 🙂
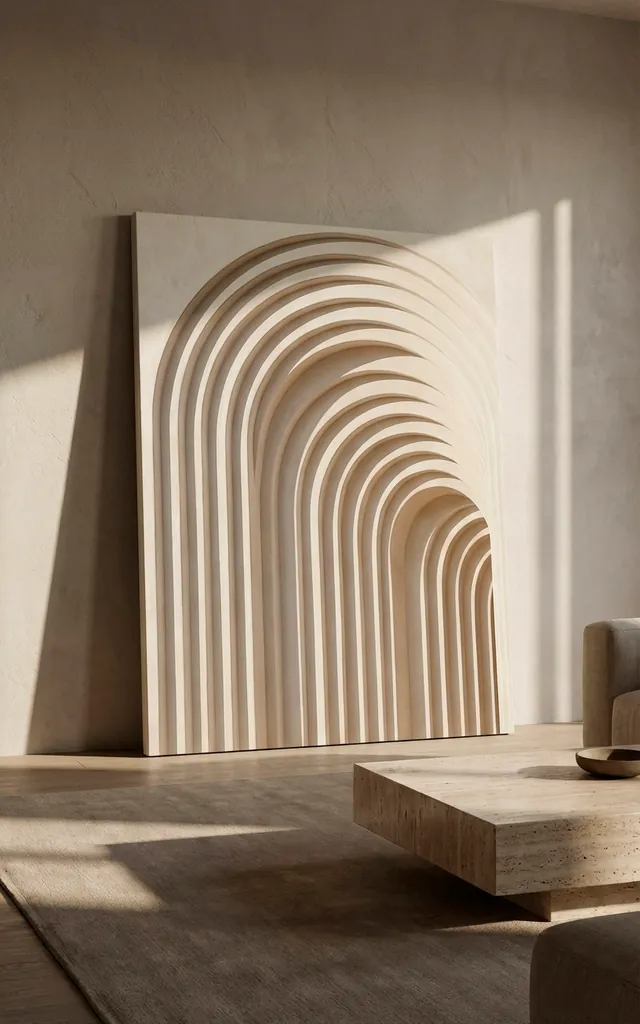
The Classic Sculpted Arches
I started my plaster journey with this project, and I still think it’s the ultimate ‘cheat code’ for chic decor. You simply apply a thick layer of all-purpose joint compound and use a notched trowel to drag perfect semi-circles across the canvas. My first attempt looked like a child’s rainbow, but I quickly learned that steady pressure is the secret. I suggest practicing your ‘swing’ on a piece of cardboard before hitting the expensive canvas.
- Use a V-notch trowel for thin, delicate lines.
- Maintain a 45-degree angle for the smoothest texture.
- Layer your arches for a 3D overlapping effect.

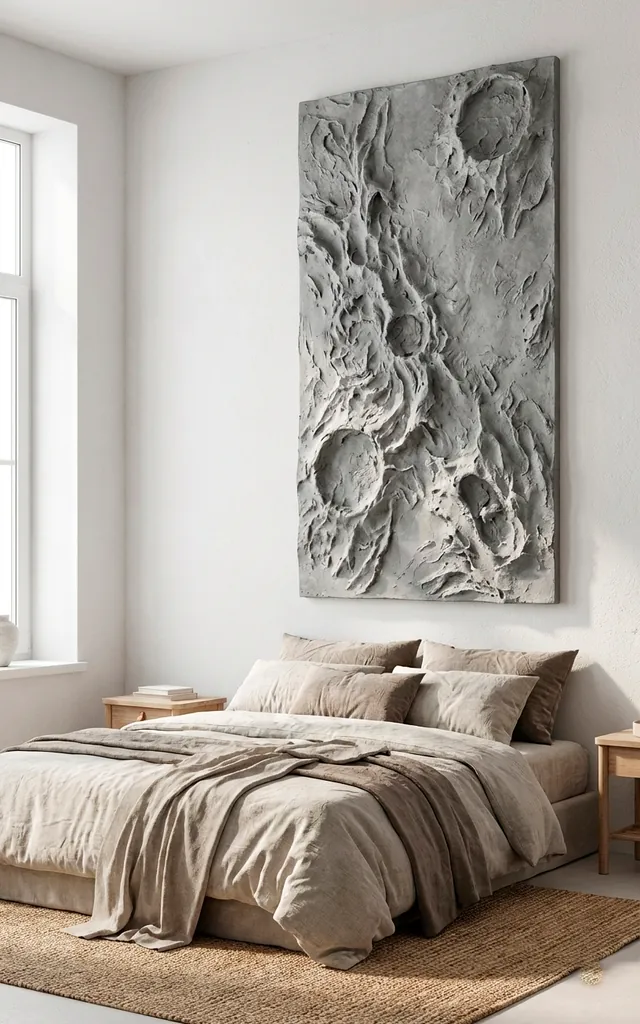
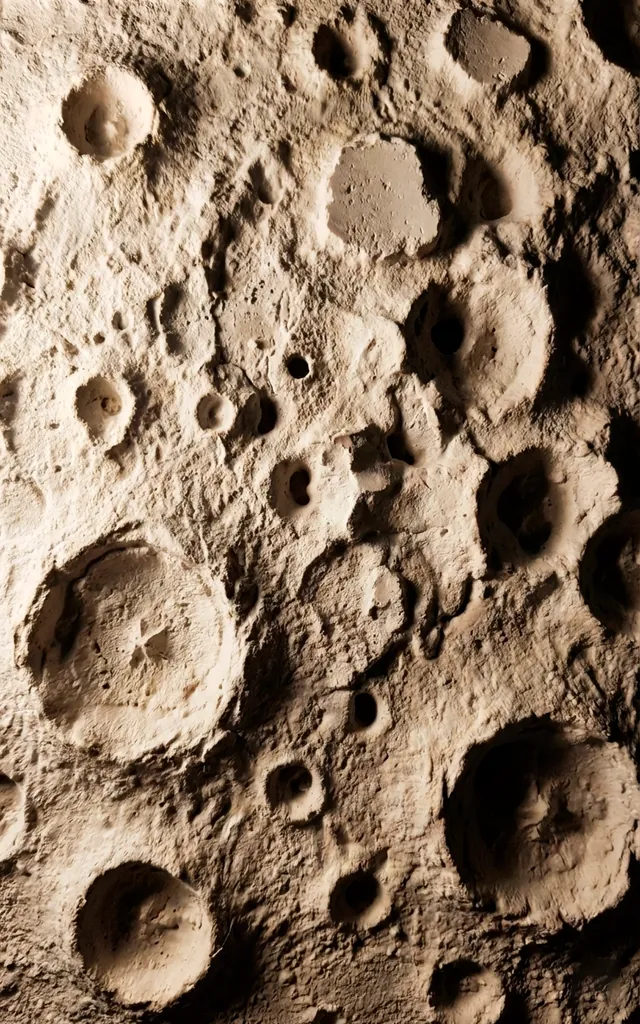
The Organic Moonscape
If you hate straight lines, this moon-crater style will be your new best friend. I love this technique because mistakes actually make it look better. You dab a sea sponge into the wet plaster and pull upwards to create peaks, then gently knock them down with a flat trowel. I once tried using a kitchen sponge, but it lacked the ‘cratery’ vibe I wanted. Stick to the natural sea sponge for those authentic, irregular textures that mimic a lunar surface.
- Dab randomly to avoid predictable patterns.
- Use heavy-duty plaster for taller peaks.
- Sand the edges lightly after the piece dries.
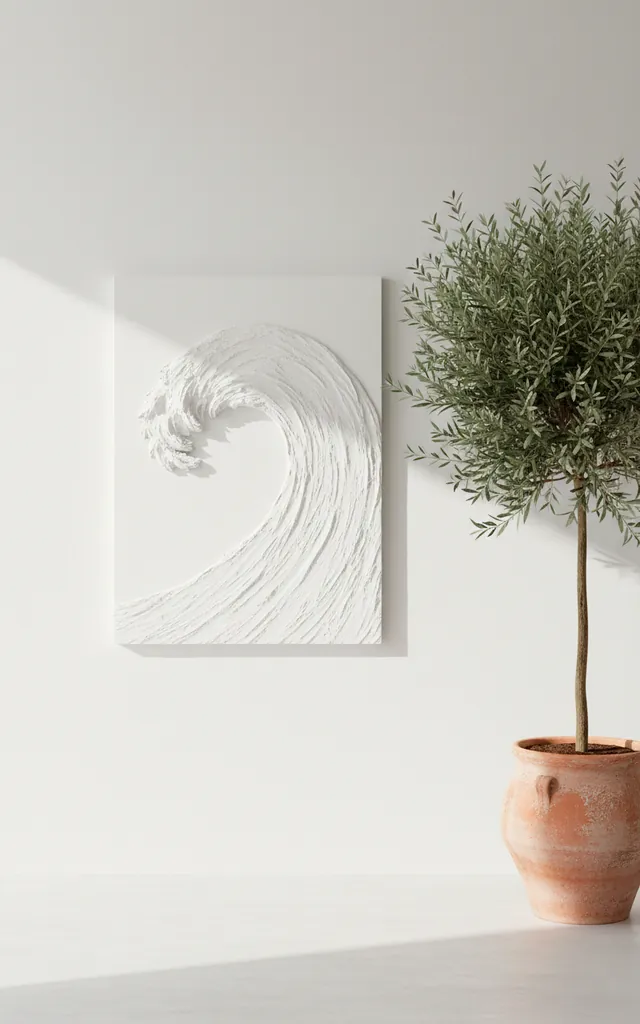
The Minimalist Vertical Wave
Ever felt like your room lacks movement? FYI, a single, sweeping wave across a large canvas fixes that instantly. I recommend using a wide putty knife and one continuous motion from top to bottom. I messed this up three times before I realized I was overthinking it. Just let your arm follow a natural curve. The beauty lies in the slight imperfections of the ‘wake’ left behind by the knife. It’s simple, bold, and incredibly soothing to look at.
- Keep the compound about 1/4 inch thick.
- Wipe your knife clean between every single stroke.
- Try a matte sealant to keep it looking fresh.
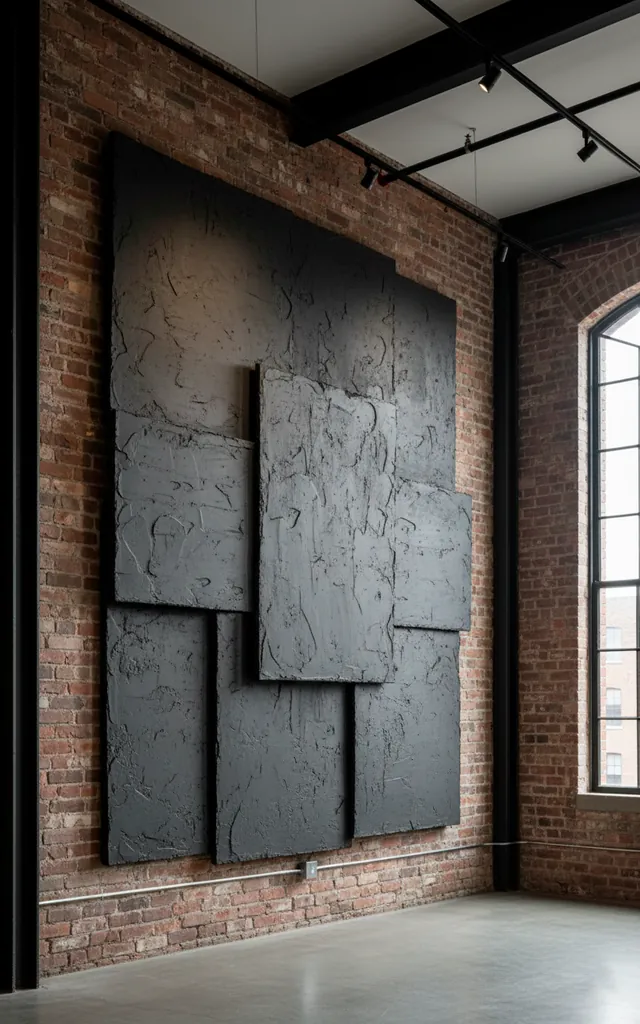
The Brutalist Block
I’ve always loved industrial vibes, and this project brings that ‘concrete bunker’ aesthetic into a cozy home. You use a flat trowel to create harsh, overlapping rectangles of varying thickness. I intentionally leave the edges raw and unfinished because ‘perfect’ is boring in this context. Use a gray-tinted plaster or mix in some black acrylic paint to get that moody, cement-like finish. It looks like a slab of the Berlin Wall, but, you know, way more decorative.
- Mix coarse sand into the plaster for extra grit.
- Overlap blocks at 90-degree angles.
- Use a metal scraper for sharp, industrial edges.

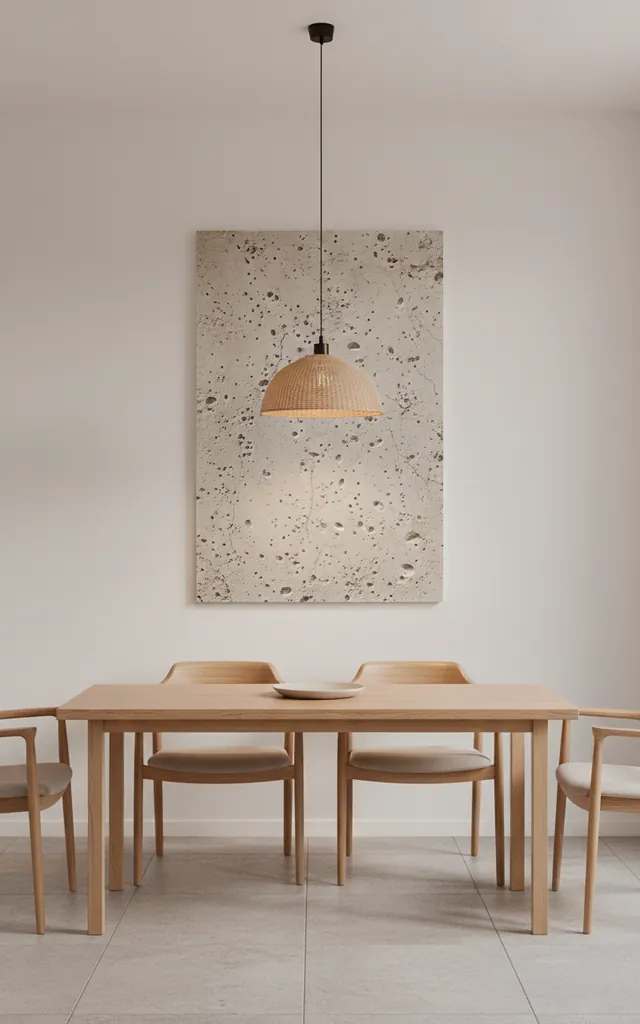
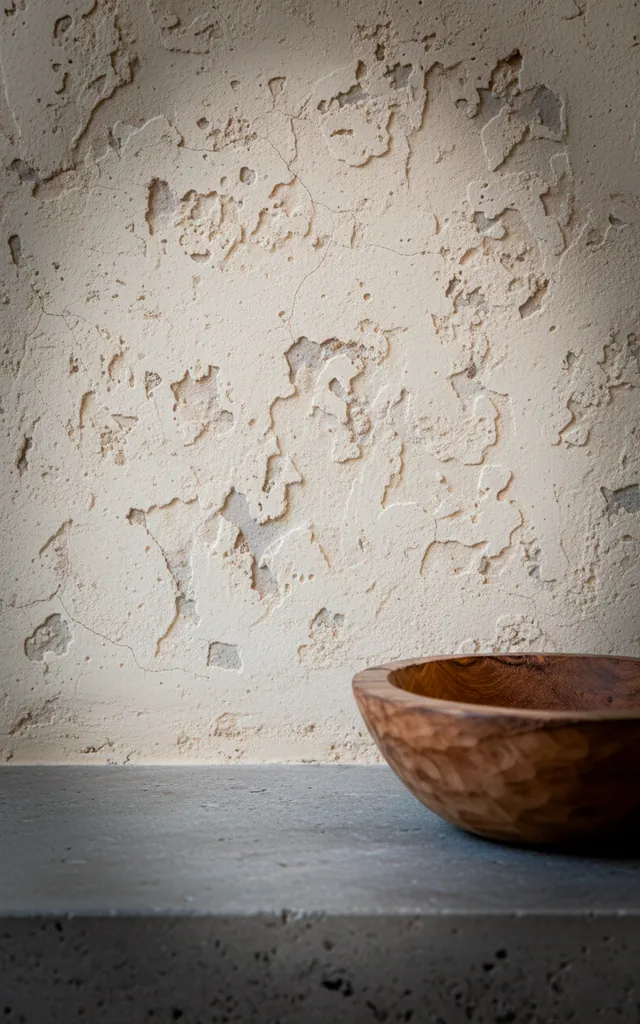
The Pitted Concrete Technique
IMO, the ‘pitted’ look is the most sophisticated of the bunch. I achieve this by mixing a little water into the compound and ‘slapping’ it onto the canvas with a flat brush. You then wait five minutes and lightly drag a trowel over it to trap tiny air bubbles. This creates those small, natural-looking pits you see in high-end cast concrete. It’s subtle, elegant, and looks like you spent a fortune at a boutique furniture store.
- Use a large chip brush for the initial application.
- Don’t over-trowel; you’ll lose the air pockets.
- Apply a satin finish to mimic polished stone.
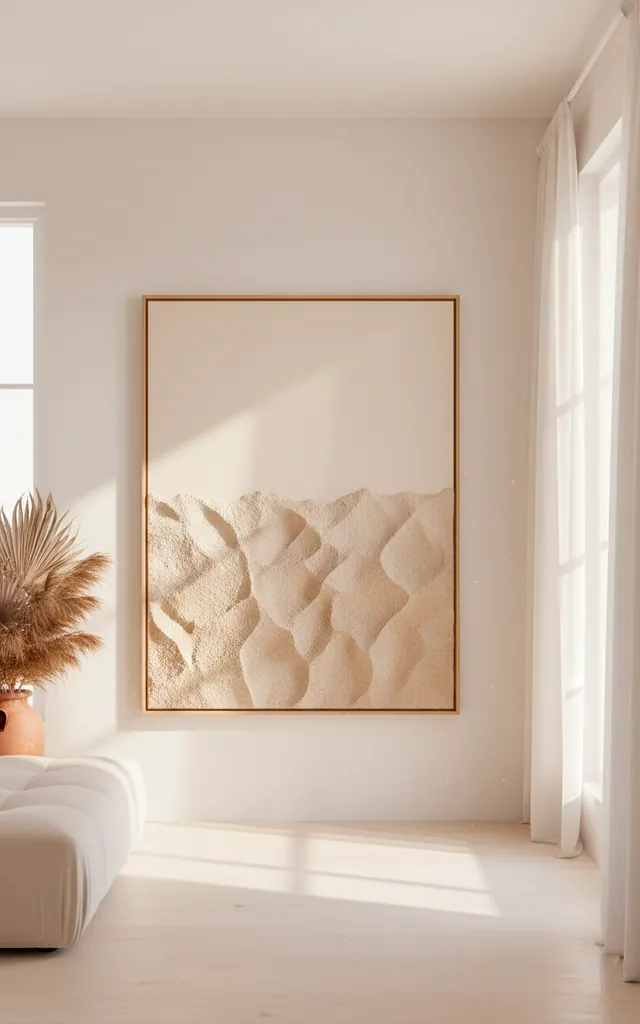
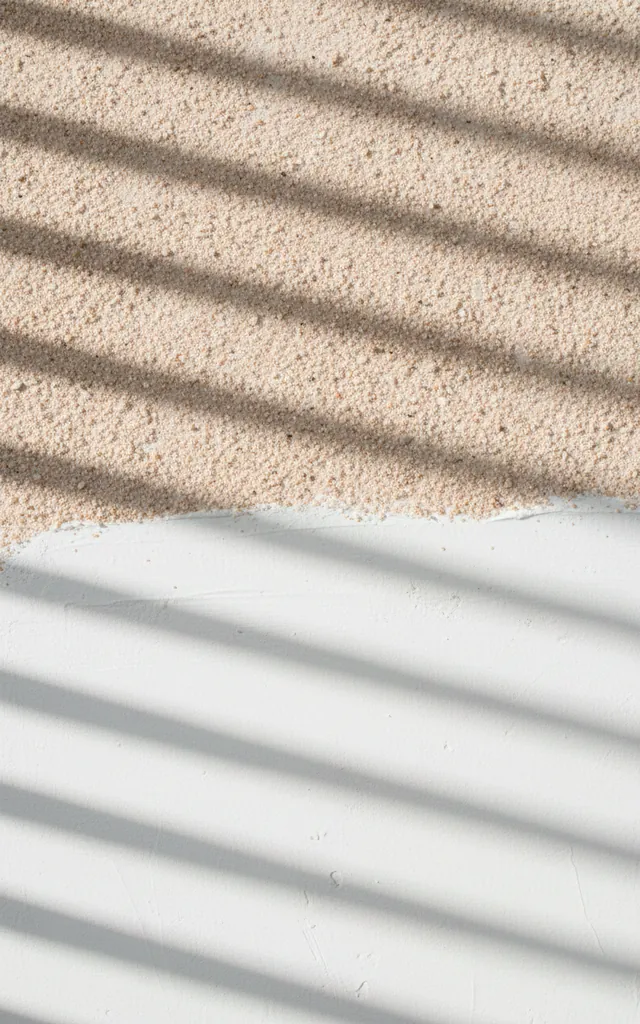
The Sand-Infused Horizon
I wanted a piece that felt like a minimalist beach landscape without the cheesy seashells. You split the canvas into two sections and use a sand-infused plaster for the bottom half. Use a palette knife to create horizontal ridges that look like wind-swept dunes. I keep the top half smooth to represent the sky. It’s a great way to experiment with two different textures on a single piece of art. This one always gets the most compliments from my guests.
- Use painter’s tape to get a crisp horizon line.
- Vary the grit of the sand for a more natural look.
- Stick to earthy tones like beige or soft terracotta.
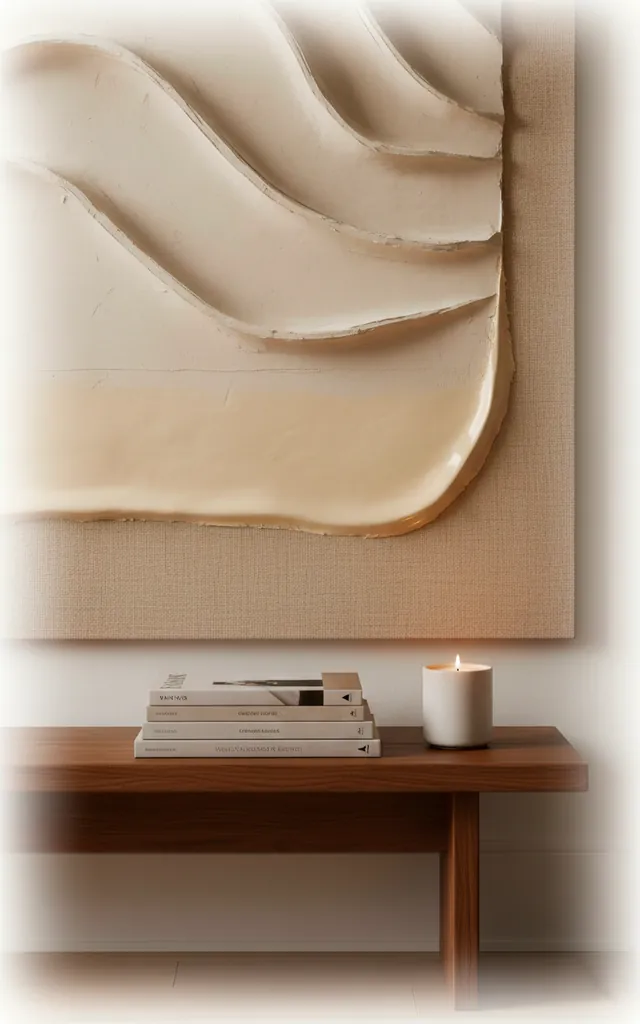
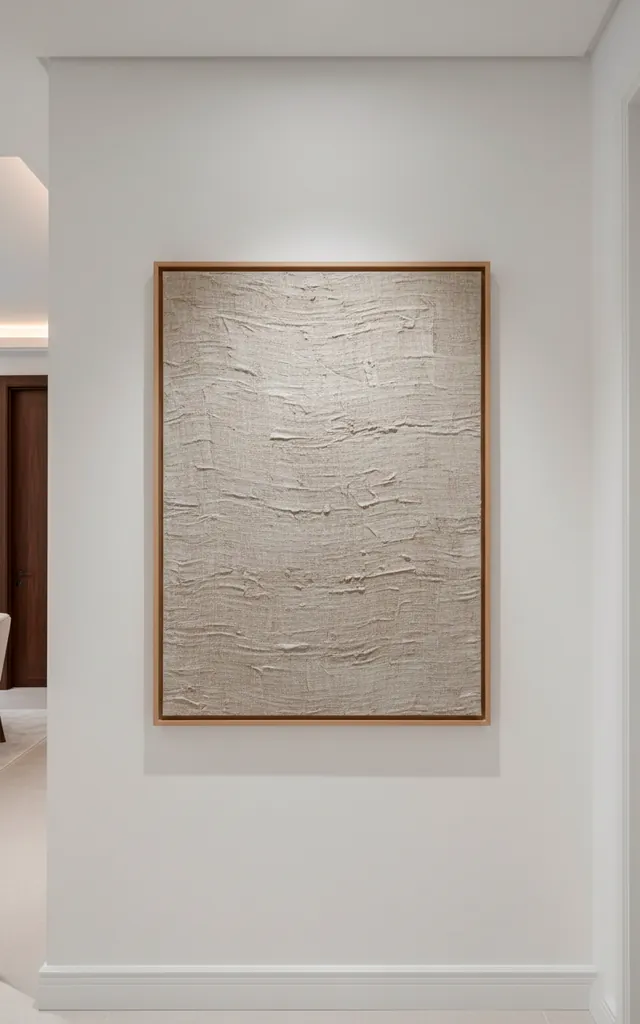
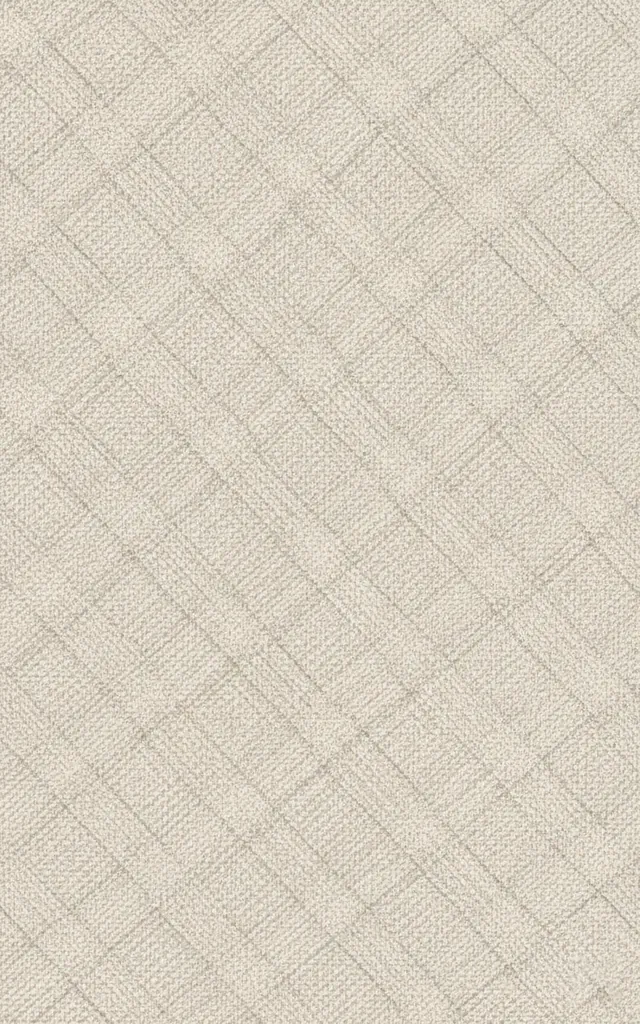
The Linen Texture Overlay
For the ultimate ‘quiet luxury’ vibe, I turn to the linen texture. You apply a very thin layer of plaster and drag a stiff-bristled brush vertically, then horizontally. This creates a cross-hatch pattern that looks exactly like expensive wallpaper or raw linen fabric. I’ll be honest: my arm was screaming after the second canvas, but the result is worth the workout. It’s the perfect subtle backdrop for a gallery wall or a lonely hallway.
- Use a wide wallpaper brush for consistent lines.
- Work in small sections so the plaster doesn’t dry too fast.
- Keep your lines as straight as possible.
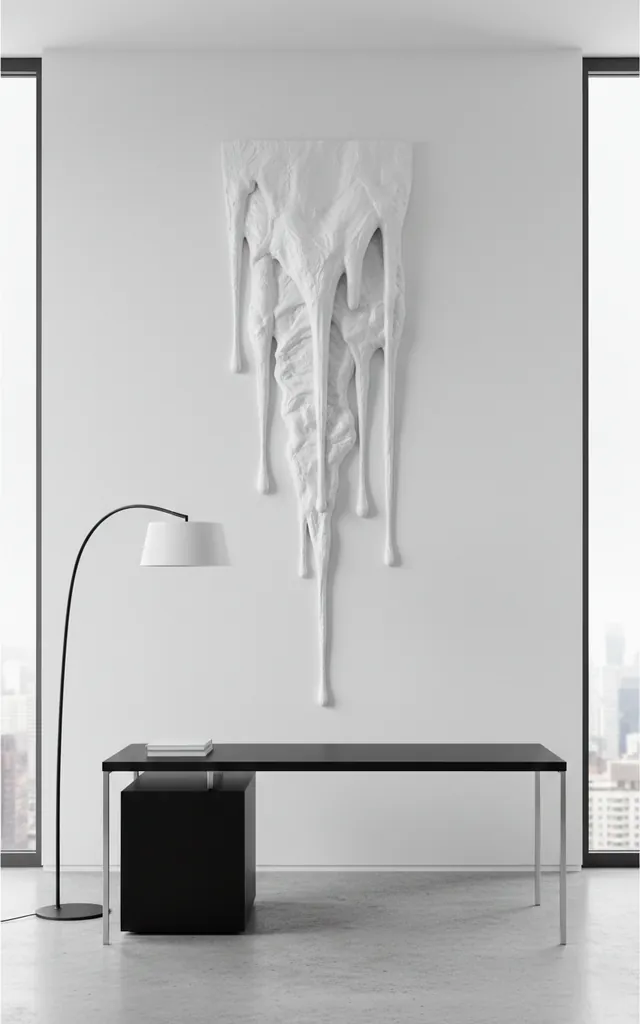
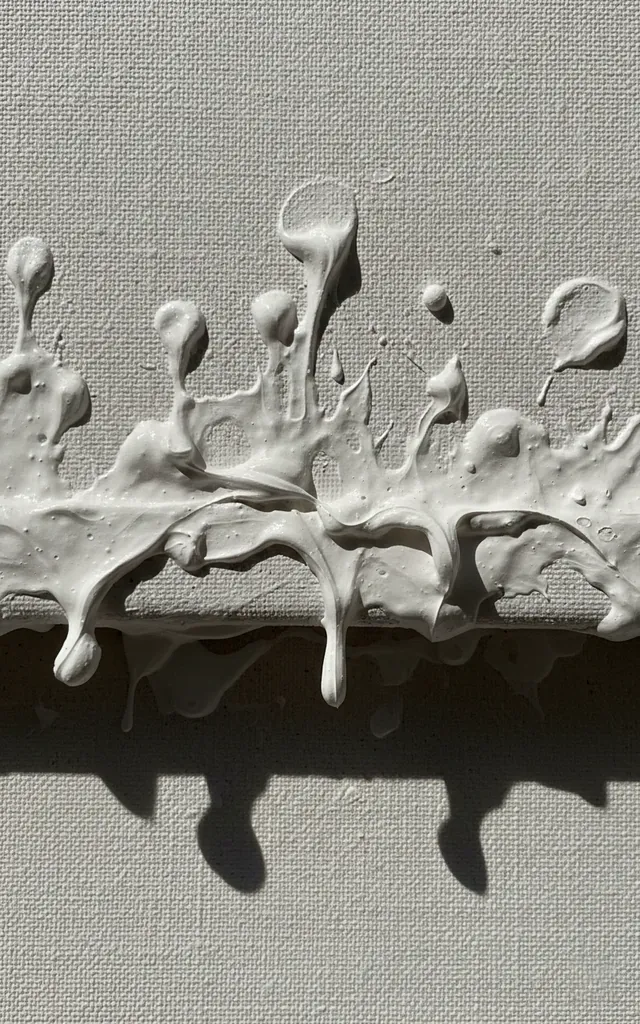
The Abstract Drip and Flow
This is for the rebels who want to let gravity do the work. I mix my compound with a bit of water until it’s the consistency of thick pancake batter. You pour it at the top of a tilted canvas and let it run down. I love how the drips create these thick, sculptural ‘veins’ that look like melting wax or flowing lava. It’s messy, it’s unpredictable, and it’s a total blast to make. Just make sure you have plenty of floor protection!
- Prop the canvas at a 30-degree angle.
- Use a squeeze bottle for more control over the drips.
- Let it dry for at least 48 hours.
Conclusion
You don’t need to spend thousands of dollars to have a home that looks like a magazine spread. These plaster projects prove that a little joint compound and a weekend of effort can completely transform a space. I hope you feel inspired to grab a trowel and make your own mess. Which texture are you going to try first? Tag me when you finish your masterpiece!
Related posts
See AllEarthy Terracotta Sunroom Ideas for a Mediterranean Vibe
Transform your space into a sunny European retreat. Discover simple, earthy terracotta sunroom ideas that bring authentic Mediterranean vibes straight …
Read more15 Playful Memphis Style Attic Loft Ideas with Graphic Shapes
Transform your attic loft with playful Memphis style decor! Discover 15 bold ideas using graphic shapes, vibrant colors, and quirky …
Read more15 Custom Built-In Bed Ideas for a Luxury Kids Room
Ready to transform that chaotic playroom into a high-end sanctuary? Discover 15 jaw-dropping built-in bed ideas that blend luxury, smart …
Read moreA Step-by-Step Guide to Total Laundry Room Organization
Transform your chaotic laundry space into an organized, functional oasis with this step-by-step guide. We share smart storage hacks, sorting …
Read more