


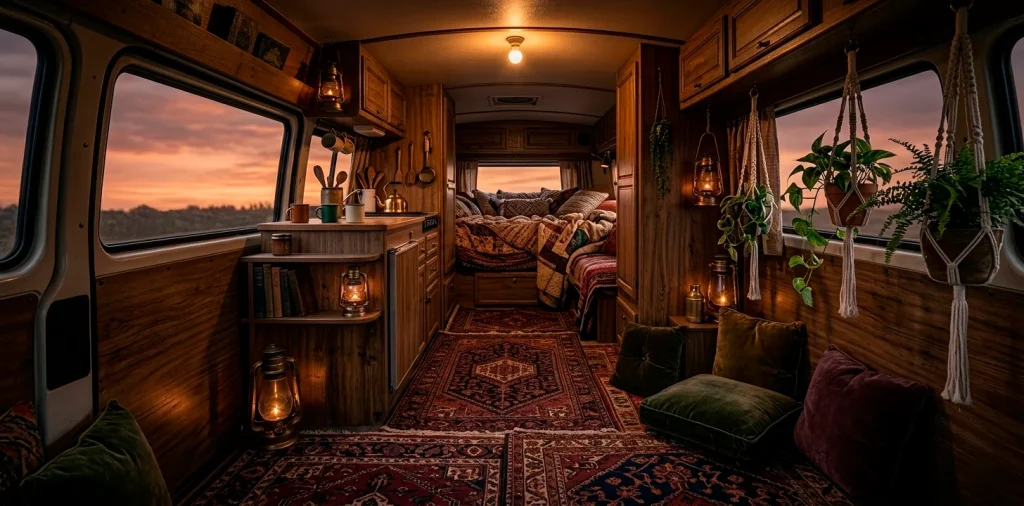

Stepping into a van shouldn’t feel like entering a sterile tin can. You want a sanctuary that smells like cedar and feels like a warm hug from a long-lost relative, right? I’ve spent years turning cramped mobile boxes into moody, bohemian retreats, and I’ve learned that the floor dictates the entire soul of the space. Forget those boring stock mats and embrace the glorious chaos of layered textiles. We are going to master the art of the ‘vintage pile’ to turn your rolling home into a textured masterpiece that makes every sunset feel like a private festival. 😍
The Foundation: Start with an Oversized Base
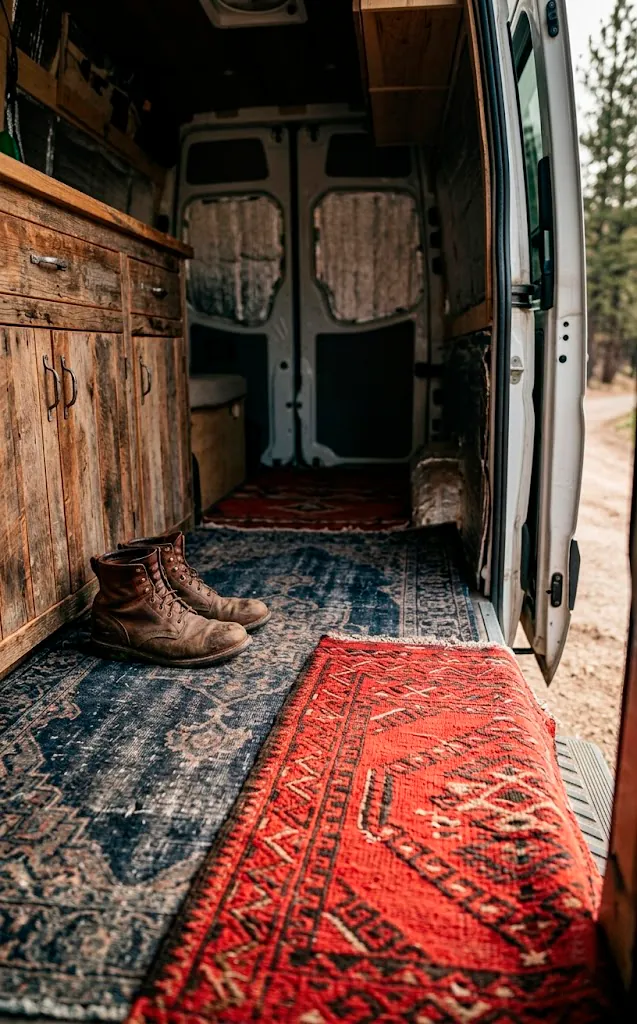
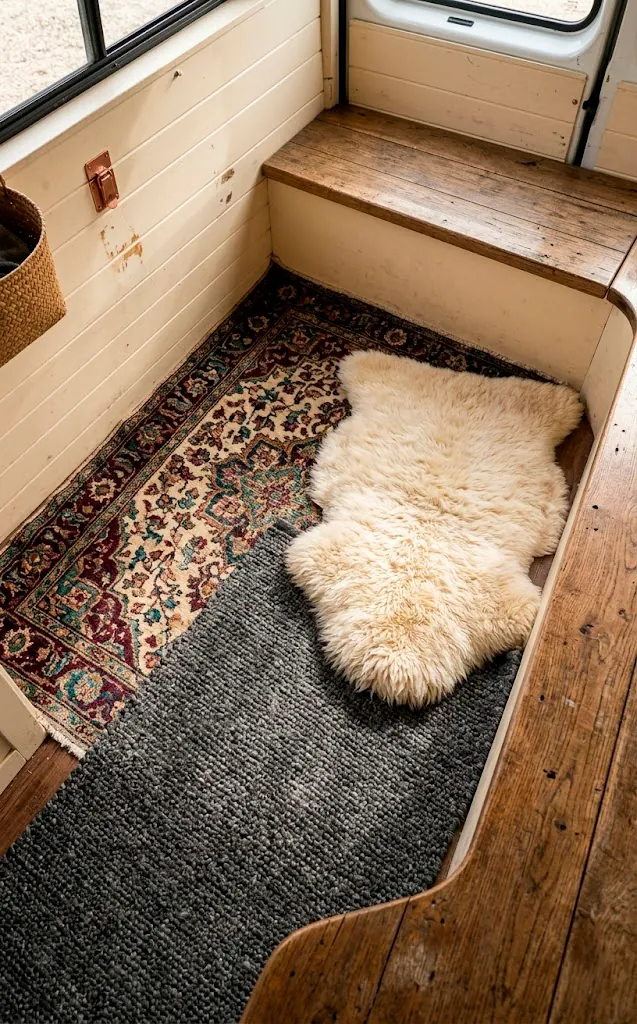
I always start my builds by laying down one large, low-pile rug that covers the majority of the walking path. This base layer acts as your ‘canvas’ and keeps the floor insulation consistent. Think of it as the primer before the art; it doesn’t need to be flashy, but it must be sturdy. A faded jute or a large, thin Persian rug works wonders here because they don’t add too much bulk near the door frames.
Does your floor feel cold the second the sun goes down? If you choose a rug with a slightly rougher texture for the bottom, it grips the van’s vinyl flooring better than silkier fabrics. I once used a basic flatweave and it saved my shins from sliding every time I hit the brakes. You want something that says ‘I’m here to stay,’ not ‘I’m a slip-and-slide hazard.’
Texture Clashing for Maximum Depth
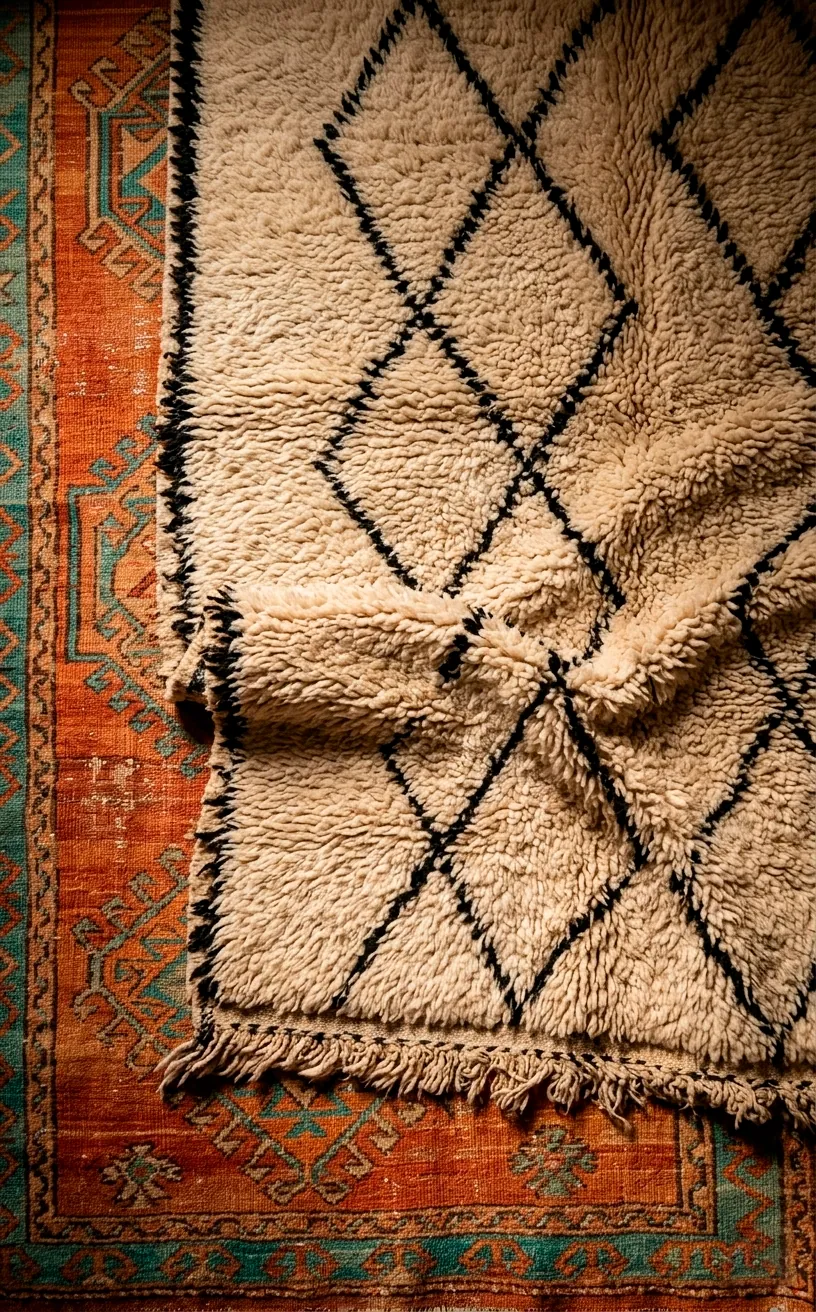
Mixing textures is where the real magic happens. I love throwing a high-pile Moroccan shag right on top of a flat, weathered Kilim. The height difference creates visual shadows that make the small space feel significantly larger and more intentional. Why settle for a flat floor when you can have a topographical map of comfort under your feet? This contrast keeps the eyes moving and hides the inevitable dirt that comes with the ‘van life’ territory. Just remember to keep the fluffiest rugs away from the ‘kitchen’ area unless you enjoy picking crumbs out of wool for three hours every Sunday.
Deep Jewel Tones for a Sultry Atmosphere
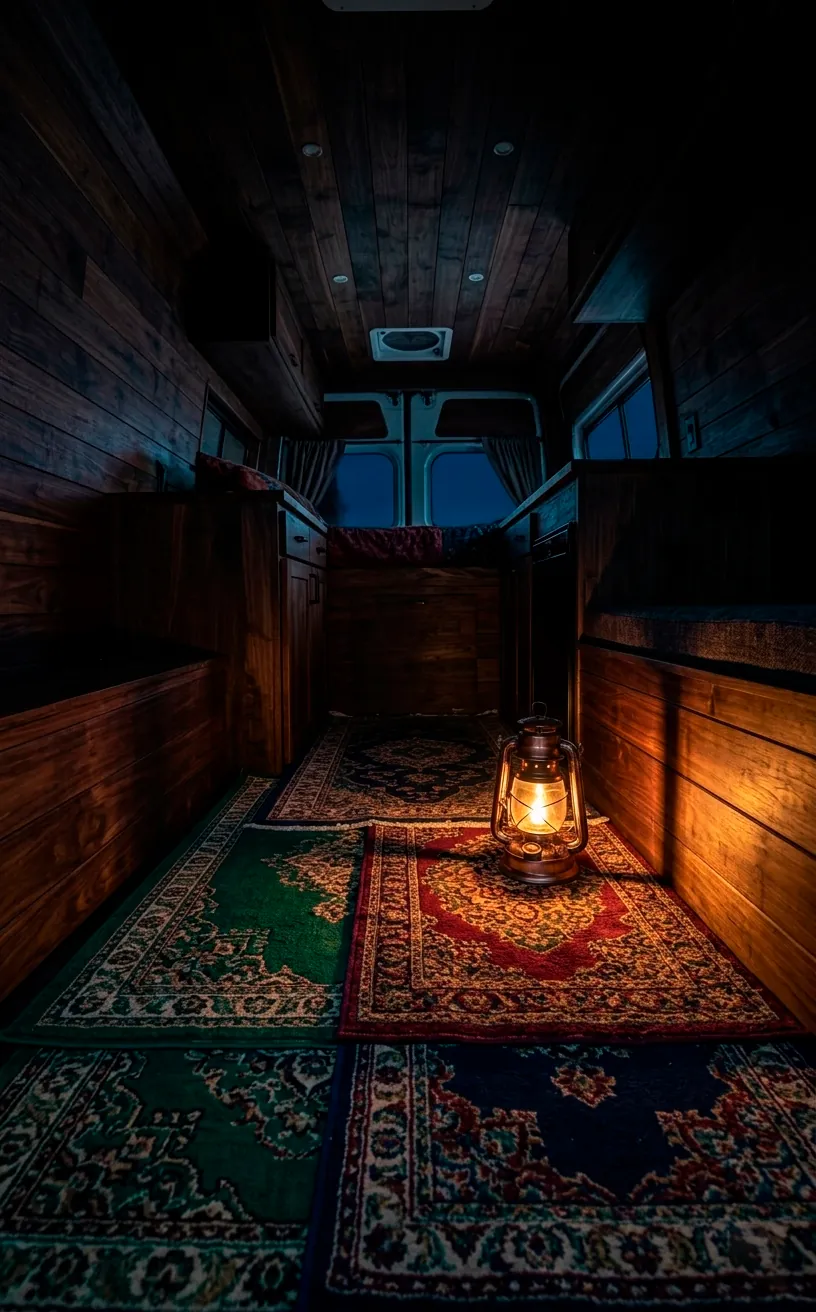
Moody vibes require moody colors. I usually steer clear of bright whites because, let’s be honest, living in a van is dusty work. Instead, I gravitate toward emerald greens, deep rubies, and midnight blues. These colors absorb light in a way that makes the interior feel grounded and secret.
Have you ever noticed how a dark rug instantly makes a room feel more expensive? It’s a classic designer trick. I suggest picking rugs that share at least one common thread, like a hint of burnt orange, to tie the layers together visually.
Design elements for a moody floor:
- Deep burgundy Persian runners
- Forest green woven mats
- Mustard yellow accent fringes
- Charcoal grey base layers
This palette prevents the space from looking like a chaotic thrift store accident. Instead, it looks like a curated collection of artifacts from your travels. When the LED strips hit these colors at night, the whole van glows with a rich, velvety warmth that’s impossible to replicate with plastic floors.
Mastering the ‘Random’ Overlap
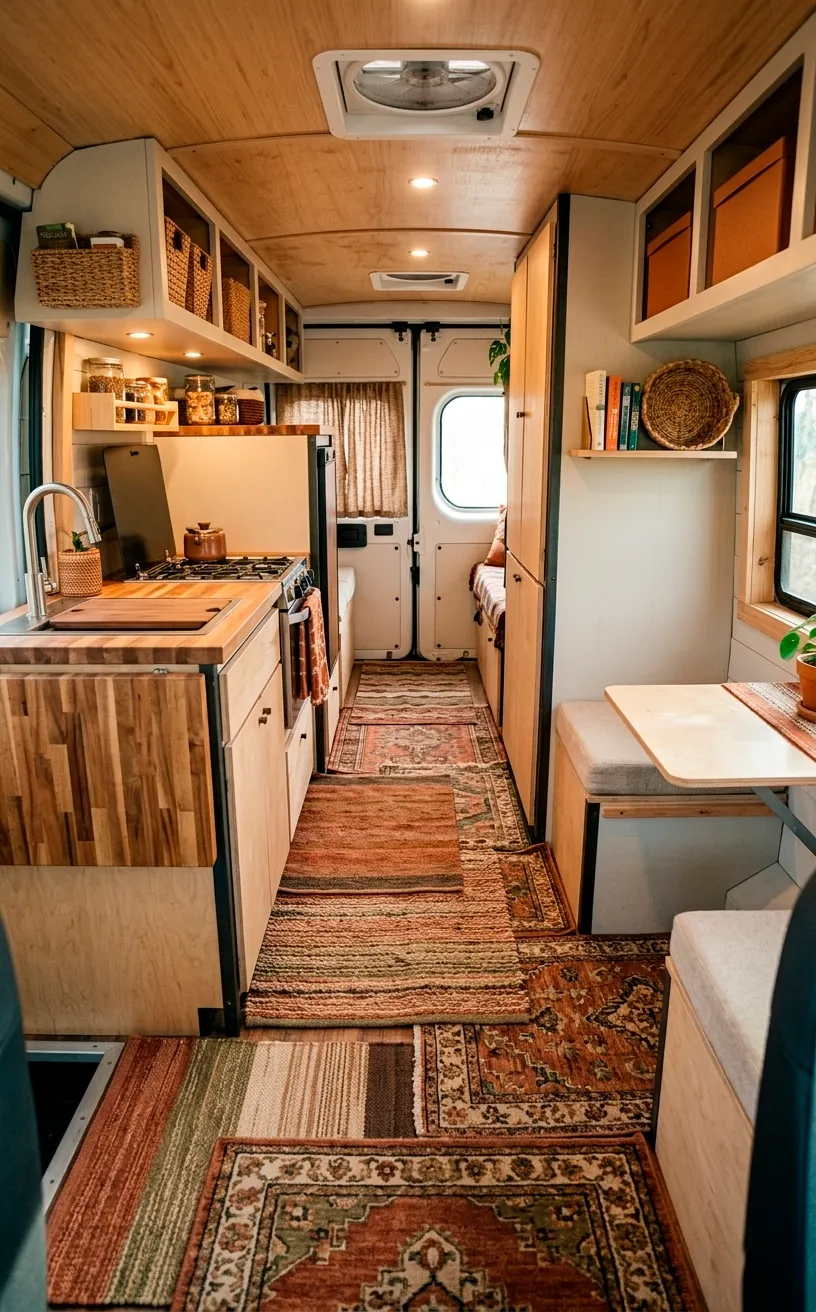
The key to a true hippie aesthetic is imperfection. If you align your rugs perfectly with the walls, it looks like you’re trying too hard. I prefer tossing them at 45-degree angles or letting them slightly ‘climb’ the base of the furniture. This creates a fluid, organic flow that softens the harsh lines of your cabinetry. FYI, this also helps cover up those awkward gaps where your flooring might not meet the wall perfectly. It’s the ultimate DIY camouflage.
Think of it as building a nest rather than laying a floor. I find that three layers is the ‘sweet spot’ before it starts feeling like a tripping hazard. For more tips on creating a cozy, multi-dimensional environment, check out our guide on dark cottagecore essentials layering textiles.
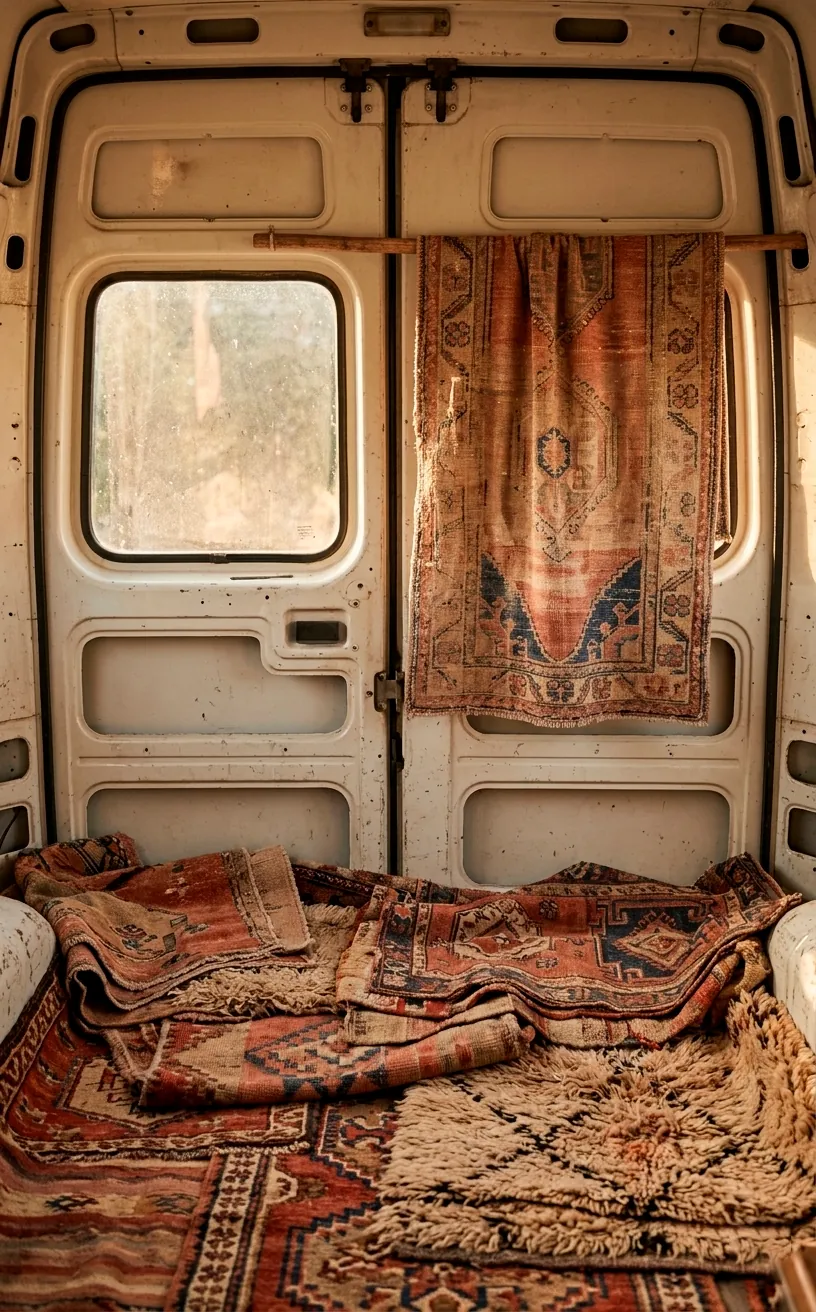
Wall Rugs: The Vertical Layer
Who said rugs are only for feet? I love hanging a lightweight, intricate rug on the back door or behind the driver’s seat. It doubles as a sound dampener and an insulator against the metal walls. In a small van, your vertical space is just as important as the floor for setting the mood. I personally use a thin tapestry-style rug for this because it doesn’t weigh down the door hinges. It’s like adding wallpaper, but way more tactile and much easier to remove when you realize you’ve accidentally bought a pattern that gives you a headache.
Managing the Small Space Struggle
Layering in a van can get bulky fast. You don’t want to lose two inches of ceiling height just because you went overboard with the shag. I recommend using thinner rugs for the bottom layers and saving the ‘puff’ for areas where you actually sit or kneel. This strategy keeps the walking path clear and prevents the door from getting stuck every time you try to leave.
I’ve made the mistake of using a thick rug near the sliding door, and let me tell you, nothing ruins a mood faster than a jammed door in the rain. Stick to flatweaves for high-traffic zones.
Small space layering tips:
- Use ‘scraps’ for corners
- Prioritize thin cotton weaves
- Avoid heavy rubber backings
You can find more ways to maximize your tiny home’s potential in our 10 DIY camper van interior ideas.
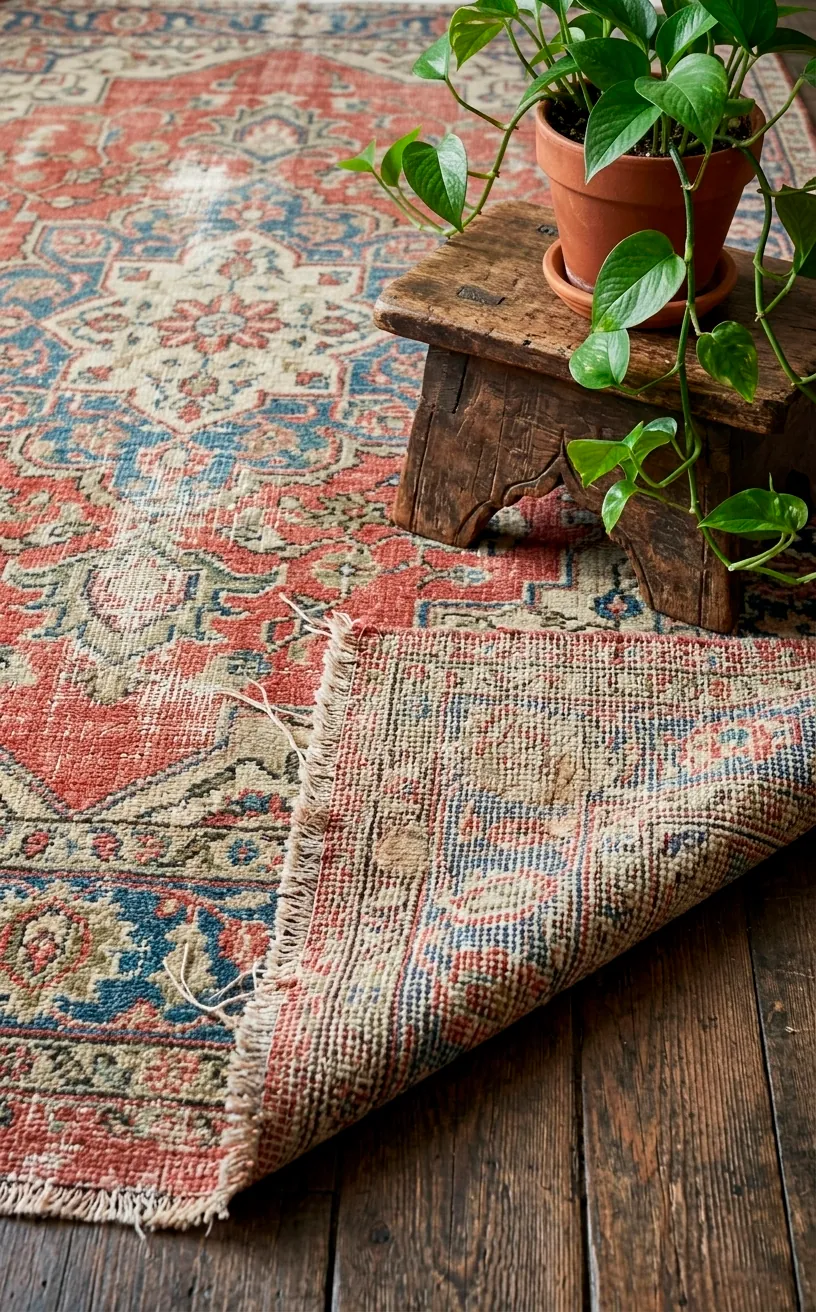
Authentic Vintage vs. Modern Replicas
I’m a sucker for an authentic thrift store find. There is a specific smell—hopefully not a bad one—and a ‘soul’ to a rug that has already lived a full life. Genuine vintage rugs usually have natural vegetable dyes that age into these incredible, muted tones that look amazing under low-wattage lighting. IMO, modern replicas often look too ‘printed’ and lack the heavy drape of real wool.
If you go the second-hand route, just make sure you give it a deep clean first. You want the hippie vibe, not the ‘I share my bed with dust mites from 1974’ vibe. If you can’t find a good vintage piece, look for ‘over-dyed’ new rugs; they mimic that moody, saturated look without the historical baggage.
Lighting the Layers Correctly
The secret to a moody interior isn’t the rugs themselves—it’s how you light them. If you use harsh overhead lights, your beautiful vintage layers will look flat and messy. I prefer using floor-level lighting or low-hanging lanterns to cast long shadows across the textures of the rugs.
Warm light sources to consider:
- Battery-operated amber fairy lights
- Brass Moroccan lanterns
- Dimmable LED puck lights hidden under cabinets
- Small salt lamps tucked in corners
When you light from below, the weave of the rug catches the light, making those deep reds and greens pop. It creates a campfire-like ambiance that is perfect for late-night journaling or just staring out the window at the stars. I once spent an entire evening just moving my fairy lights around until the rug shadows looked like ripples on a pond. Was it a waste of time? Probably. Was it incredibly therapeutic? Absolutely.

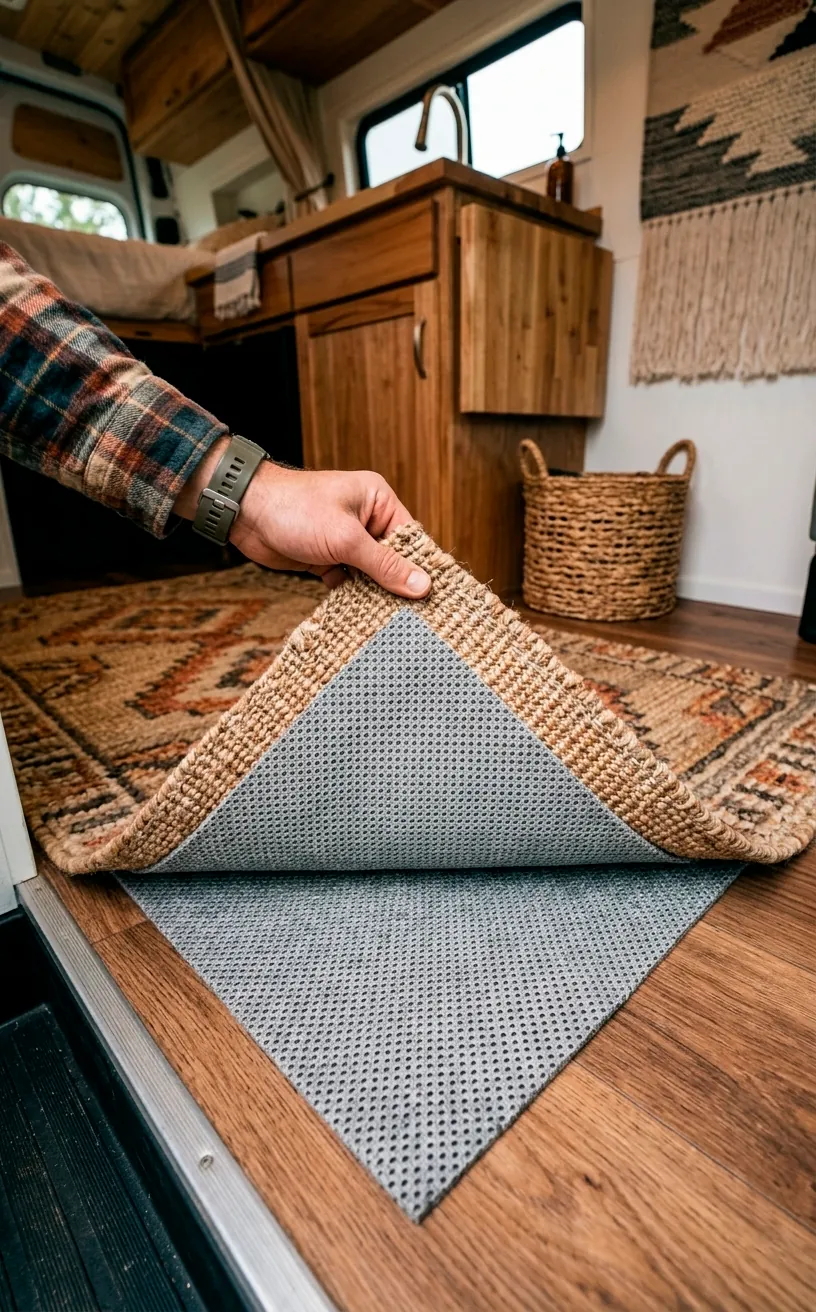
Securing the Layers: Safety First
Because tripping over a bunch of unpinned wool is definitely the ‘mood’ we want, right? Sarcasm aside, layered rugs in a moving vehicle are a recipe for disaster if you don’t secure them. I use heavy-duty rug tape or double-sided Velcro strips to keep the bottom layer anchored to the floor. For the layers on top of each other, rug-to-rug pads are your best friend. They are thin, mesh-like sheets that prevent the top rug from wandering off while you’re walking. It keeps everything looking ‘artfully messy’ instead of ‘literally a mess.’
Scent and Final Touches
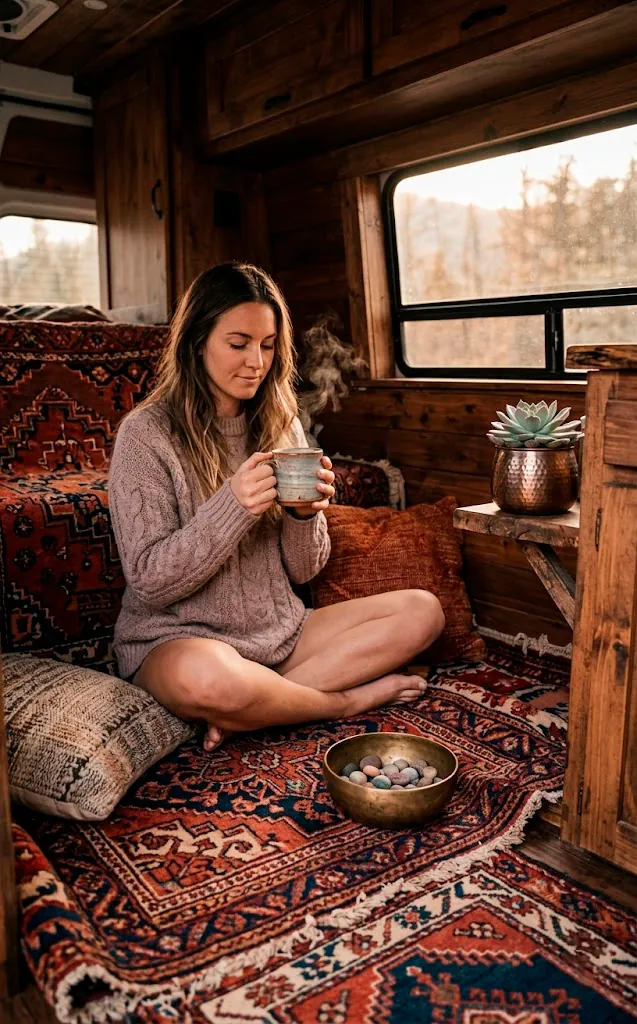
To truly complete the moody hippie vibe, you need to engage the sense of smell. Textiles like rugs hold onto scents, so I like to lightly mist mine with a homemade blend of cedarwood and lavender. It grounds the space and makes the ‘vintage’ aspect feel clean and intentional. A few floor cushions tossed on the thickest part of the rug pile invites you to actually use the floor as a living space rather than just a hallway.
I also suggest adding a few brass bowls or small potted succulents near the edges. These hard elements contrast beautifully with the soft rug layers. Just make sure the plants are in ‘unbreakable’ pots because, trust me, things move when you’re driving. I learned that the hard way with a ceramic cactus and a very expensive rug.
Final Thoughts on Your Moody Rolling Nest
Layering rugs isn’t just about decor; it’s about building a portable sanctuary that reflects your restless soul. By mixing textures, embracing jewel tones, and securing your layers, you create a space that’s as practical as it is beautiful. Don’t be afraid to break the rules and let your rugs climb the walls or overlap at weird angles. After all, your van should be as unique as the road you’re traveling on. Which rug style are you layering first? Let me know in the comments, and happy wandering!
Related posts
See AllEarthy Terracotta Sunroom Ideas for a Mediterranean Vibe
Transform your space into a sunny European retreat. Discover simple, earthy terracotta sunroom ideas that bring authentic Mediterranean vibes straight …
Read more15 Playful Memphis Style Attic Loft Ideas with Graphic Shapes
Transform your attic loft with playful Memphis style decor! Discover 15 bold ideas using graphic shapes, vibrant colors, and quirky …
Read more15 Custom Built-In Bed Ideas for a Luxury Kids Room
Ready to transform that chaotic playroom into a high-end sanctuary? Discover 15 jaw-dropping built-in bed ideas that blend luxury, smart …
Read moreA Step-by-Step Guide to Total Laundry Room Organization
Transform your chaotic laundry space into an organized, functional oasis with this step-by-step guide. We share smart storage hacks, sorting …
Read more