


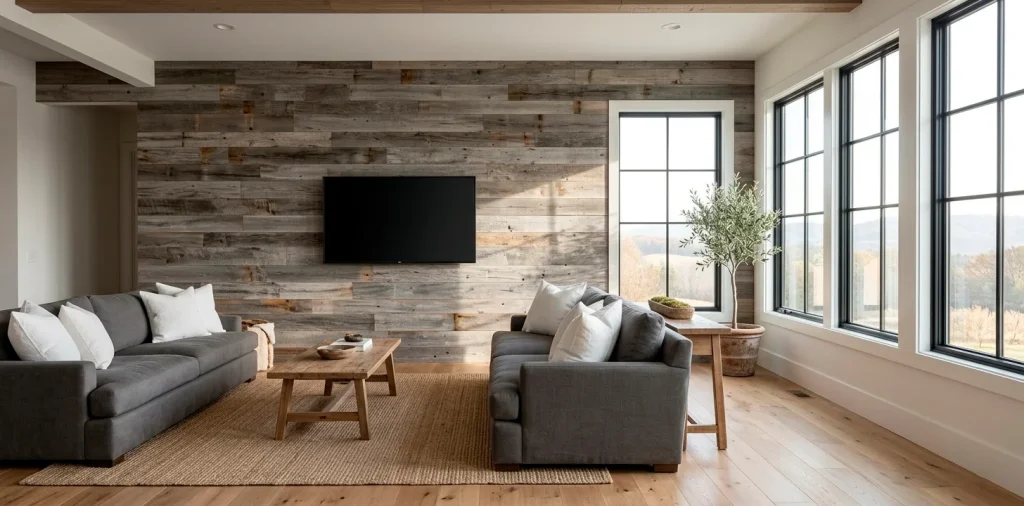

Forget those sterile, plastic entertainment centers that scream “mass-produced.” You want character, right? Your TV deserves a backdrop that tells a story, even if that story is just “I spent my Saturday wrestling with old barn boards.” Reclaimed wood brings that perfect organic warmth that makes every Netflix binge feel a bit classier. IMO, it is the ultimate weekend project for anyone craving a high-end look on a budget. Ready to turn that boring drywall into a rustic masterpiece? 🏡
Sourcing the Perfect Timber
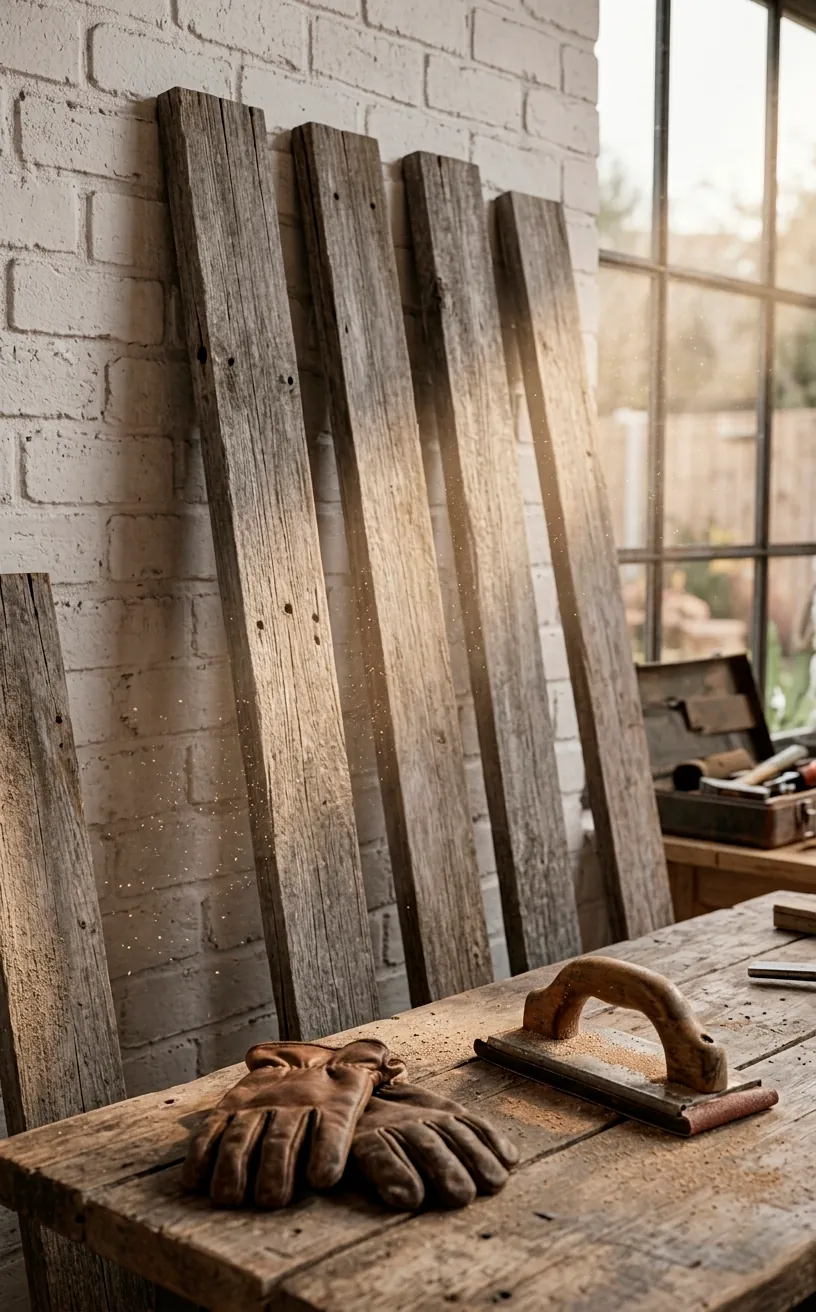
Where do you actually find wood that doesn’t look like it just fell off a construction truck? You need to hunt for wood with a history. I usually check local barn deconstructions or specialized reclaimed lumber yards. You want planks with character—think knot holes, original saw marks, and a natural grey patina. Just make sure you aren’t bringing home a termite colony as a free gift!
Does the wood look too perfect? Then it probably isn’t reclaimed. Authentic weathered wood should vary in color and thickness. This variety creates that “jagged” visual interest that defines the modern farmhouse aesthetic. If you can’t find the real deal, some companies sell “new” wood that they have distressed to look a century old, which works in a pinch if you value your time over total authenticity.
Prep Work and Safety First
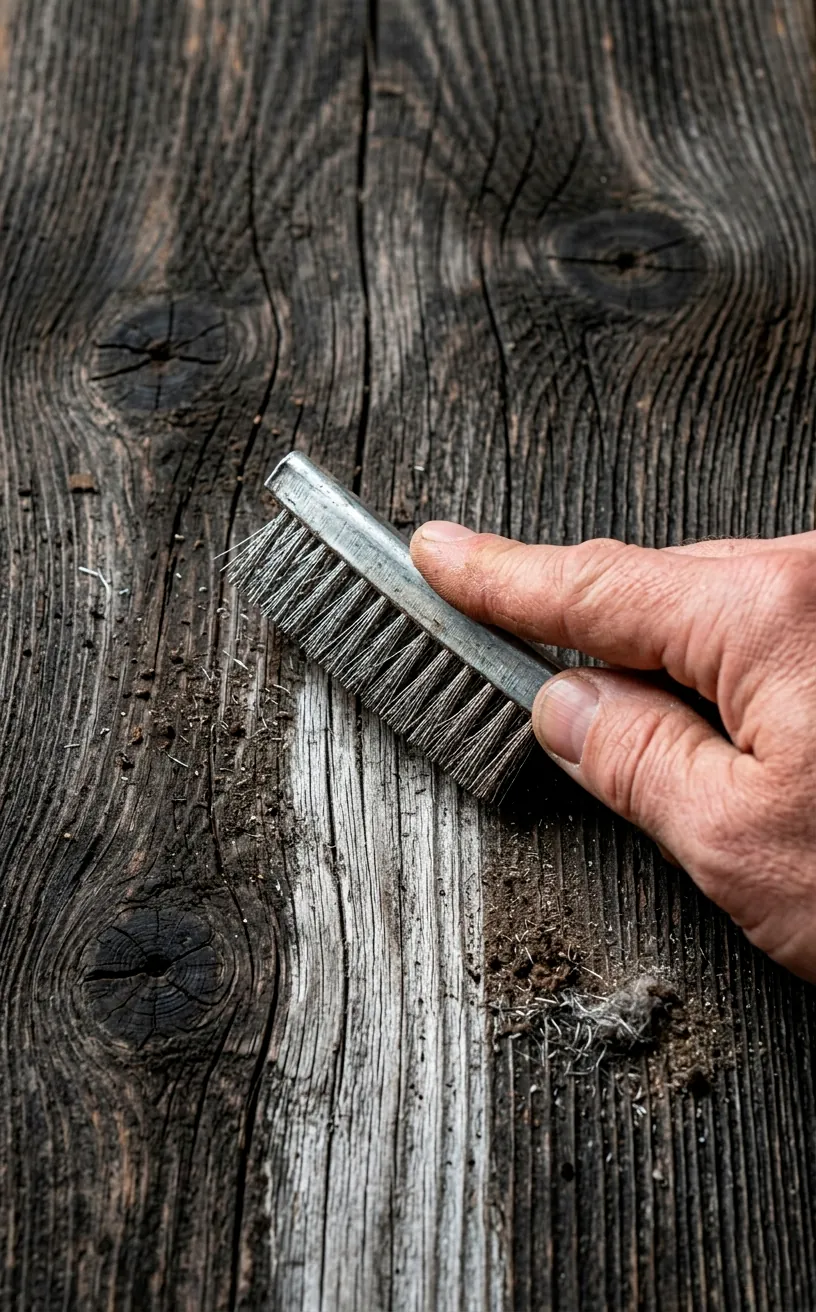
Before you start hammering away, you must prep those boards. I cannot stress this enough: clean your wood thoroughly. Use a stiff brush to knock off a century’s worth of dust and debris. If you’re worried about creepy-crawlies, a quick treatment with an insecticide or a few days in a kiln-dry environment saves you a massive headache later. Sanding is your best friend, but don’t overdo it! You want to remove the splinters that might snag your sweater without erasing the beautiful, rugged texture. A light pass with 120-grit sandpaper usually does the trick. FYI, always wear a mask because old wood dust is basically historical glitter you don’t want in your lungs. 😷
Mapping Out the Layout
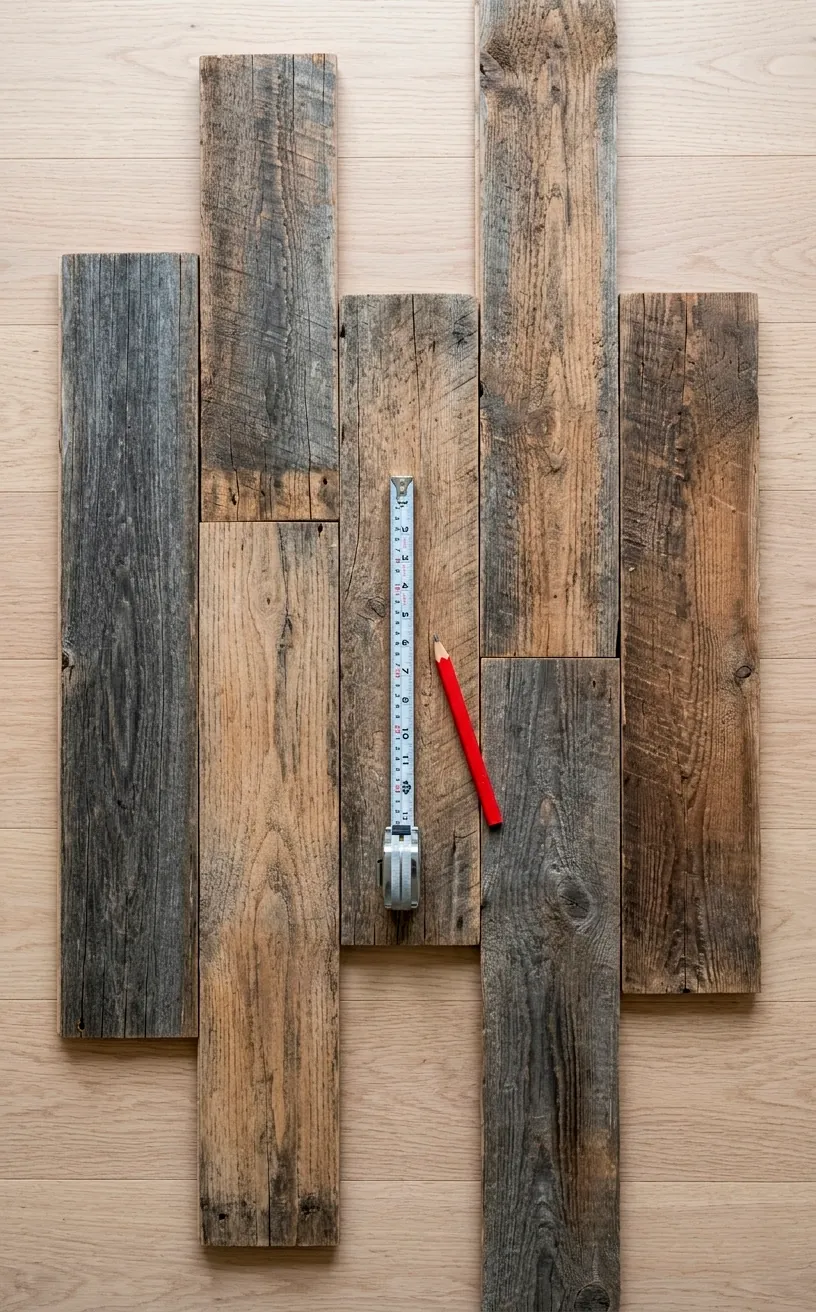
Ever tried to wing a puzzle without looking at the box? That is what installing wood without a plan feels like. Lay your boards out on the floor first to visualize the color transitions.
Stagger your joints like a pro. You should never have two vertical seams lining up perfectly, or your wall will look like a cheap laminate floor.
Does this board look too dark? Move it. Is that one too short? Save it for the edges.
Essential layout elements:
- Staggered end joints
- Balanced color distribution
- Consistent plank thickness
I suggest marking your wall studs with a pencil before you lift a single board. You need to know exactly where the strength is so your TV doesn’t end up on the floor mid-movie.

The Installation Hustle
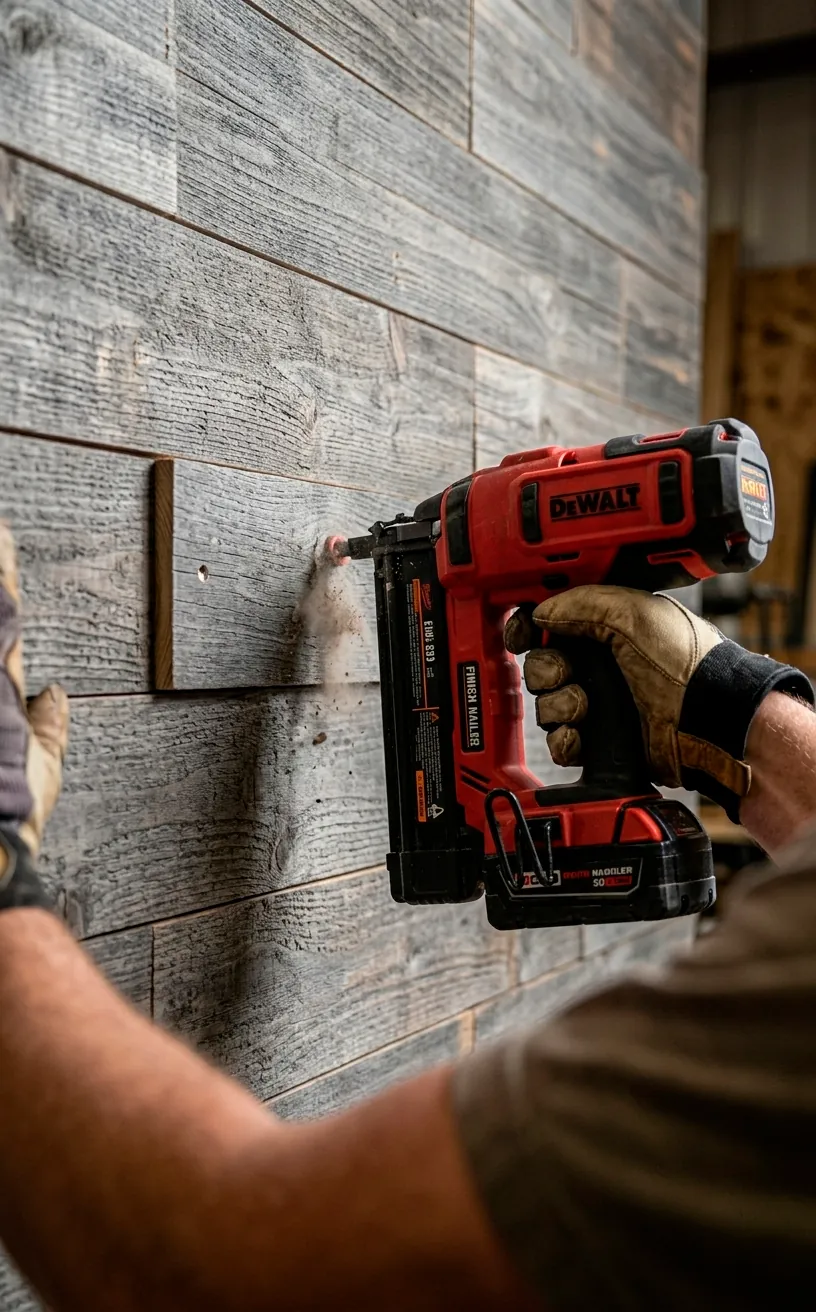
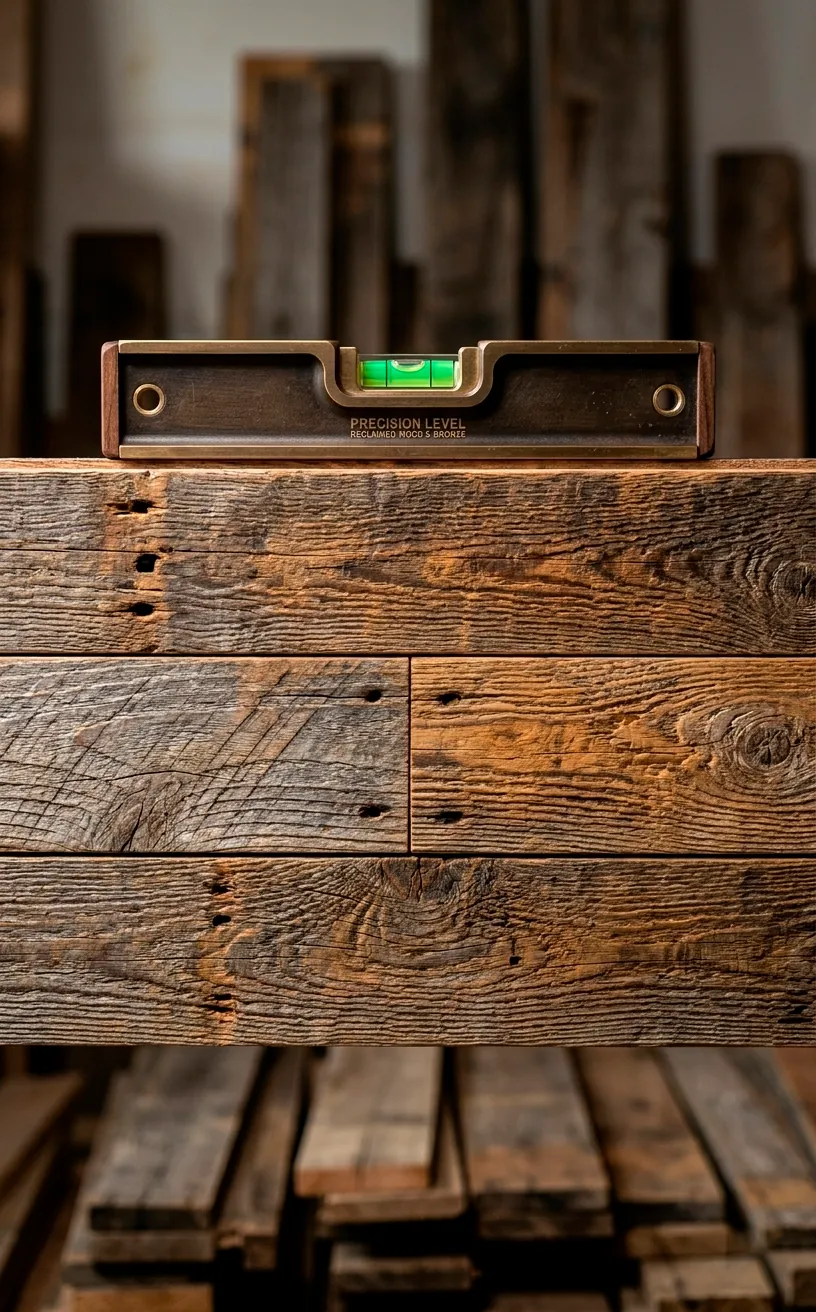
Now for the fun part. You can use a combination of construction adhesive and a finish nailer to secure the boards. Apply a bead of glue to the back of the plank, press it against the wall, and fire a couple of nails into the studs. If your wall isn’t perfectly flat (and let’s be real, whose is?), the adhesive helps fill those small gaps. Start from the bottom and work your way up to ensure everything stays level. Check your progress with a spirit level every three rows. If you get off-track early, the top of the wall will look like a literal sinking ship. Use a miter saw for those end cuts to keep the edges crisp and professional.
Mastering Cable Management
Nothing ruins the “modern” part of modern farmhouse faster than a tangled nest of black wires hanging over your beautiful wood. You have to hide them.
I recommend installing a recessed cable management box behind where the TV will sit.
This allows you to run the power and HDMI cords behind the wood planks and out near the baseboard.
It takes an extra thirty minutes, but the clean look is worth every second.
Why work this hard on a wall just to have it look like a tech explosion?
Cable hiding solutions:
- In-wall power kits
- Brush plate wall inserts
- Surface-mounted cord covers (painted to match if you can’t go behind the wall)
Trust me, your eyes will thank you every time you sit down to watch a show. You want the focus on the wood and the screen, not the spaghetti monster living behind your Xbox.

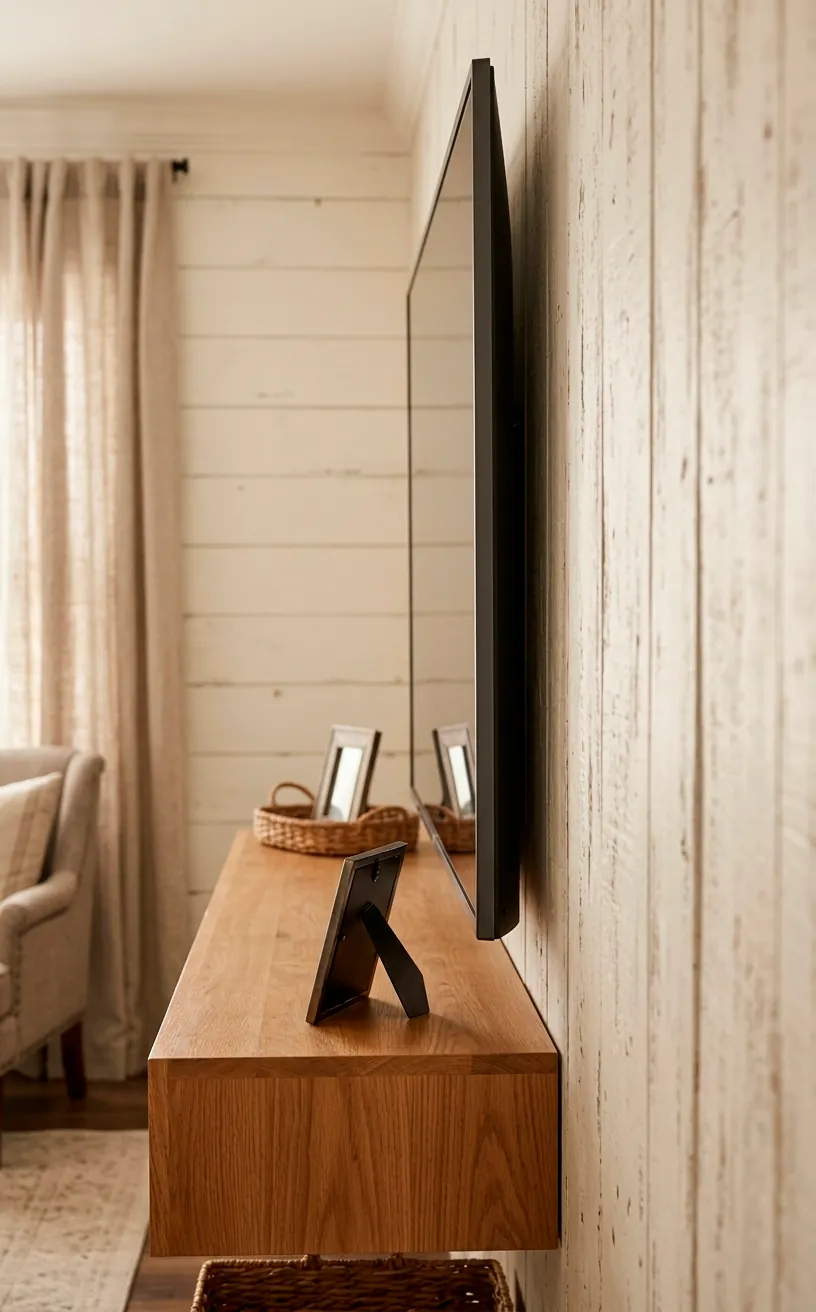
The Final Styling Flourish
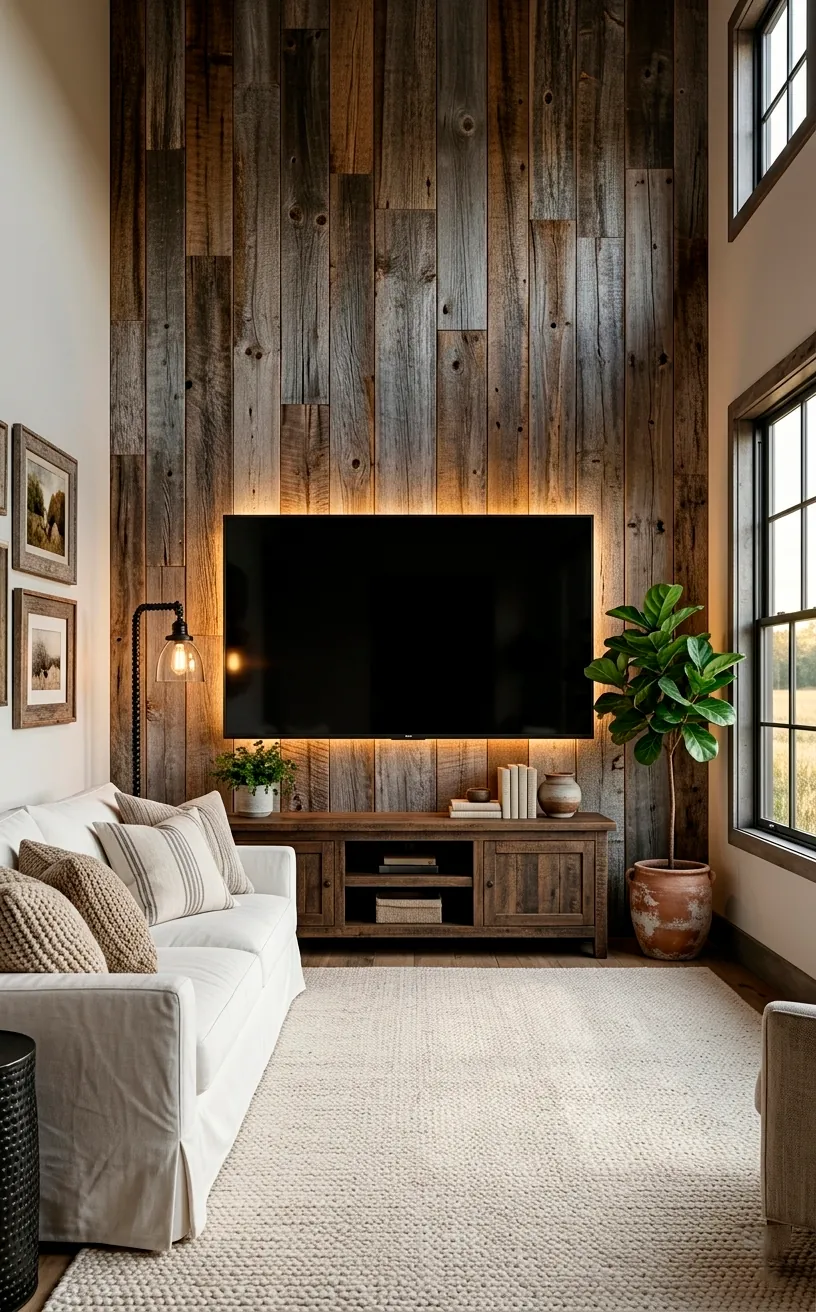
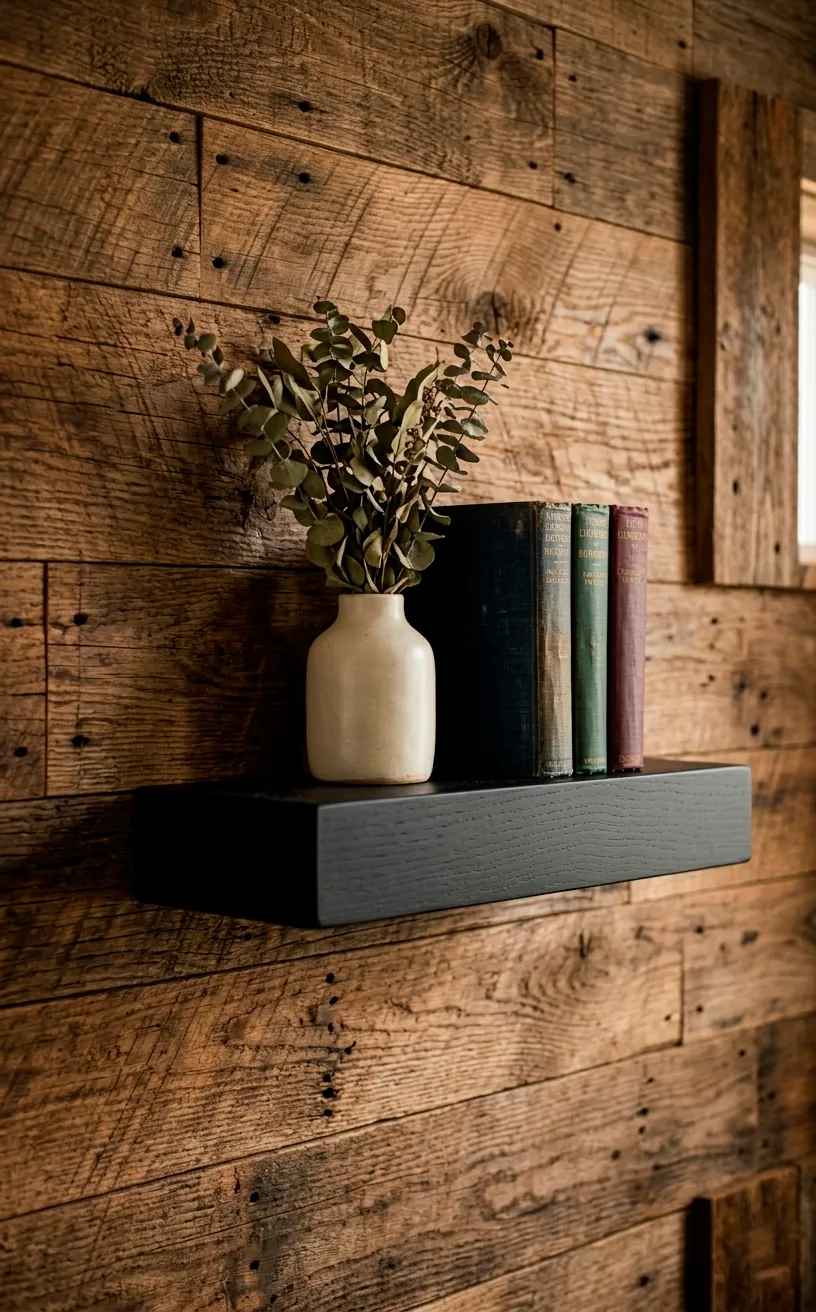
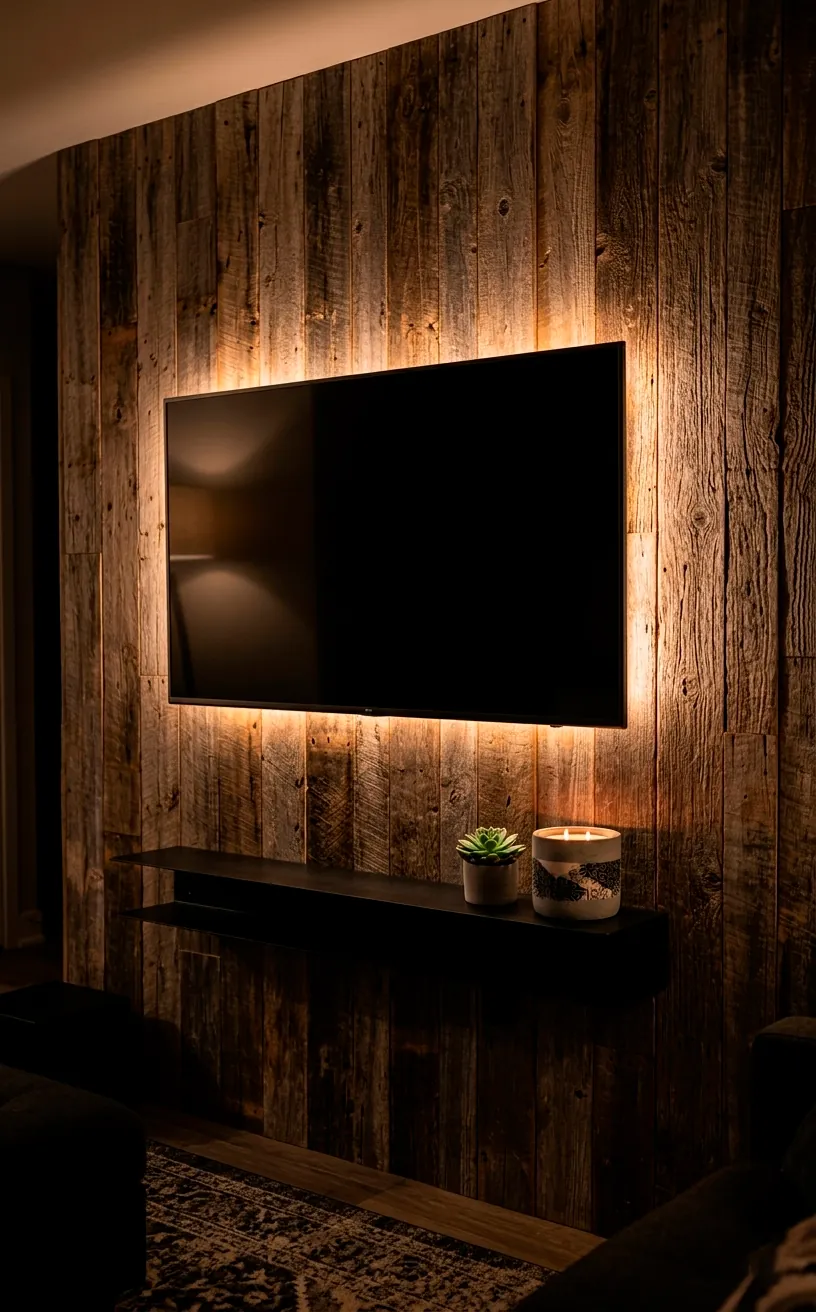
Once the wood is up and the TV is mounted, you need to frame the scene. I love adding a thick floating mantel right below the TV to ground the space. It provides a perfect spot for some greenery or a few matte black candle holders.
Lighting also plays a huge role in making the texture pop. Consider installing some LED backlighting behind the TV or small spotlights in the ceiling aimed at the wood. The shadows created by the rough-hewn surface will look incredible at night. It transforms the wall from a simple project into a high-end design feature that guests won’t stop talking about. Just don’t blame me when everyone starts asking you to build one for them! 😉
Conclusion
Building a reclaimed wood TV wall is the best way to inject soul into a modern home. You have learned how to source the wood, prep the surface, and hide those pesky wires for a professional finish. It is a project that rewards patience and a bit of elbow grease with a stunning focal point. So, are you going with a weathered grey or a warm oak finish for your big project? Let me know in the comments!
Related posts
See AllEarthy Terracotta Sunroom Ideas for a Mediterranean Vibe
Transform your space into a sunny European retreat. Discover simple, earthy terracotta sunroom ideas that bring authentic Mediterranean vibes straight …
Read more15 Playful Memphis Style Attic Loft Ideas with Graphic Shapes
Transform your attic loft with playful Memphis style decor! Discover 15 bold ideas using graphic shapes, vibrant colors, and quirky …
Read more15 Custom Built-In Bed Ideas for a Luxury Kids Room
Ready to transform that chaotic playroom into a high-end sanctuary? Discover 15 jaw-dropping built-in bed ideas that blend luxury, smart …
Read moreA Step-by-Step Guide to Total Laundry Room Organization
Transform your chaotic laundry space into an organized, functional oasis with this step-by-step guide. We share smart storage hacks, sorting …
Read more