














I once watched a massive, vintage gold mirror—the kind that weighs more than a small SUV—slowly peel away from my drywall because I trusted a ‘heavy-duty’ sticky hook. Spoiler: it didn’t end well, and my floor still has the scars to prove it. If you want to avoid the 3 AM heart attack of a crashing masterpiece, you need a real strategy. Ever wondered why some frames just seem to defy gravity while yours are struggling? Let’s make sure your art stays exactly where you put it without leaving your walls looking like a firing range!
Hunting for the Elusive Wall Stud
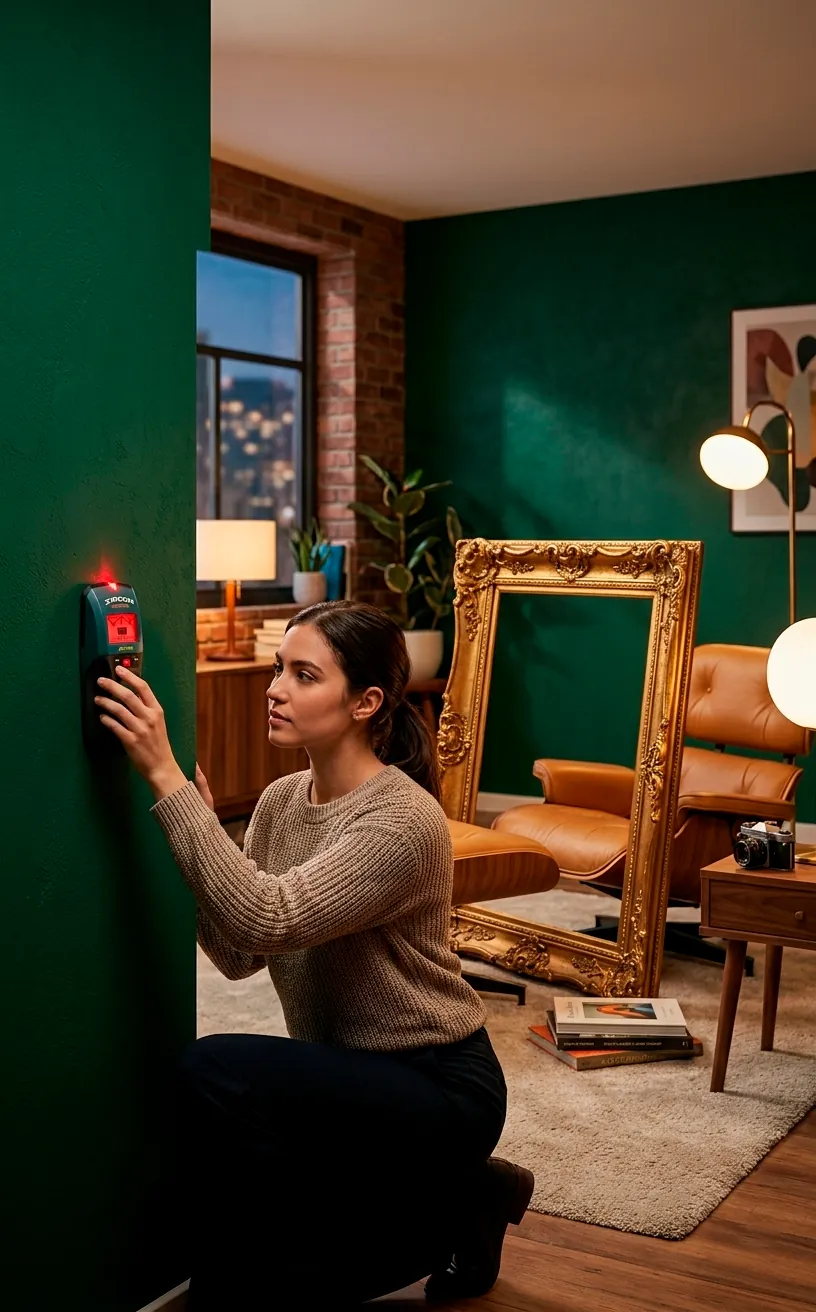
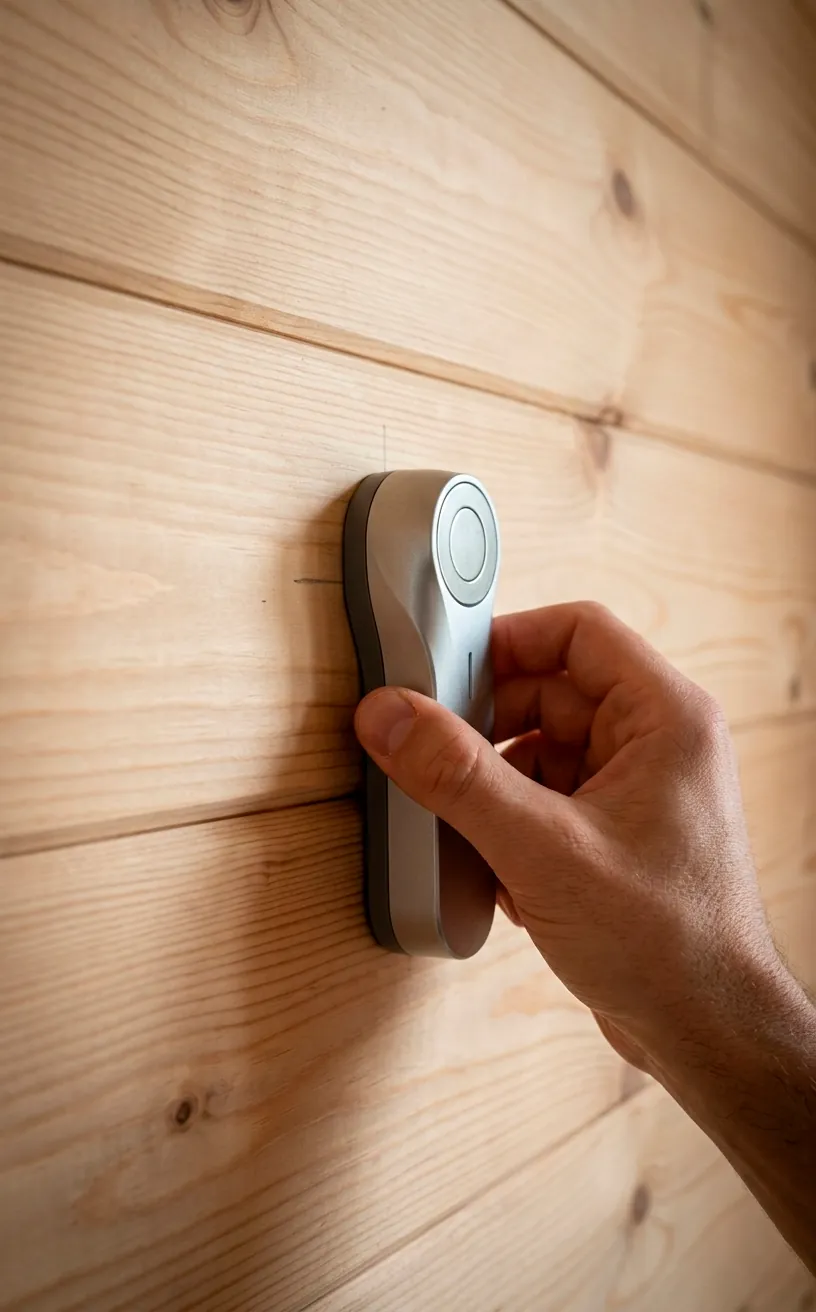
Before you start hammering away like a caffeinated woodpecker, you need to find a stud. Drywall is basically just compressed chalk and paper; it has the structural integrity of a wet cracker when it comes to holding a forty-pound frame. Hanging art directly into a wooden stud is the only way to sleep soundly at night.
I know, stud finders are notoriously finicky and love to beep at literally nothing. If yours is being ‘sus,’ try the magnet trick to find the screws in the drywall. A deep-sensing stud finder is worth every penny, IMO, because hitting solid wood means you don’t have to pray to the DIY gods every time someone slams a door nearby. Does your wall sound hollow or solid? Trust the thud, my friend.
When Studs Go Missing: The Anchor Fix
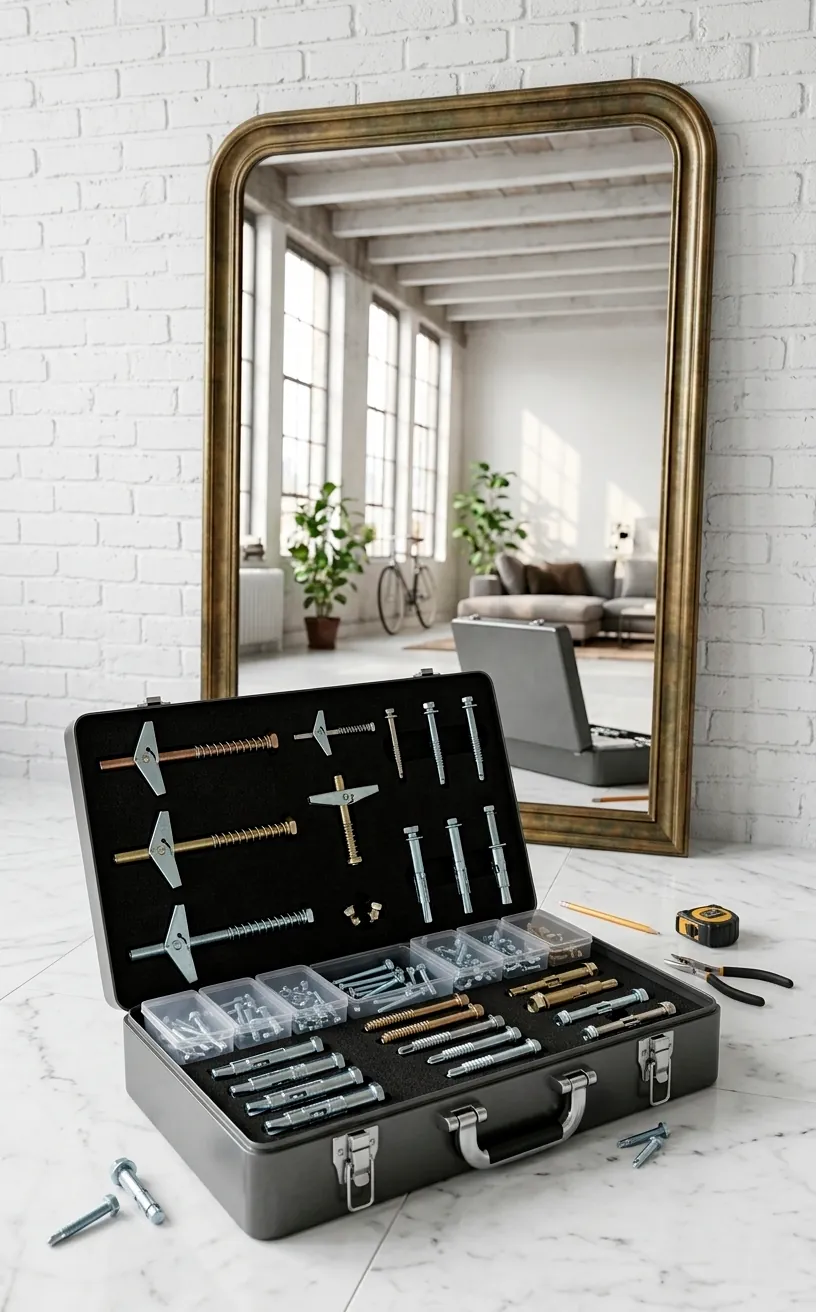
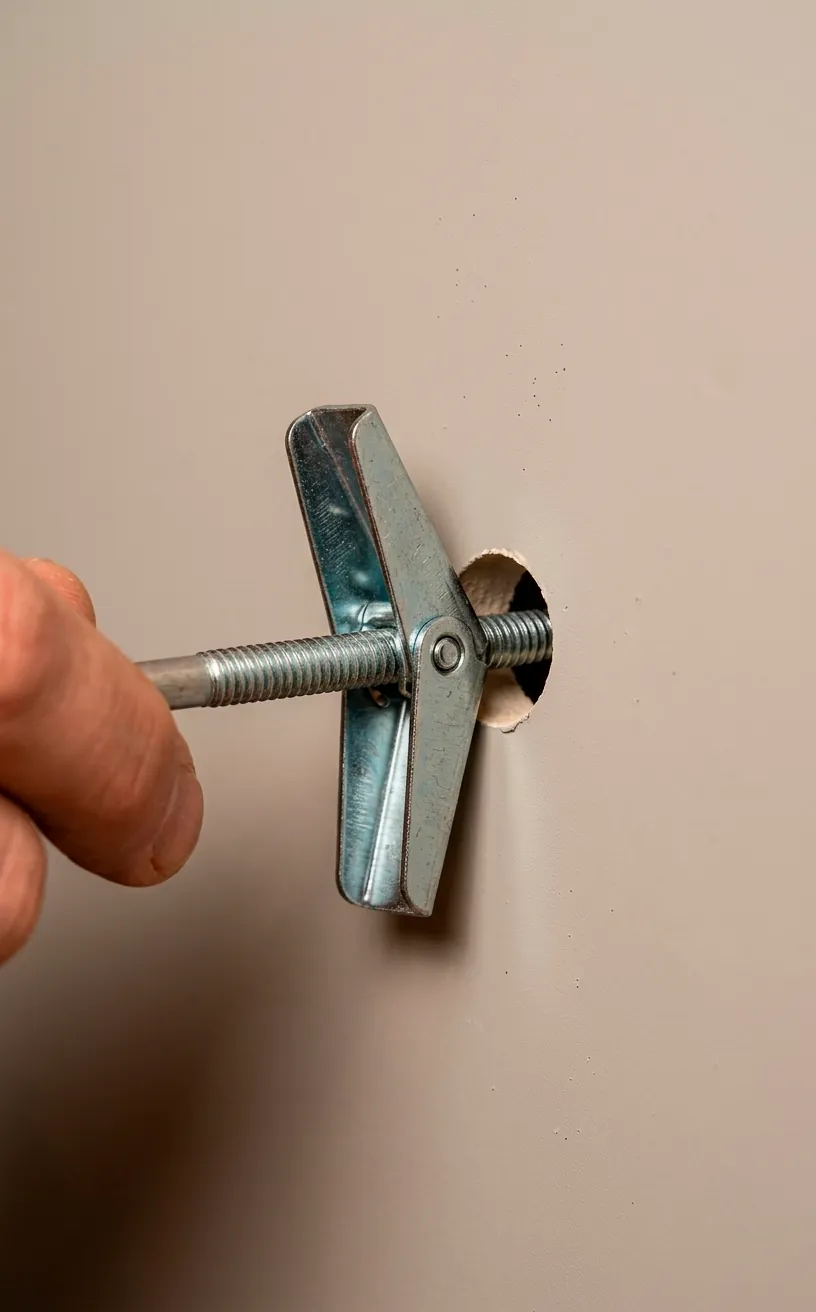
Sometimes the ‘perfect’ spot for your art is exactly halfway between two studs because life is cruel like that. Don’t panic and don’t settle for those flimsy plastic ribbed anchors that come free in the box—they are essentially garbage for anything heavier than a calendar. Instead, reach for high-quality toggle bolts or zinc self-drilling anchors that bite into the wall like a pitbull. These bad boys expand behind the drywall to distribute the weight across a larger surface area, which keeps your wall from crumbling under the pressure. Seriously, skip the cheap stuff; your drywall will thank you for not turning it into a giant hole-riddled mess.
French Cleats: The Professional Secret
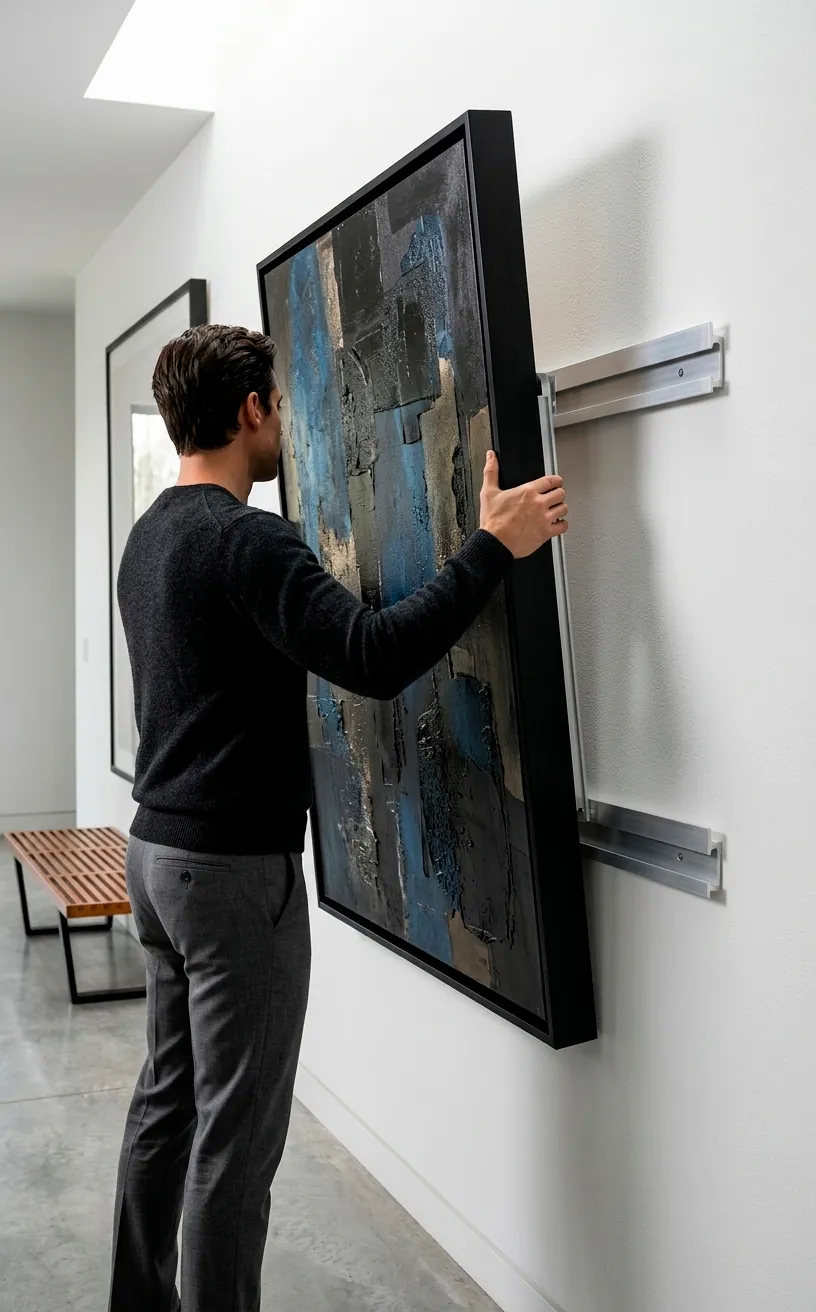
If you are hanging something truly massive, like a headboard or a gallery-sized canvas, you need to know about French cleats. Ever noticed how museums keep those giant pieces perfectly level and flush? It’s not magic; it’s a two-piece interlocking system.
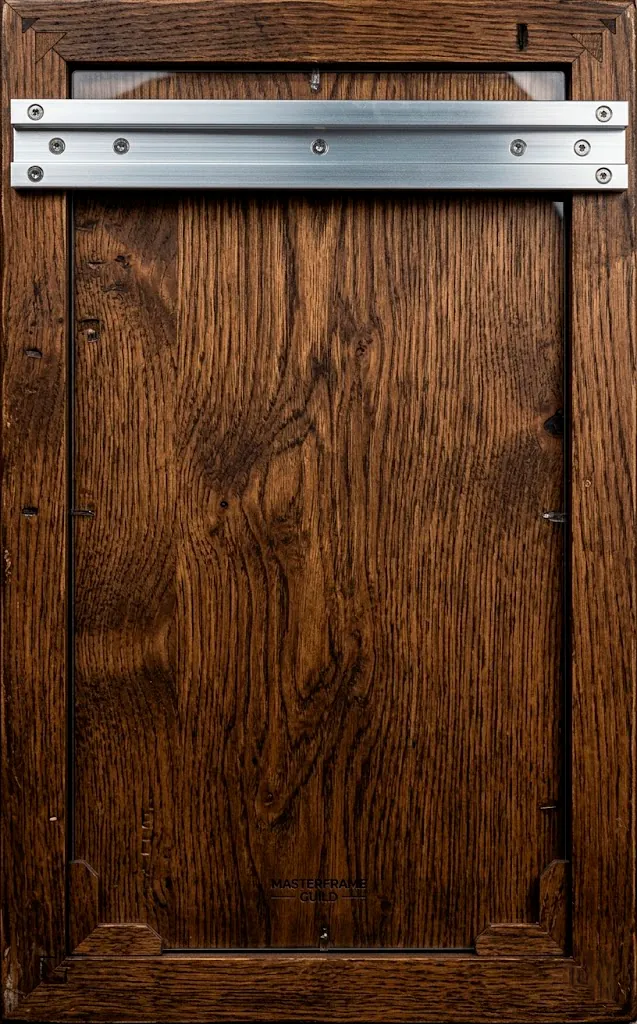
One rail screws into the wall, and the other attaches to the back of your art. They lock together like a puzzle. FYI, this is the ultimate solution for weight distribution because the load isn’t hanging on a single point.
I used these for a heavy oak mirror in my hallway, and it hasn’t budged an inch in three years. Plus, it makes it nearly impossible for the art to hang crooked.
Why struggle with wires and hooks when you can have a solid metal connection? It feels much more secure, and honestly, it looks way cleaner from the side profile.
The ‘No-Mistake’ Painters Tape Trick
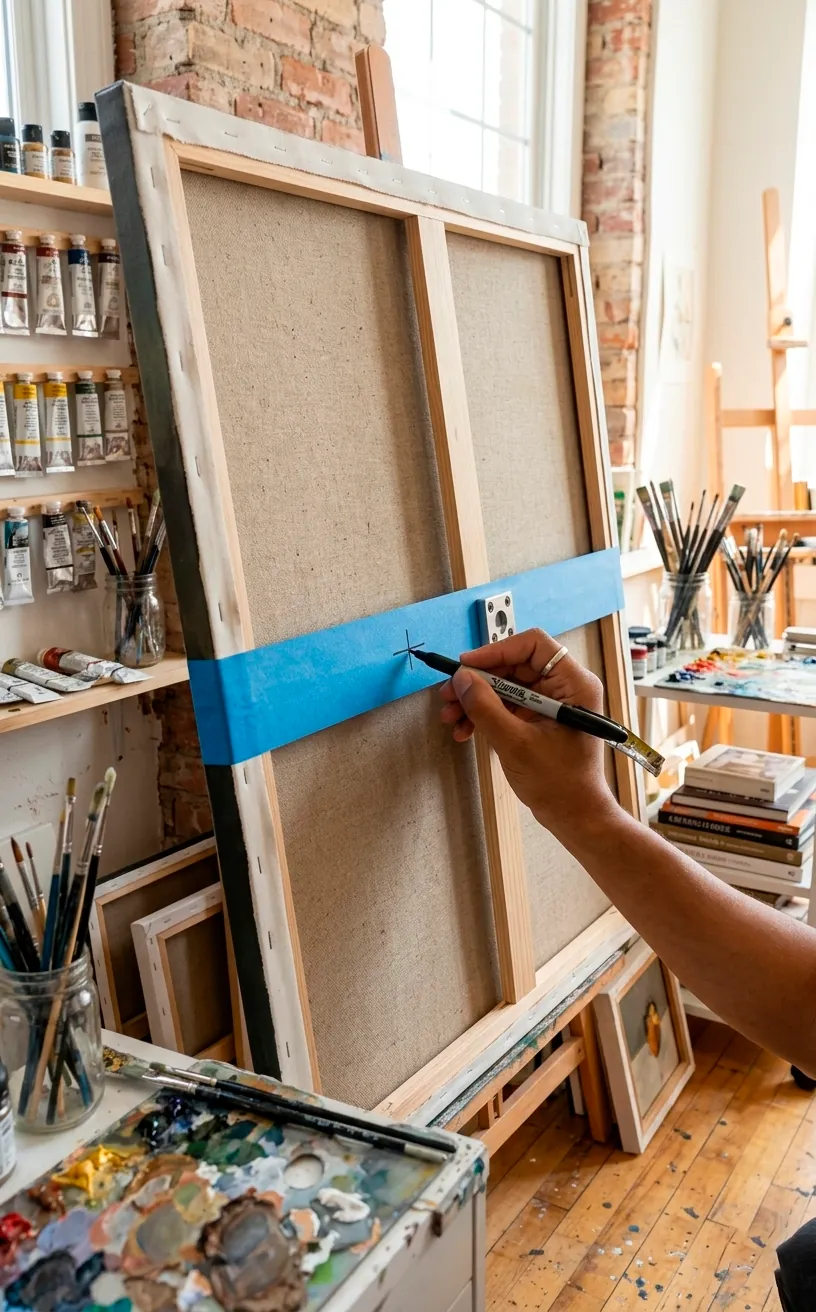
We’ve all been there: you measure five times, drill once, and the hole is still three inches too high. It’s infuriating, right? To save your sanity and your drywall, use a strip of painters tape to map out the hardware on the back of your frame first.
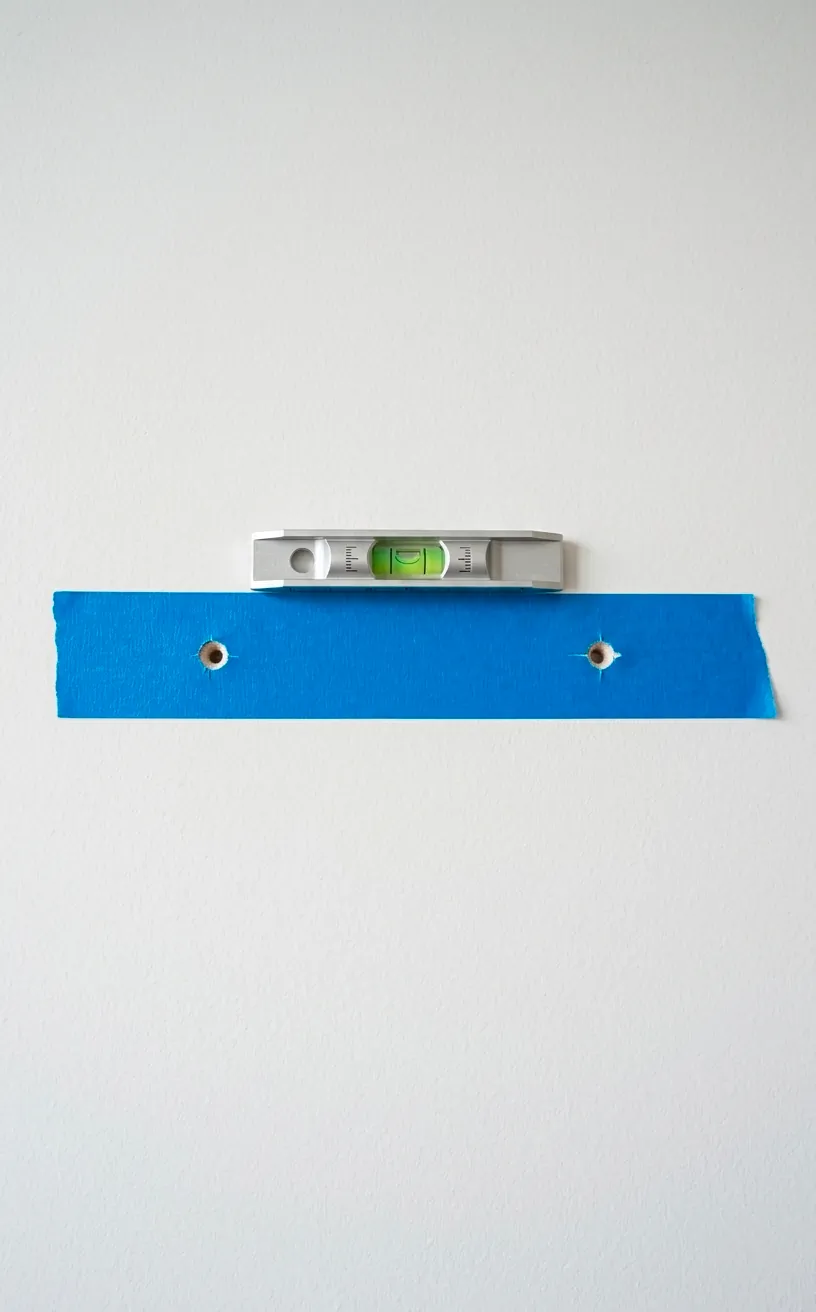
Simply place the tape across the back of the art, mark where the hanging points are, and then move that tape directly onto the wall. You can level the tape easily and drill right through your marks. It’s a literal game-changer for avoiding that ‘Swiss cheese’ look behind your frames. This trick works wonders for heavy pieces with two separate hanging loops—no more guessing games or frustrated sighing! 🎨
Weight Ratings and Healthy Skepticism
Manufacturers love to slap ‘Holds 50 lbs!’ on a tiny box of hooks, but you have to read the fine print. Those ratings usually assume you are mounting into a perfect, brand-new stud under laboratory conditions. In the real world of aging drywall and humidity, you should always over-engineer your hanging setup.
If your art weighs 20 pounds, use hardware rated for 50 or 75. It might seem like overkill, but the peace of mind is worth the extra three dollars at the hardware store.
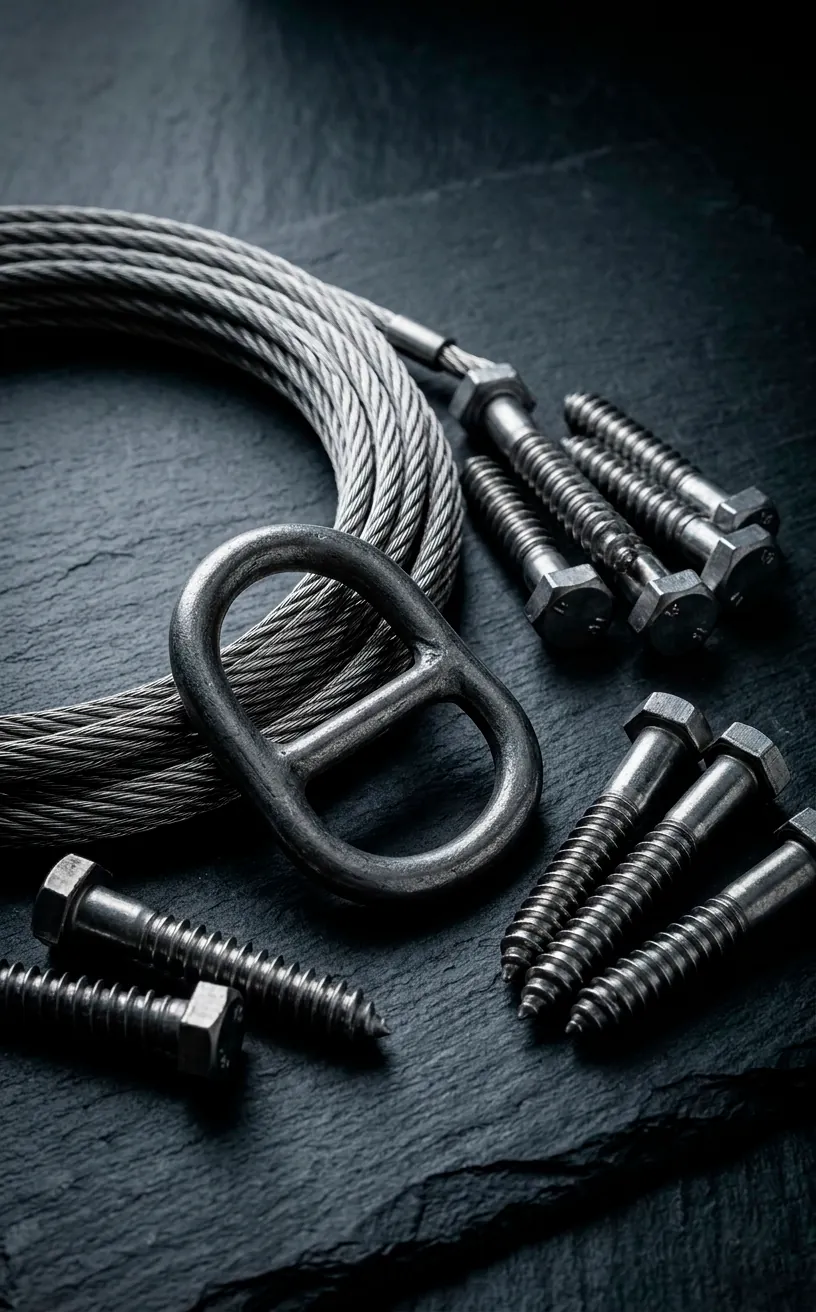
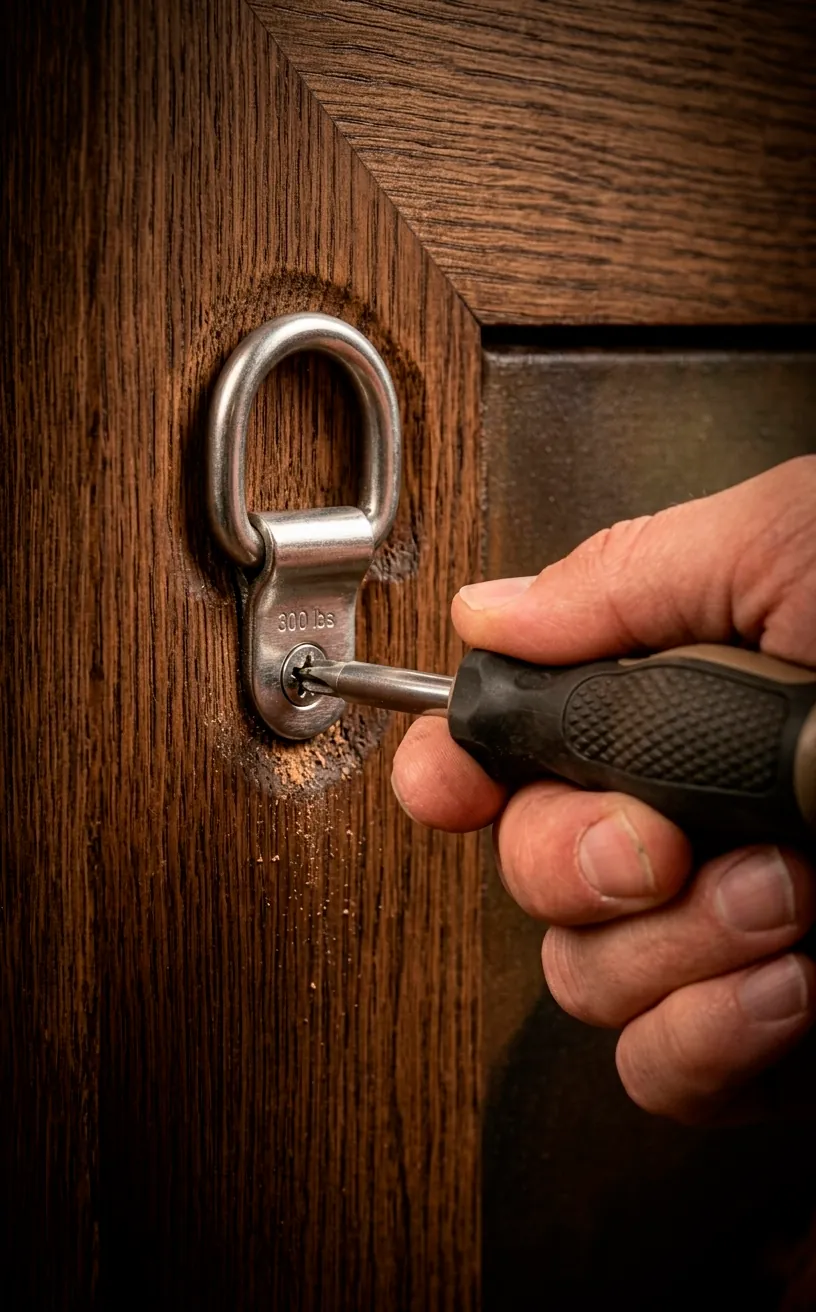
Essential gear for the heavy hitters:
- Solid steel braided hanging wire
- Heavy-duty D-rings instead of flimsy saw-tooth hangers
- Double-headed wall bolts for extra shear strength
Protecting the Finish and the Wall
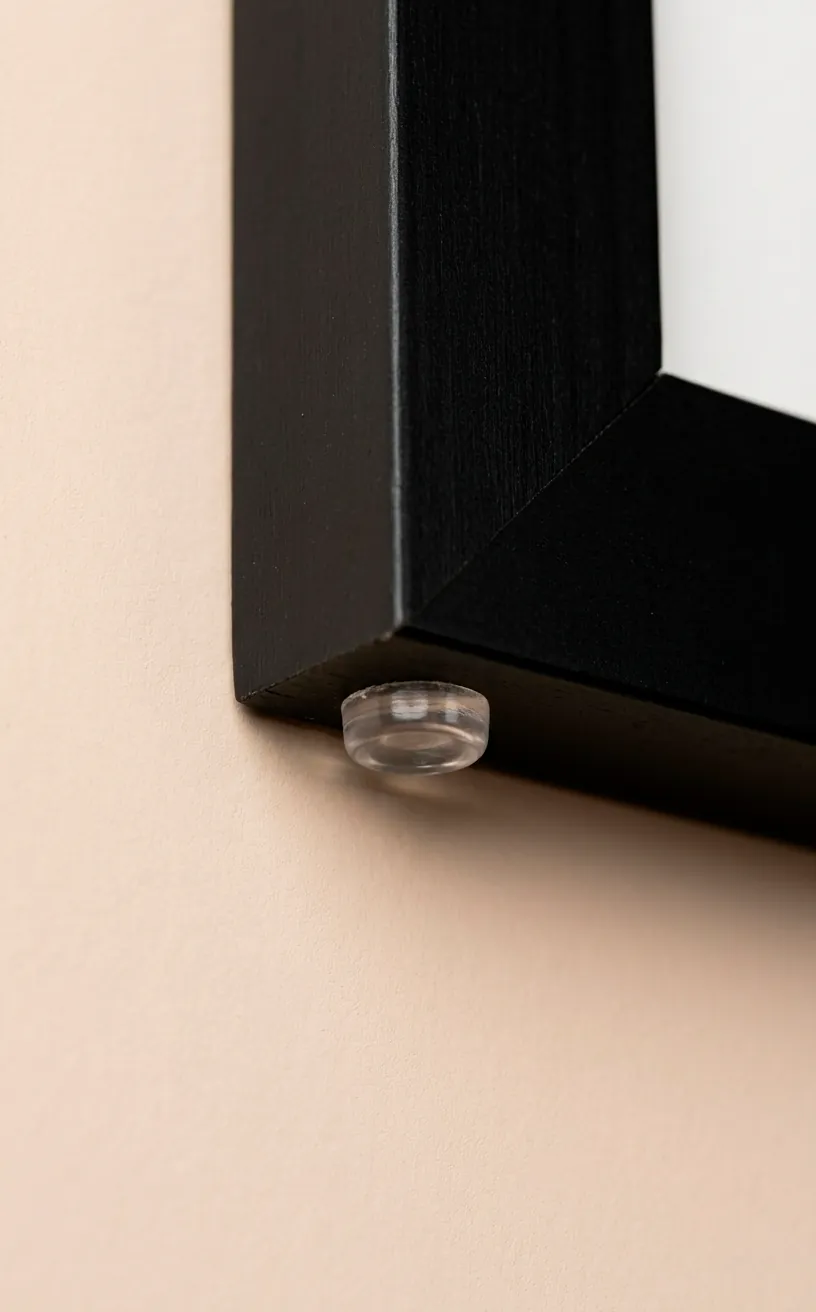
Even if your art stays up, you don’t want it leaving scuffs or weird greasy marks on your paint over time. I always stick small felt pads or rubber bumpers to the bottom corners of my heavy frames. This creates a tiny gap that allows air to circulate and prevents the frame from vibrating against the wall every time the AC kicks on. It also keeps the frame perfectly parallel to the wall, which looks a hundred times more professional. It’s a tiny detail, but it’s the difference between a DIY job and a pro installation. Plus, it stops that annoying tilting that happens when people walk by too fast!
Wrap It Up and Hang It High
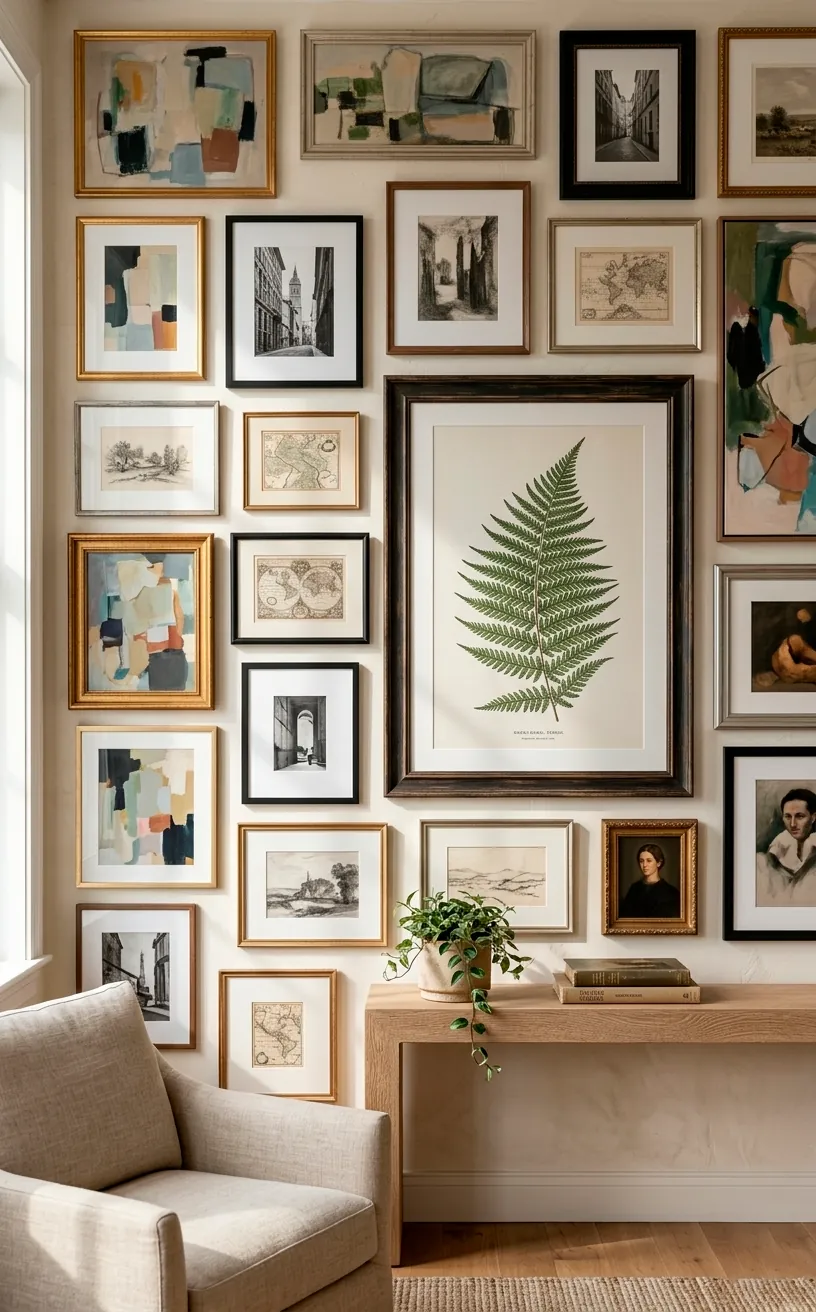
Hanging heavy art doesn’t have to be a gamble with your security deposit or your safety. By finding those studs, using the right anchors, and maybe cheating a little with the painters tape trick, you can transform your space into a legitimate gallery. Remember: over-engineer everything and never trust a tiny nail with a big job! So, which massive piece are you finally going to get off the floor and onto the wall? Let me know in the comments how your project goes—hopefully without any surprise holes! ✨
Related posts
See All15 Vintage Circus Inspired Details for Playful Kids Bedroom Decor
Bring the magic of the big top home! Discover 15 playful, vintage circus-inspired decor details that will transform your kid's …
Read moreThe Complete Guide to Styling a Dining Room Credenza for Everyday Elegance
Give your dining room credenza the ultimate glow-up. Discover easy, elegant styling tips that balance everyday function with show-stopping design.
Read more15 Dried Citrus and Cinnamon Garlands for a Naturally Cozy Kitchen
Forget mass-produced decorations. Transform your kitchen into a naturally cozy, aromatic sanctuary with these 15 beautiful dried citrus and cinnamon …
Read moreThe Dog-Friendly Camper: Designing a Van Interior for Your Pets
Transform your camper van into the ultimate dog-friendly adventure mobile! Discover clever interior design hacks, durable materials, and cozy setups …
Read more