


Let’s ditch the overpriced boutique decor and make something stunning with your own two hands. Crafting your own macramé plant hanger is surprisingly therapeutic, wildly addictive, and much easier than those fancy Instagram reels make it look. Grab a spool of cotton cord and your favorite potted pothos—we are transforming you into a knotting pro today!
Why Macramé Is Your New Obsession
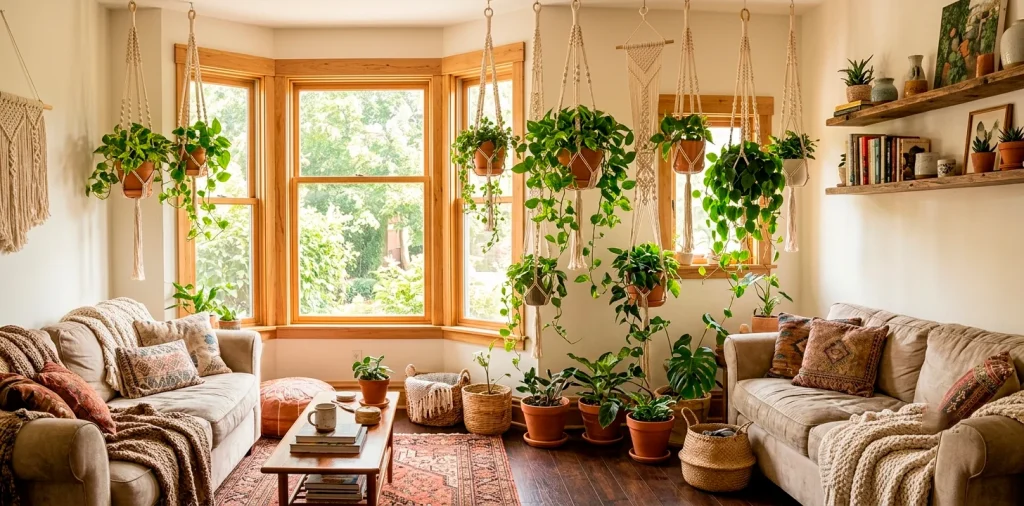
You might think tying knots belongs in a Boy Scout manual, but macramé is pure home decor magic. It elevates your greenery while saving precious floor space. I started knotting during a rainy weekend boredom spike, and suddenly my apartment looked like a bohemian greenhouse. IMO, nothing beats the satisfaction of looking at a thriving philodendron cradled in a hanger you actually wove yourself. Plus, your cats cannot tip over a plant that floats five feet in the air! Ready to untangle the hype? Let’s get into the gear.

Gathering Your Secret Weapon Supplies
Good news first: you do not need a garage full of power tools for this fiber art. You only need three basic items to launch your knotting DIY journey.
Essential supplies list:
- Macramé cord: Grab 4mm cotton rope for dreamy texture.
- Sturdy ring: Wooden or brass rings anchor the piece.
- Sharp scissors: Dull blades shred cord ends into frizz.
Seriously, that is it! Forget fancy measuring tapes for now; your own arm span works wonders as a quick measuring hack. I pull the rope from my fingertips to my opposite shoulder four times per strand.

Setting Up Your Knotting Station
Trying to tie intricate knots on your lap is a fast track to a lower backache. Hang your working ring at eye level before you tie a single knot. You can slip the ring over a simple door knob, an S-hook on a clothing rack, or even a heavy mug tree on your kitchen counter.
Standing or sitting upright keeps your tension consistent across all four working cords. Ever wondered why some DIY hangers look lopsided? Uneven pulling posture is usually the secret culprit! Keep your station stable, put on a killer playlist, and let your hands find their natural rhythm.

Master the Square Knot First
Meet the undisputed king of macramé: the square knot.
You will use four cords for this structure. The outer two do all the dancing, while the middle two hang straight down like lazy couch potatoes.
Cross the left cord over the middle strands to form a number four, then loop the right cord under and through the gap. Pull tight! Repeat the exact same motion starting from the right side to complete one full square knot.
If you forget to alternate sides, your knot will start twisting into a helix. Don’t panic if that happens! We actually use that mistake on purpose in our next step.

The Spiral Knot: Adding That Boho Twist
Remember that twisting helix I just warned you about? Let’s unleash it! To create a mesmerizing spiral knot, simply tie half-square knots continuously from the exact same side. Do not alternate left and right. As you stack five or six knots, the rope naturally coils into a gorgeous DNA-like staircase. Let the rope twist in your fingers; do not fight its natural rotation. I love mixing three inches of straight square knots with four inches of spirals. It creates an expensive, high-end texture that makes friends ask where you bought it. 😉

Building the Basket (Where Your Plant Lives)
Now comes the architectural magic where flat strings become a 3D home for your plant buddy.
Leave a gap of about four inches below your upper decorative knots. Take two cords from one cluster and pair them with two cords from the neighboring cluster. Tie a square knot to join these neighboring groups together.
Work your way around the circle joining all the pairs. This creates a flexible net or basket that expands to hug your ceramic pot snugly. Test the sizing gently with an empty pot first so you do not snap a stem off your favorite fern!

Tying It All Off: The Gathering Knot
Every great story needs a strong ending, and every plant hanger needs a gathering knot. You might also hear crafters call this the wrapping knot. This wrap-around knot secures all your dangling cords at the very bottom beneath the pot.
Form a U-shaped loop with a separate short piece of cord and lay it over your main bundle. Wrap the long end tightly around the entire bundle and through the loop. Pull the top string to suck the loop inside the wrap! Trim the excess fringe cleanly at the bottom for a polished boutique look. It holds up to ten pounds easily, FYI.

Choosing the Right Pot and Plant Buddy
Not all pots play nicely with hanging ropes.
Avoid pots with attached drainage saucers that stick out too far, as they catch on the cords and tilt your plant sideways. Smooth, rounded ceramic or classic terracotta vessels slide into macramé nets effortlessly.
Trailing plants are born for this stage. English ivy, heartleaf philodendrons, and string of hearts spill over the cords like living waterfalls.
Upright plants like snake plants look slightly awkward trapped inside ropes. Give your hanging beauties room to cascade gracefully. For more foolproof greenery ideas to fill your new creations, check out this guide to low maintenance container garden.

Rookie Mistakes I Made So You Don’t Have To
My very first hanger ended up three feet shorter than I planned because I underestimated how much cord square knots devour. Always cut your cords at least six to eight times longer than your desired finished length. You can easily trim extra string at the end, but you cannot magically glue cut rope back together! Another classic blunder is pulling knots with inconsistent muscle force. If you tie one knot while hyped on espresso and the next while sleepy, your basket will look warped. Keep your tension steady, relax your shoulders, and trust the process.

Styling Your Hanging Jungle at Home
Now that you crafted a gorgeous boho artifact, where do you hang it? Cluster hangers of varying lengths in an empty room corner to create instant vertical drama. Hang one low at chest height and another high near the ceiling to draw the eye upward.
Ceiling hooks screwed directly into ceiling joists offer the safest support for heavy watered planters. If you rent your home, sturdy curtain rods or tension poles make fantastic damage-free hanging bars. If you want your suspended jungle to smell as amazing as it looks, explore our guide on 15 fragrant balcony plants that naturally freshen your living areas.

Conclusion
You officially graduated from rope-tangler to macramé artist! Crafting your own macramé plant hanger brings effortless texture, airborne greenery, and serious bragging rights into your home. Grab your scissors, pick out your favorite trailing plant, and start knotting today. Which room are you decorating first? Let me know in the comments!
Related posts
See AllHow to Fold Napkins for an Elegant Winter Dinner Party
Ready to impress your dinner guests this winter? Discover simple, elegant napkin folding techniques that transform any table into a …
Read moreThe Ultimate Guide to Fall Kitchen Decor for a Warm Gathering Space
Give your kitchen that cozy autumn glow. Discover easy, beautiful fall decor ideas that turn your cooking space into the …
Read more20 Industrial Chic Accents to Refresh Your Spring Home Decor
Spring meets factory-loft vibes! Refresh your home with these 20 industrial chic accents, from raw metal finishes to edgy lighting. …
Read moreThe Complete Handbook for Creating a Functional and Airy Van Life Interior
Struggling to make your camper van feel spacious? Learn how to design a highly functional, bright, and breezy interior that …
Read more