


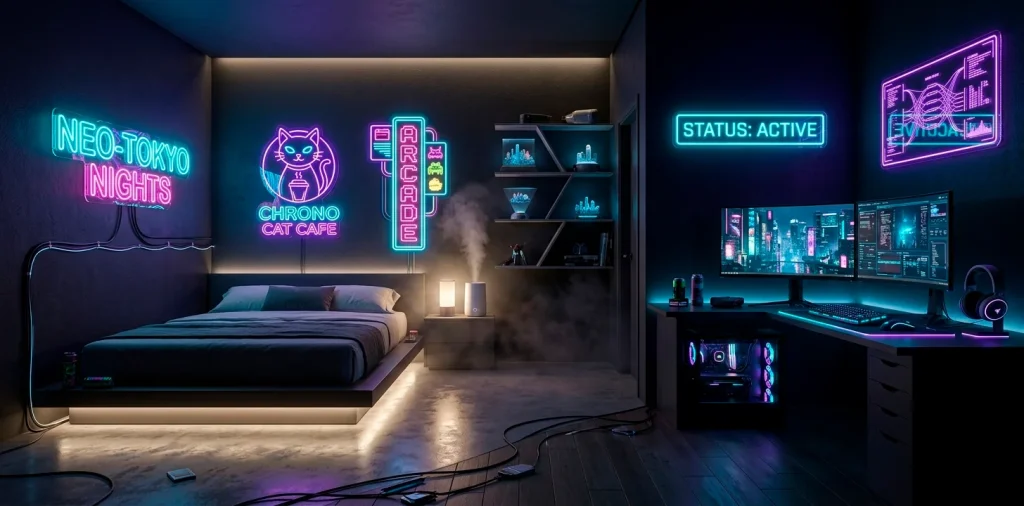

You don’t need a massive budget or a degree in electrical engineering to turn your sleeping quarters into a scene from a sci-fi blockbuster. I spent years obsessing over light diffusion and color theory just so you don’t have to live in a dark cave or a boring beige box. Grab your favorite neon glow and prepare to level up your space. We are going beyond the basic ‘gamer vibe’ and heading straight into a high-tech, low-life aesthetic that would make any android dream of electric sheep. Ready to light things up?
Layering Contrasting Colors
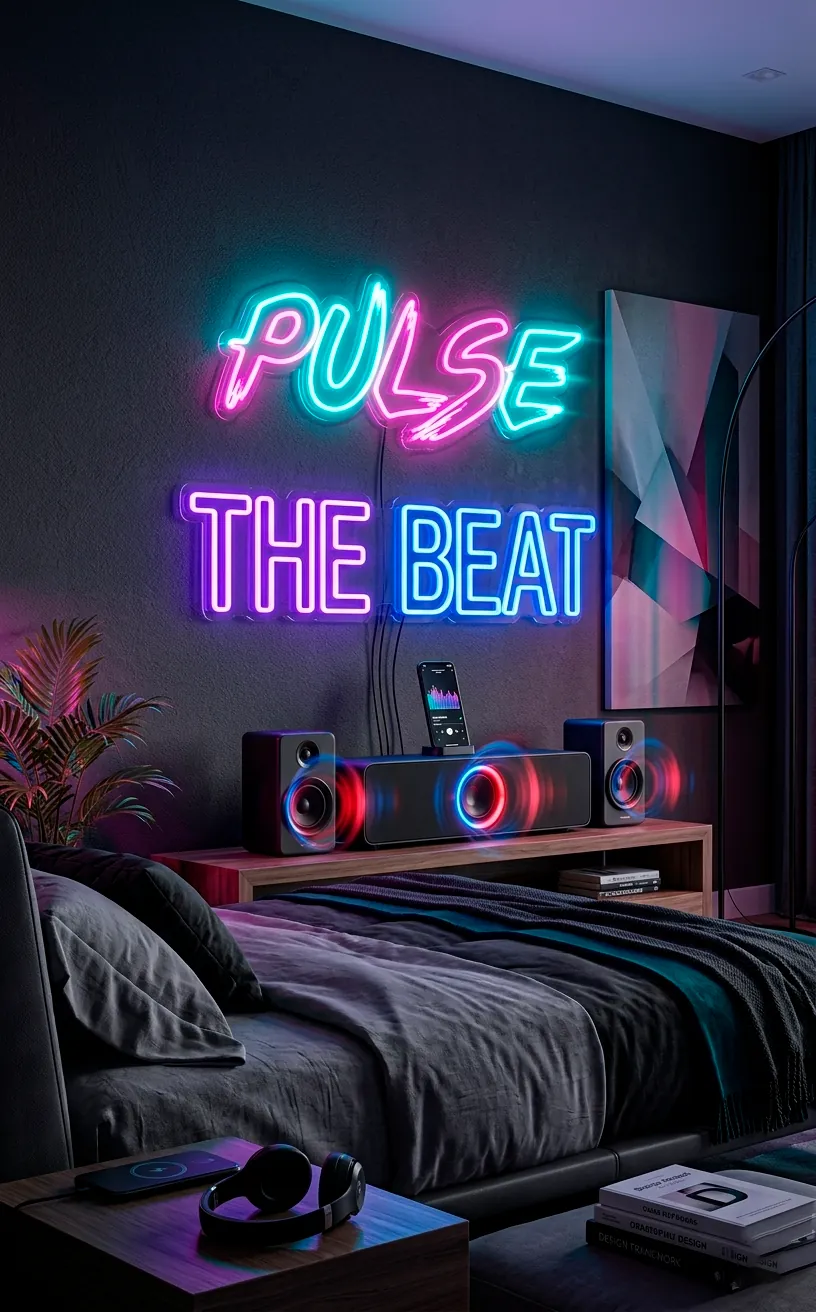
Most people buy one pink sign and call it a day, but I find that boring. You should overlap a cyan sign behind a magenta one to create that classic ‘biseual lighting’ effect that screams futuristic tech. It adds a depth that a single color simply cannot touch.
Ever tried mixing warm amber with deep violet? The contrast mimics a sunset over a smog-filled dystopia, which is exactly the mood we want. This technique turns a flat wall into a 3D light sculpture that keeps your eyes moving.

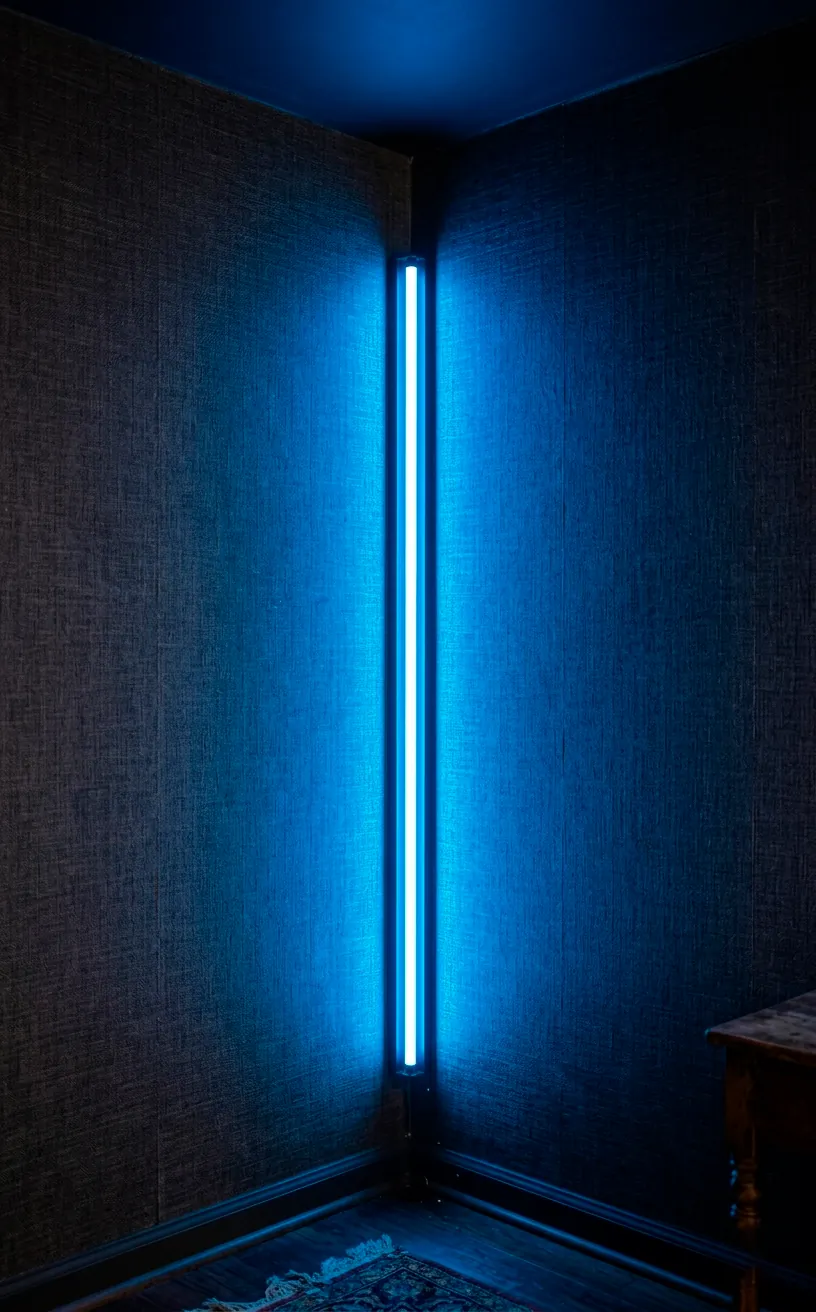
Deep Corner Glow Placement
Stop putting signs in the middle of the wall like they are family portraits. I tuck mine into the tightest corners possible. This makes the light bounce off two surfaces simultaneously, doubling your illumination for the price of one sign. IMO, it makes the room feel much larger because it hides the sharp edges of the architecture in a neon haze. Just make sure you aren’t blocking the power cable or you’ll be staring at an ugly black wire all night.
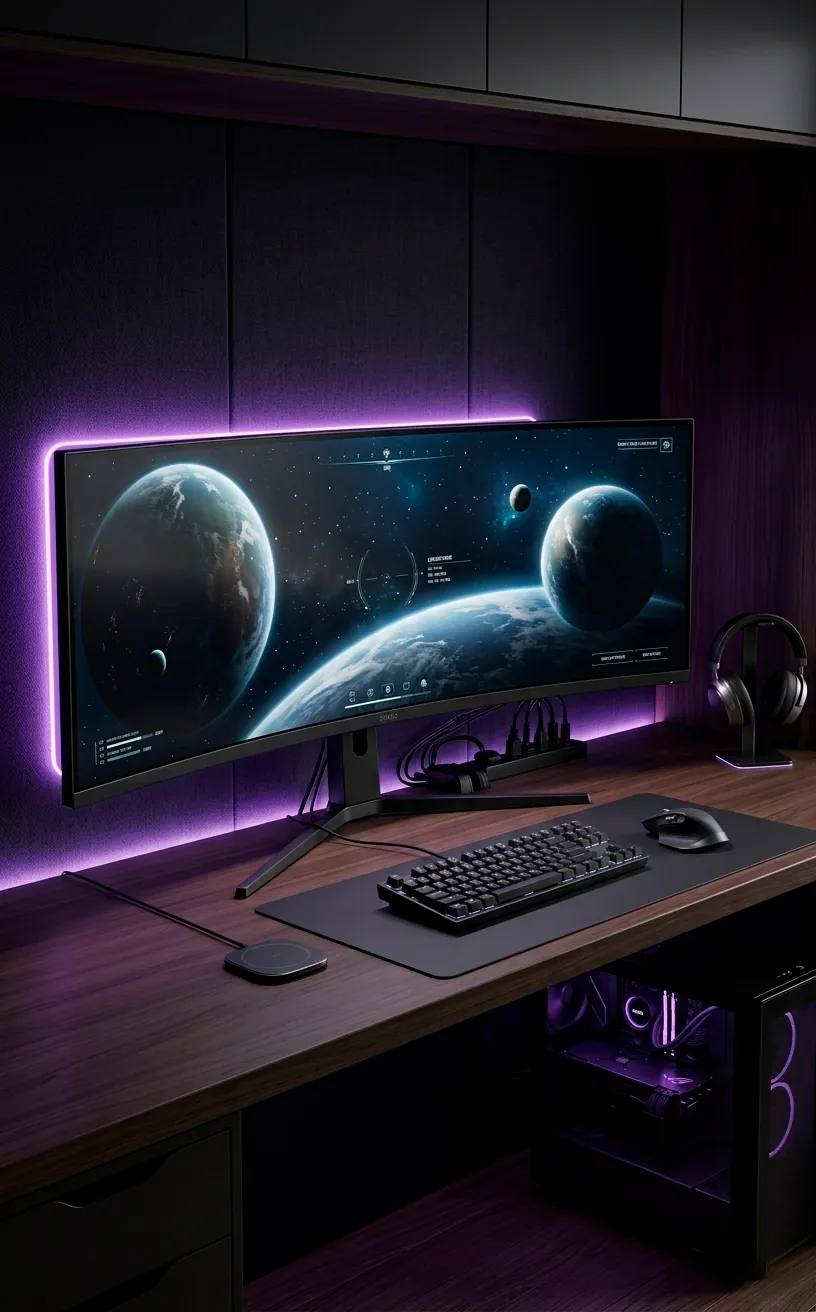
Monitor Backlighting Mastery
Your eyes will thank me for this one. I always mount a small neon sign or a dense LED strip directly behind my main monitor. This reduces eye strain while giving your desk that ‘command center’ energy. Why settle for a plain desk when you can have a halo of light framing your digital world?
Setting up the right backlight involves a few steps:
- Measure the back of your screen to ensure the sign doesn’t peek out awkwardly.
- Use adhesive cable clips to keep everything tight.
- Choose a color that contrasts with your desktop wallpaper.
- Sync the brightness with your room’s main ambient light.
I personally use a soft white or a dim orange for this. It keeps the focus on the screen but still adds that necessary futuristic flair. Creating a clean tech wall is basically the same principle, just on a larger scale.
Does your setup look like a NASA cockpit yet? If not, you probably need more lumens behind that panel.
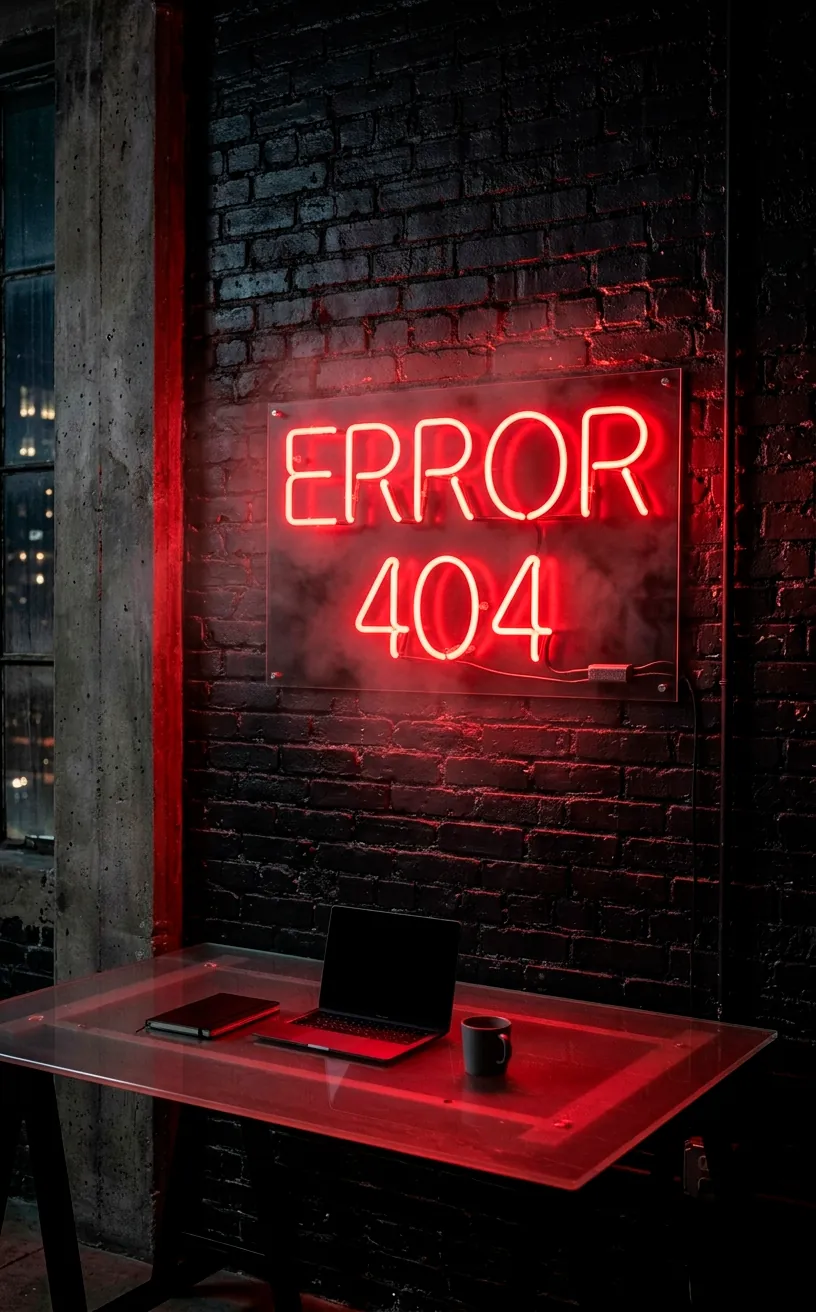
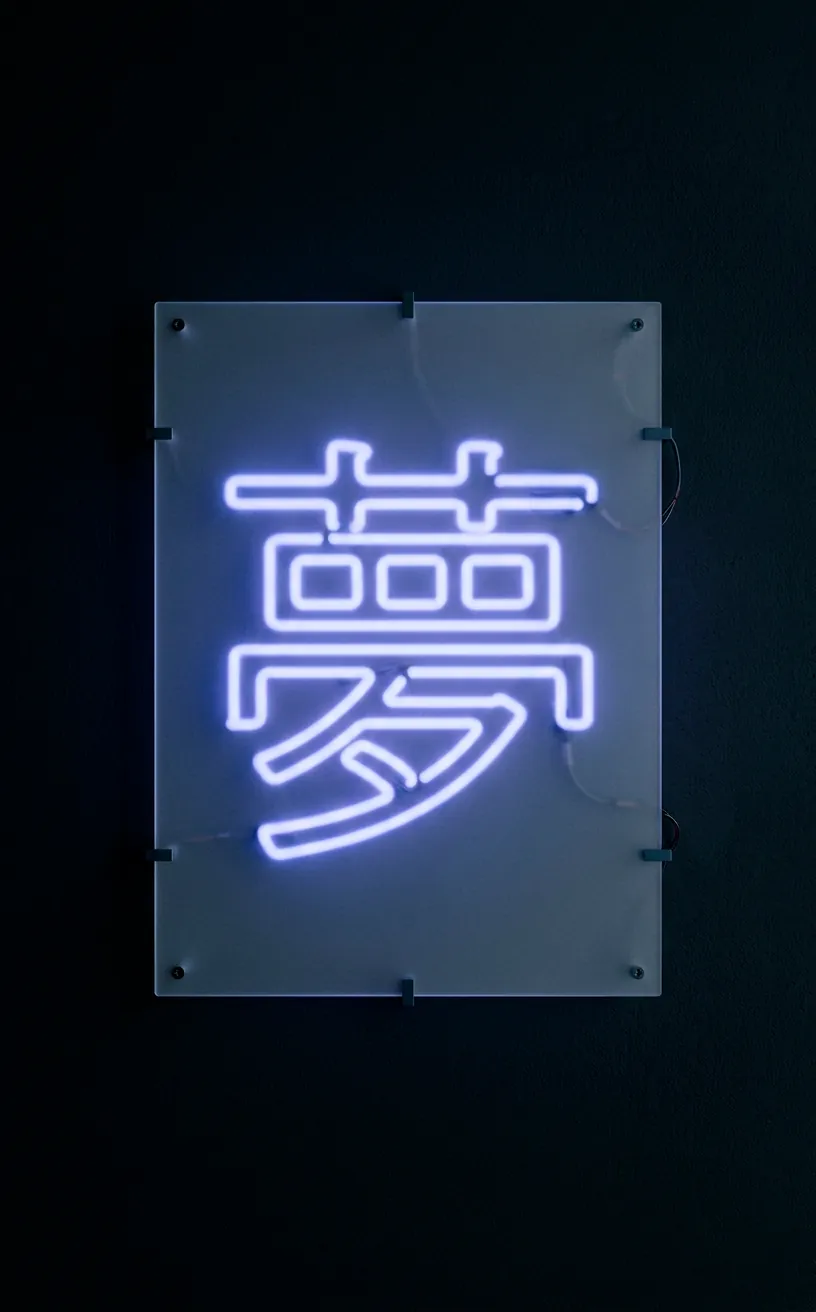
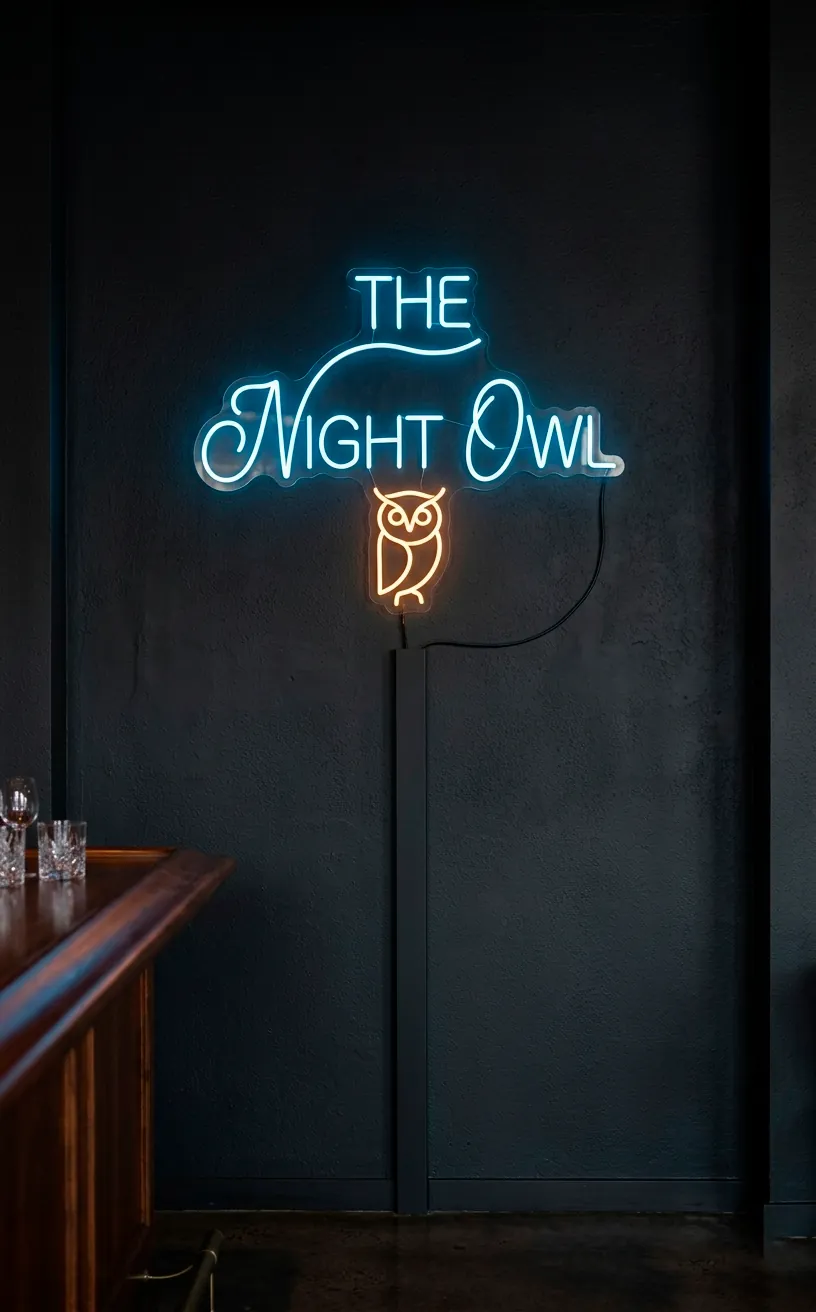
Custom Quote Personalization
Nothing says ‘I live in 2077’ like a custom sign that says something incredibly niche or cynical. I ordered a sign that simply says ‘ERROR 404’ in flickering red light. It matches my personality on Monday mornings perfectly. Custom signs allow you to dictate the vibe without relying on generic designs like coffee cups or stars.
Go for a font that looks like retro computer code or a jagged handwritten scrawl. It adds a human touch to an otherwise cold, tech-heavy room. FYI, red light is actually better for your sleep cycle than blue, so keep that in mind for your late-night scrolling sessions.
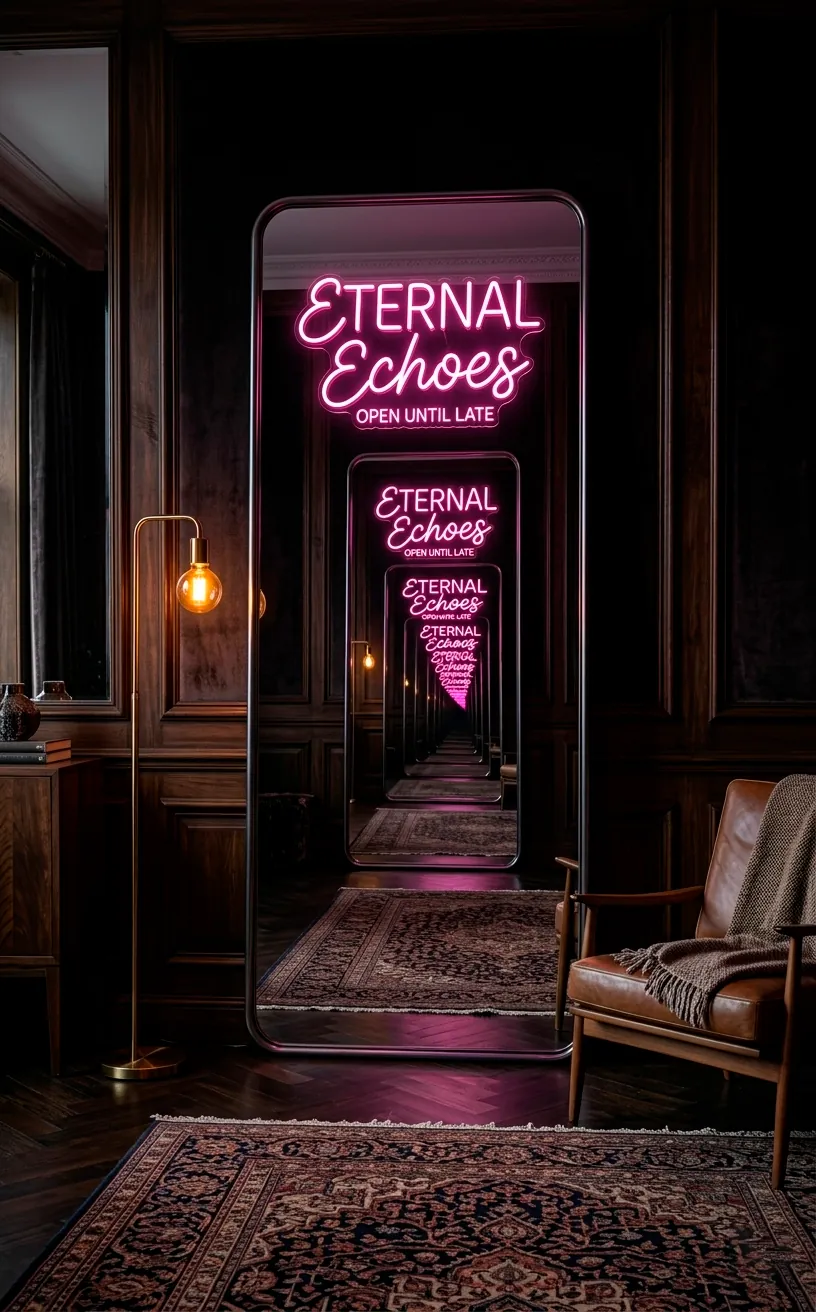
Reflective Mirror Illusions
I love using mirrors to trick the brain into thinking there are twice as many lights as there actually are. Place your neon sign directly opposite a full-length mirror. This creates a recursive loop of light that adds incredible depth to a small bedroom.
It’s basically a cheat code for aesthetics. You get a massive visual impact for the cost of a single sign. Plus, the reflection softens the light, making it look more like a portal and less like a plastic tube on the wall. Ever wondered how those fancy futuristic clubs look so huge? Mirrored neon is the secret sauce.
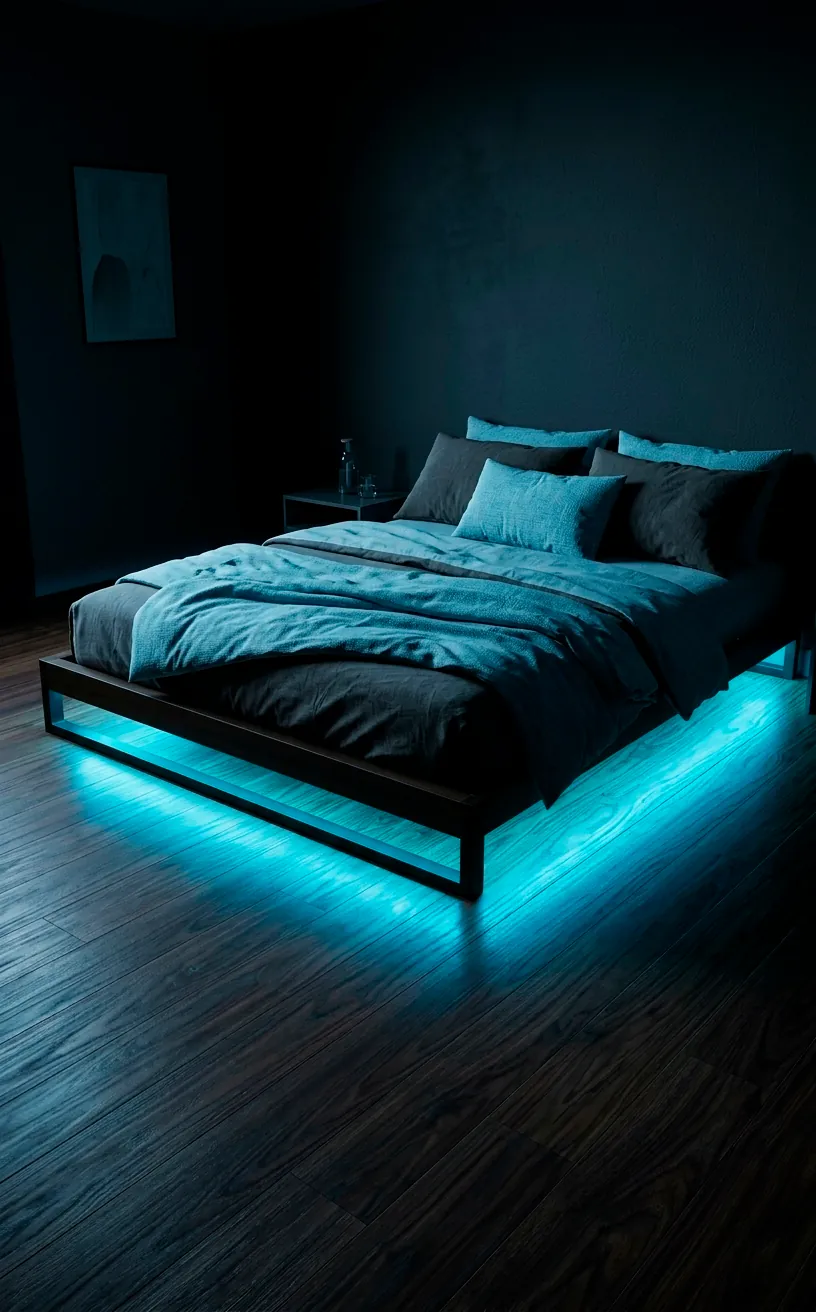
Floating Under-Bed Glow
I think every cyberpunk bed should look like it’s about to take off into orbit. Mounting LED neon strips along the underside of your bed frame creates a ‘hover’ effect. It is the ultimate flex for a bedroom makeover. Stick to cool colors like ice blue or deep emerald for that high-tech laboratory feeling. It also serves as a great nightlight so you don’t stub your toe during a midnight snack run. Just hide the controller box under the frame so it doesn’t ruin the illusion of futuristic levitation.
Layering Over Acrylic Panels
Mounting a sign directly to the wall is fine, but mounting it to a semi-transparent acrylic panel is better. I use smoked or frosted acrylic behind my signs to diffuse the light further. This prevents that ‘hot spot’ look where the LEDs are too bright in one area.
It gives the light a softer, more professional glow that looks like it belongs in a high-end concept art piece. You can even scratch the acrylic to catch the light and create ‘glitch’ effects. It’s a bit of extra work, but the results are undeniably superior to a bare wall.
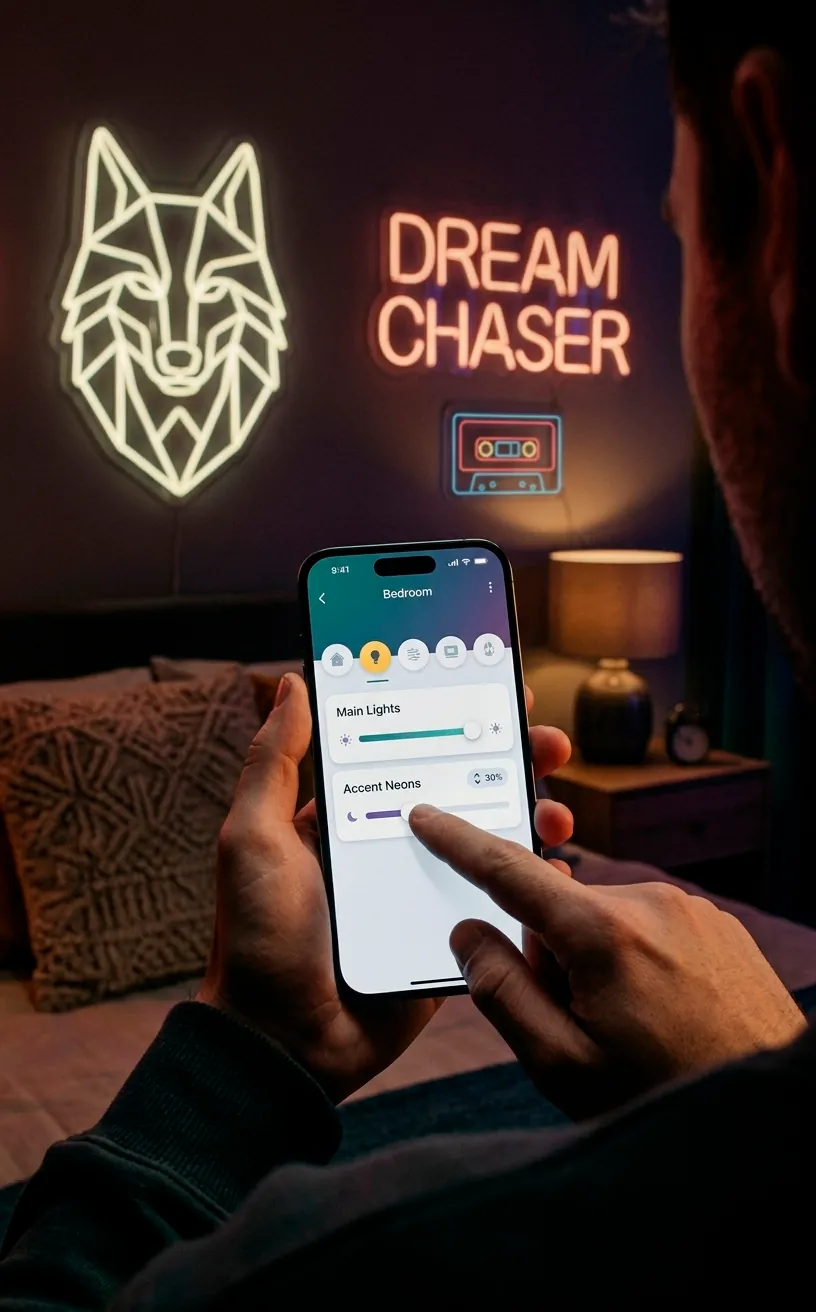
Smart Home Dimmer Integration
Please, I beg you, do not run your signs at 100% brightness all the time. You’ll burn your retinas and ruin the vibe. I connect all my neon LEDs to a smart dimmer system. This allows me to drop the brightness to 10% for a moody, late-night atmosphere.
Smart integration lets you:
- Schedule lights to turn on at sunset.
- Voice-control your ‘Cyberpunk Mode’ via Alexa or Google.
- Group multiple signs together for synchronized color shifts.
- Dim the lights automatically when you start a movie.
Using a smart plug is the easiest way to modernize older signs. I found that a dim, pulsing red glow is much more relaxing than a blinding static white light. Why live in the future if you still have to flip a manual switch like a caveman?
Setting these routines takes five minutes but improves your life daily.
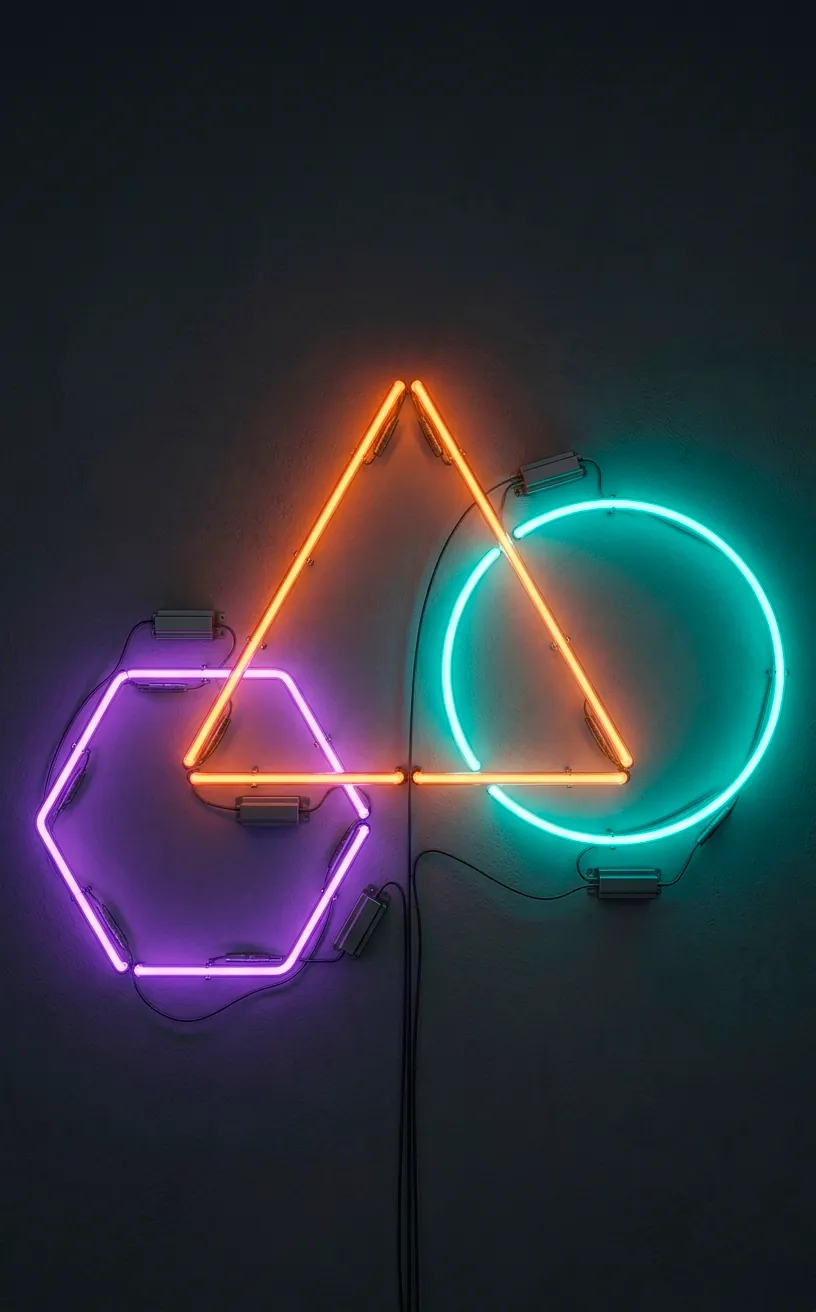
Mixing Geometric Shapes
I suggest ditching the complicated shapes and sticking to simple geometry for a cleaner look. I love mixing triangles, circles, and hexagons in different neon colors across a single wall. It looks like a futuristic UI or a motherboard layout. It’s much more ‘high-tech’ than having a giant neon flamingo in your bedroom. Keep it sharp and keep it simple for that industrial cyberpunk edge.
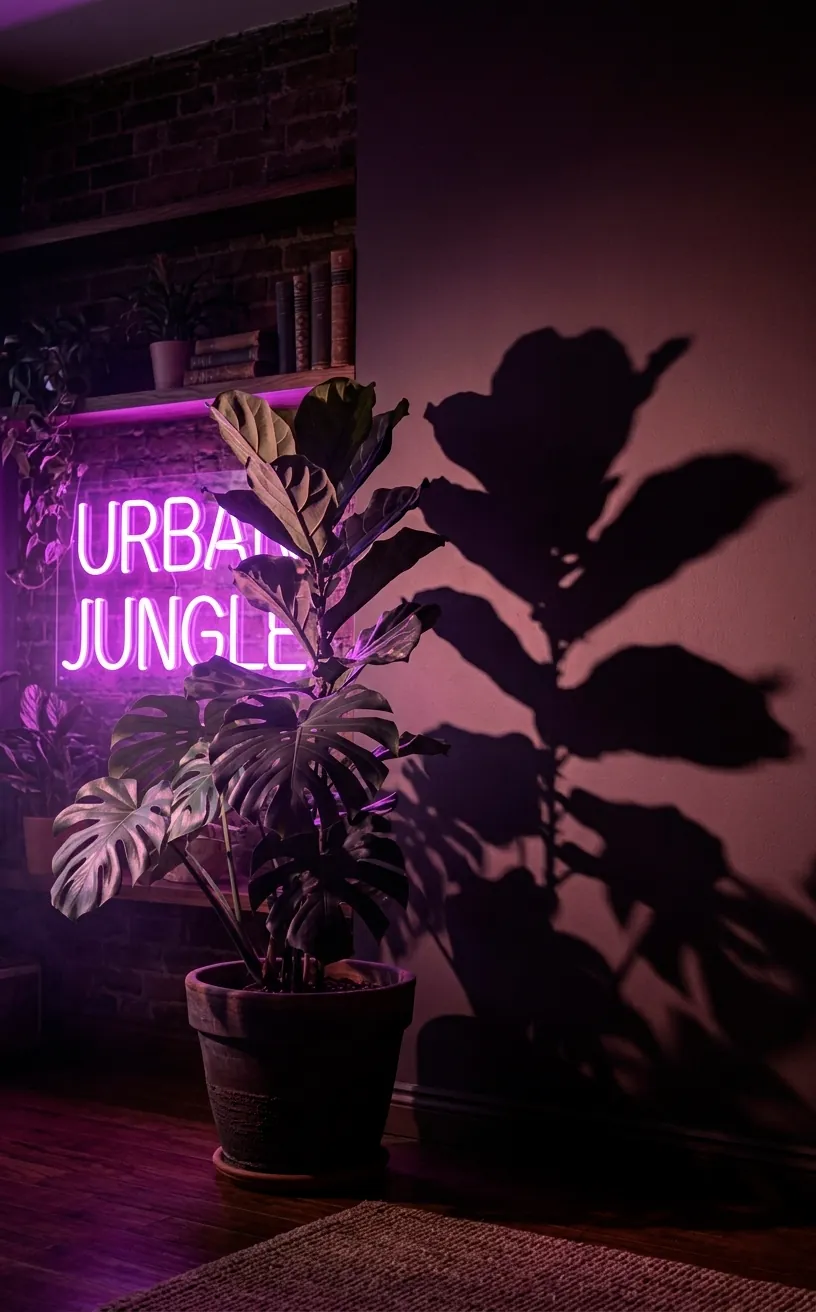
Botanical Shadow Play
Cyberpunk isn’t just metal and wires; it’s about the clash between tech and nature. I place large leafy plants, like a Monstera or a snake plant, directly in front of my neon signs. The light casts massive, distorted shadows of the leaves across the room.
It creates a ‘Neo-Tokyo alleyway’ feel that is incredibly moody. The green of the leaves looks almost black or deep purple under the neon, adding a layer of organic mystery. Ever seen a neon jungle? It’s much cooler than it sounds.
Mastering Hidden Cabling
Nothing kills a vibe faster than a messy power cord dangling from a beautiful sign. I use paintable cord covers that match my wall color exactly. If you’re feeling brave, you can even run the wires behind the drywall. For those of us renting, a bit of strategically placed black electrical tape or cable raceways will do the trick. A clean installation is the difference between a pro setup and a dorm room. Do you really want to stare at a white wire on a black wall? I didn’t think so.
Industrial Mesh Backgrounds
If you want that gritty, underground hacker look, mount your neon sign onto a metal mesh panel. I find that the metal grid catches the light and adds a texture that a flat wall just can’t provide. It looks like something ripped straight out of a server room.
You can hang other accessories on the mesh too:
- Cyberpunk-themed keychains or charms.
- Small tech parts or circuit boards.
- Polaroids with neon-colored filters.
- Extra lengths of glowing EL wire.
This setup works perfectly if you’re trying to neo-industrial decor elements into your space. It’s rugged, it’s functional, and it looks amazing when the neon hits the cold steel. It also makes mounting the sign easier because you can just zip-tie it to the mesh. No drilling required!
Seriously, why aren’t more people doing this? It’s a total game-changer for the industrial vibe.

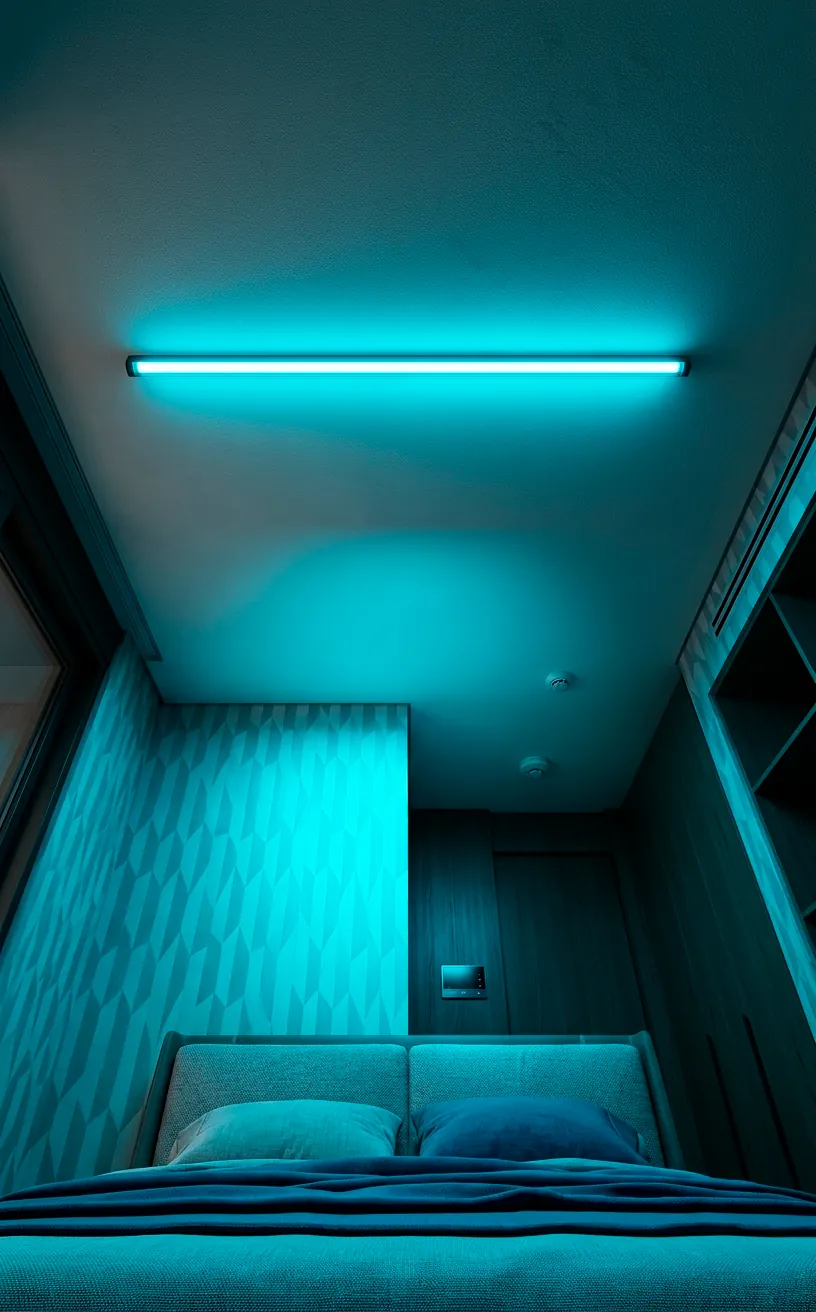
Ceiling Mounted Glow
Who said signs have to go on the walls? I mounted a long, thin neon bar directly above my bed on the ceiling. It feels like waking up in a cryogenic sleep pod. This provides a wash of light that fills the entire room from above, creating a soft, shadowless environment. It is far more interesting than a standard ceiling fan or a basic flush-mount light. Just ensure it is securely fastened; nobody wants a neon sign falling on them at 3 AM. It’s a bold move, but high risk equals high reward in the world of interior design.
Contrasting Color Temperatures
One of my favorite tricks is mixing ‘warm’ and ‘cold’ neon. Put a warm yellow sign on one side of the room and a cold white or blue sign on the other. This creates a visual tension that mimics the contrast between a cozy interior and a cold, rainy city outside.
It adds a narrative to your room. It’s not just a bedroom anymore; it’s a sanctuary in a harsh world. This balance keeps the space from feeling too clinical or too ‘toy-like.’ It feels lived-in and intentional.

Sound-Reactive Dynamic Modes
If you listen to synthwave or lo-fi beats, you need sound-reactive neon. I found signs that pulse and change intensity based on the music playing in the room. It’s like having a visualizer for your life. Most modern LED neon kits come with a tiny microphone or a Bluetooth app that handles this for you.
- Set the sensitivity so it only reacts to the bass.
- Choose a ‘breathing’ mode for chill study sessions.
- Switch to a ‘strobe’ mode if you’re feeling chaotic.
It makes the room feel alive. IMO, static lights are for museums; dynamic lights are for people who actually live in the future. Just don’t set the sensitivity too high or your light will flicker every time you cough.
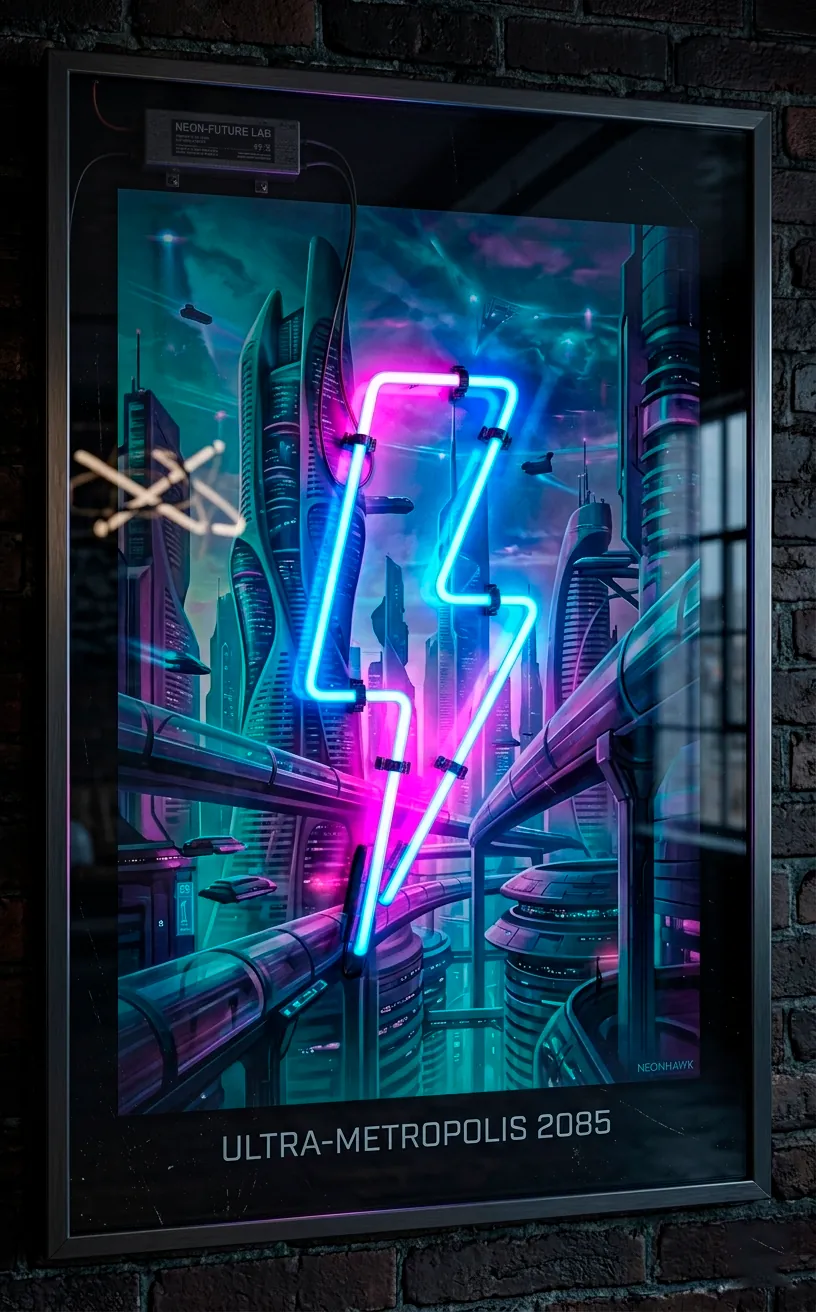
Layering Over Posters
I often see people putting neon signs on blank walls, but I prefer layering them directly over futuristic posters or art prints. I have a neon ‘cyber’ sign placed right over a high-gloss print of a rainy city street. The neon illuminates the details of the poster, making it look like a backlit movie prop. It integrates the light into the decor rather than letting it stand alone. Just make sure the poster isn’t too busy, or the sign will get lost in the noise. Glossy finishes work best because they reflect the light back at the viewer.
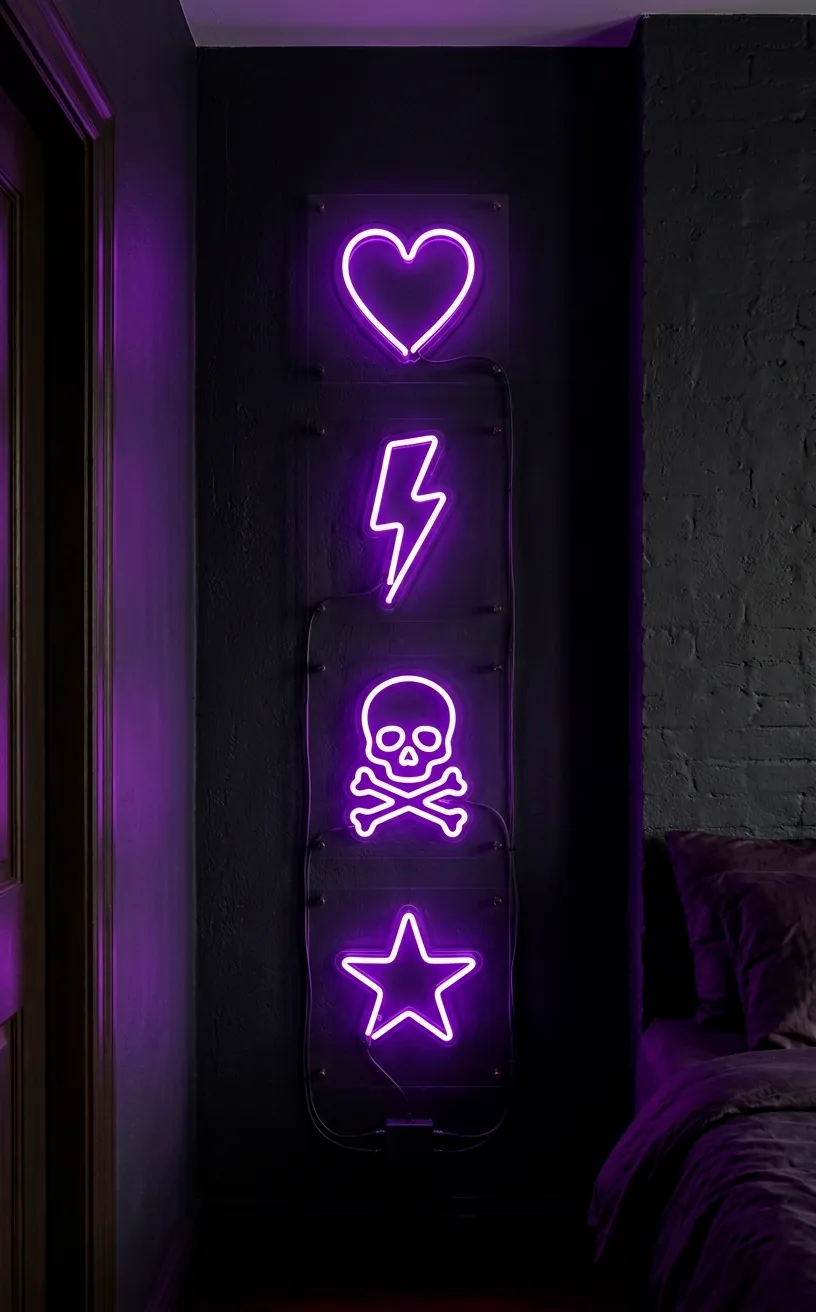
Vertical Stack Arrangements
If you have a narrow slice of wall, don’t ignore it. I stack three or four small neon signs vertically to create a ‘totem’ of light. It draws the eye upward and makes the ceiling feel higher. I use related icons—like a heart, a bolt, and a star—all in the same color for a cohesive look.
This is a great way to use those smaller, cheaper signs you find online. It looks like a specialized piece of tech equipment or a vertical HUD from a video game. Plus, it’s a great conversation starter because it looks so deliberate and curated. Verticality is an underrated design tool, trust me.
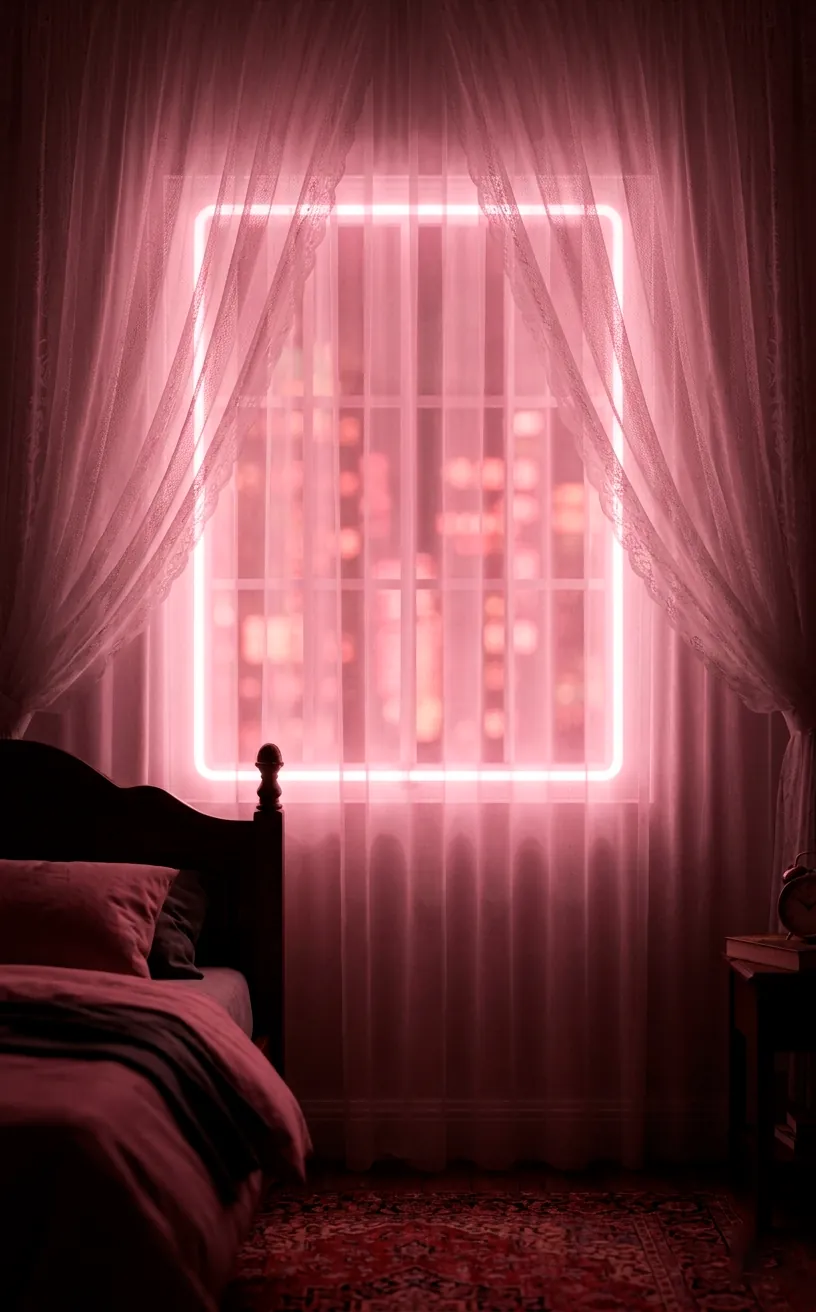
The Fake Window Effect
Live in a basement or a room with a tiny window? I use a large rectangular neon sign to mimic a ‘window’ to a different world. I place it behind a set of sheer curtains. When the sign is on, it looks like there’s a neon-drenched city right outside your glass. It completely changes the mood of the room and eliminates that boxed-in feeling. I recommend a soft pink or a pale blue for this to mimic a ‘permanent twilight’ vibe. It’s one of the most effective ways to transform a room’s architecture without actually moving any walls.
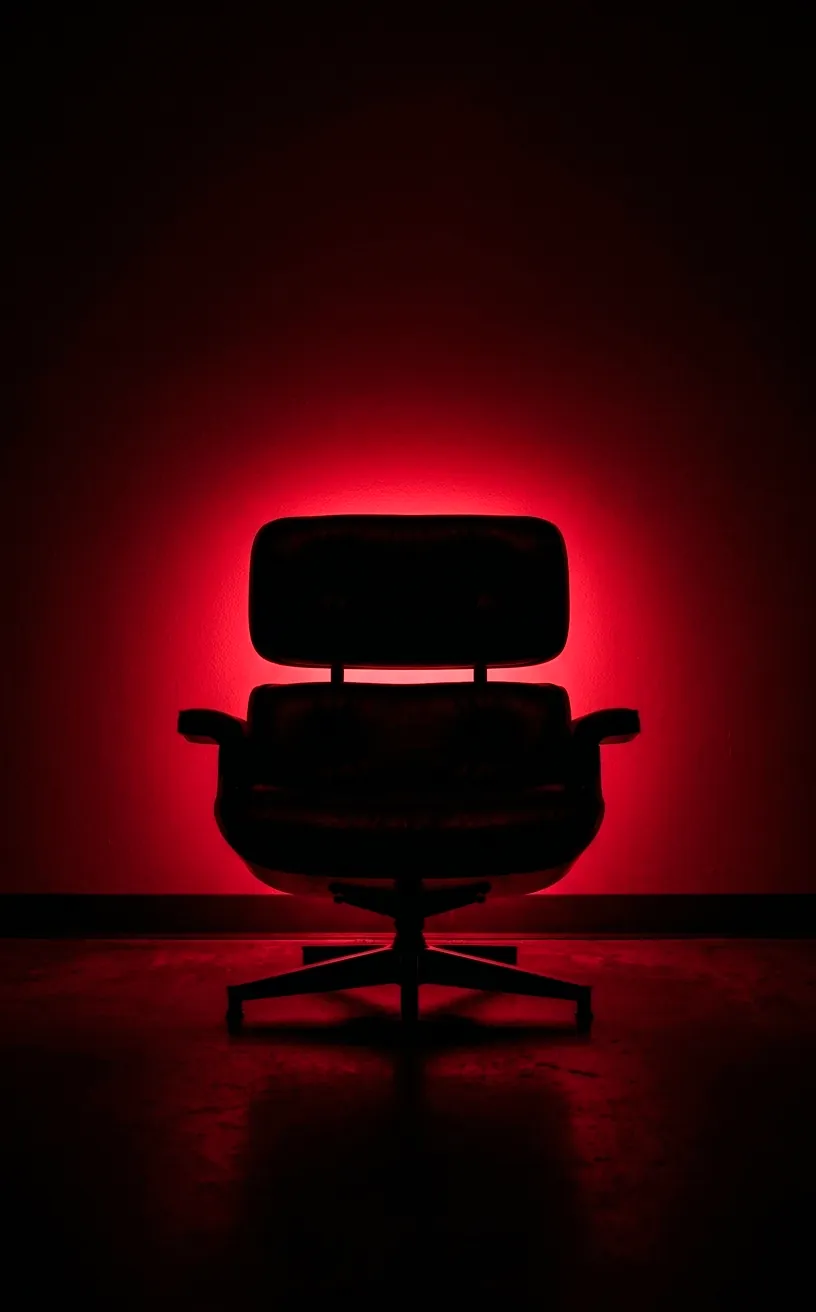
Dramatic Silhouette Lighting
I suggest placing a sign low on the ground, behind a piece of furniture like a chair or a nightstand. This creates a sharp silhouette of the furniture against the glowing wall. It’s very cinematic and adds a sense of mystery to the room. I use a deep red or a dark green for this to keep it moody. It’s less about seeing the sign itself and more about the light it creates. It turns your everyday furniture into dramatic art pieces. Ever noticed how movies use backlighting to make characters look cooler? You’re doing the same for your nightstand.
Kinetic Movement Hacks
Finally, if you can find one, get a sign with a ‘flicker’ or ‘chase’ mode. I have a sign that looks like it’s malfunctioning slightly, flickering on and off in a rhythmic pattern. It adds a sense of movement and energy that static signs lack. It mimics the unstable tech of a dystopian future perfectly.
- Look for signs with built-in animation controllers.
- Use a flicker effect sparingly so it doesn’t become annoying.
- Combine it with a fan to make the light appear to ‘shimmer’ through moving air.
It’s the final touch that makes your room feel like a living, breathing part of a cyberpunk world. It’s not just decor; it’s an atmosphere. Now, go forth and glow up your space!
Conclusion
You’ve now got the blueprint for a bedroom that looks like it belongs in the year 2077. From layering colors to mastering the art of the ‘fake window,’ these hacks turn a standard room into a high-tech sanctuary. Remember, the best cyberpunk vibes come from a mix of clean tech and gritty, personal touches. Don’t be afraid to experiment with weird placements and clashing colors. Which of these hacks are you going to install first? Let me know in the comments, and stay glowing, my futuristic friends!
Related posts
See AllEarthy Terracotta Sunroom Ideas for a Mediterranean Vibe
Transform your space into a sunny European retreat. Discover simple, earthy terracotta sunroom ideas that bring authentic Mediterranean vibes straight …
Read more15 Playful Memphis Style Attic Loft Ideas with Graphic Shapes
Transform your attic loft with playful Memphis style decor! Discover 15 bold ideas using graphic shapes, vibrant colors, and quirky …
Read more15 Custom Built-In Bed Ideas for a Luxury Kids Room
Ready to transform that chaotic playroom into a high-end sanctuary? Discover 15 jaw-dropping built-in bed ideas that blend luxury, smart …
Read moreA Step-by-Step Guide to Total Laundry Room Organization
Transform your chaotic laundry space into an organized, functional oasis with this step-by-step guide. We share smart storage hacks, sorting …
Read more