


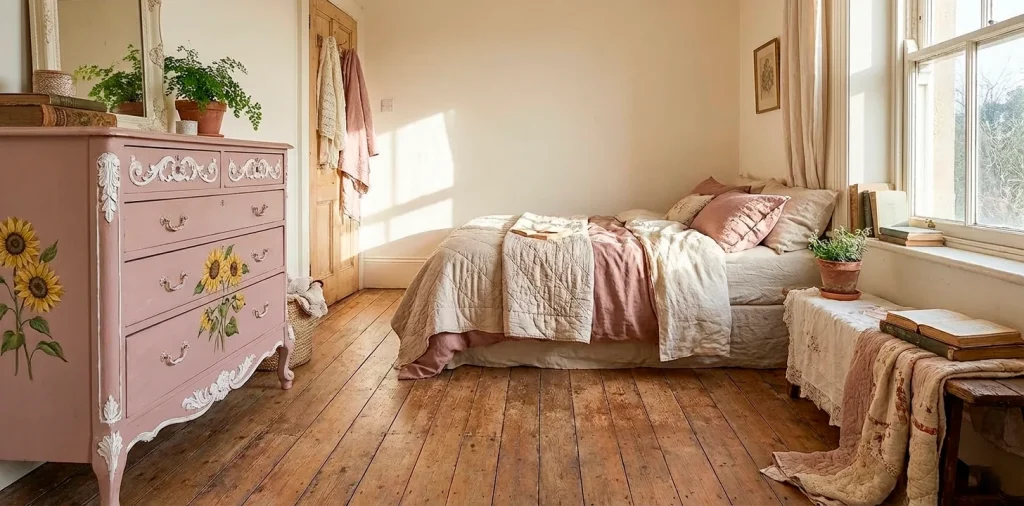

Your bedroom should feel like a sanctuary, not a sterile furniture showroom. I remember staring at my boring, beige walls and wondering where the ‘me’ went. That’s when I realized that vintage decor is the secret sauce for adding personality. You don’t need a massive budget; you just need a bit of paint and a willingness to get your hands dirty. I love how a single piece of furniture can tell a whole story. Ever feel like your room is missing its soul? Let’s fix that with some paint and a dash of creativity. We’re going to turn your sleeping space into a charming retreat that looks like it belongs in a boutique hotel, minus the $500-a-night price tag.
The Power of a Statement Painted Dresser
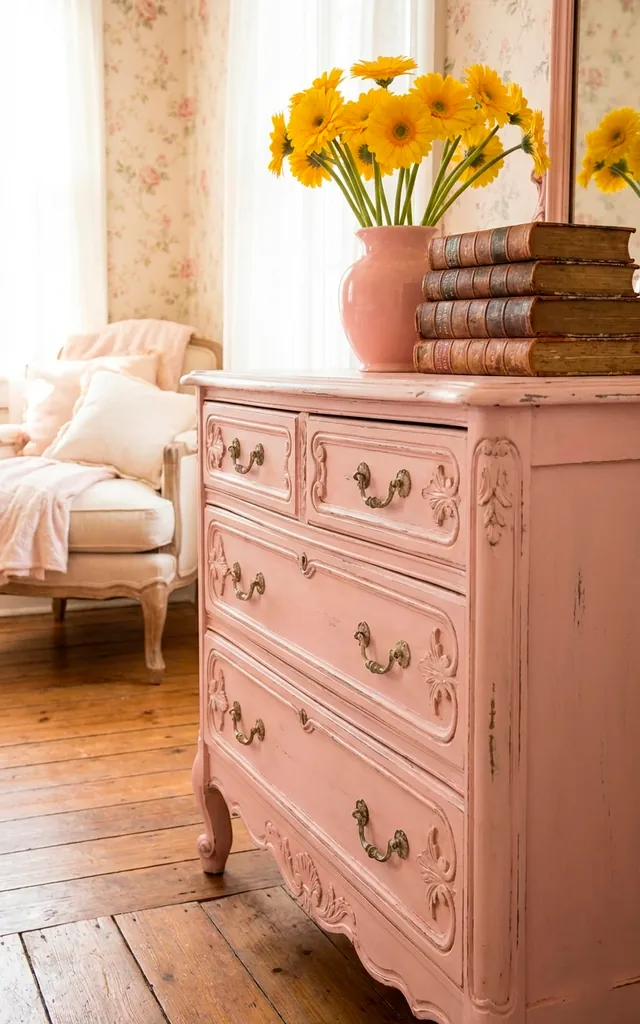
I started my makeover with a dusty pink dresser that had seen better days. I decided to lean into the ‘shabby chic’ aesthetic by adding white ornate relief moldings to the drawer fronts. It instantly elevated the piece from ‘thrift store find’ to ‘vintage heirloom.’ I even painted a vibrant sunflower right in the middle because, honestly, why not? It adds a pop of sunshine to my mornings. I find that a bold color choice anchors the entire room. Does your furniture reflect your personality, or is it just sitting there taking up space? I think every room deserves one piece of ‘functional art’ that makes you grin every time you walk past it.

Using Unexpected Wall Decor as Art
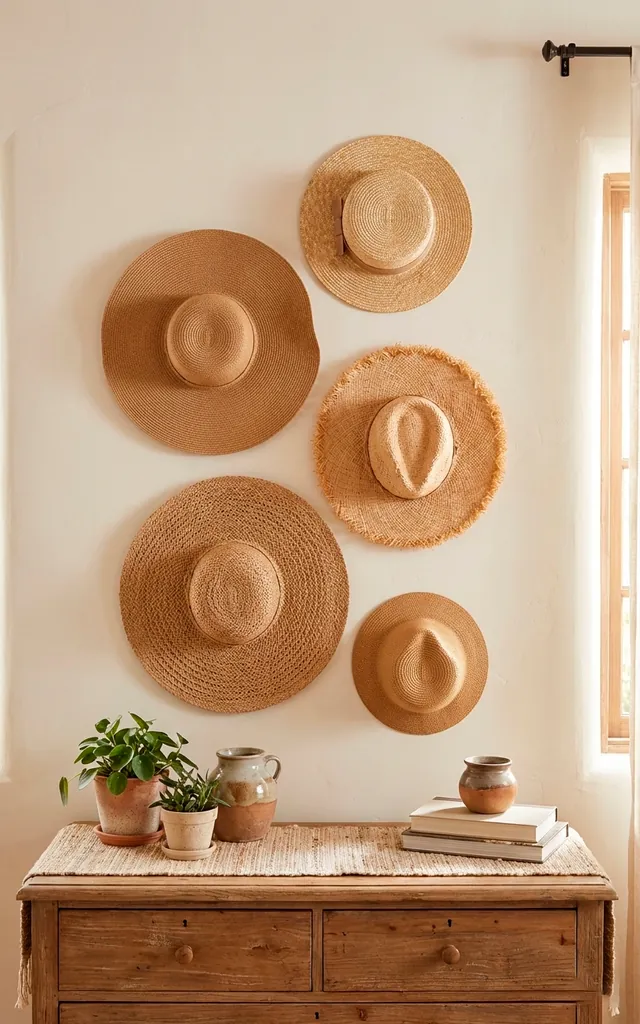
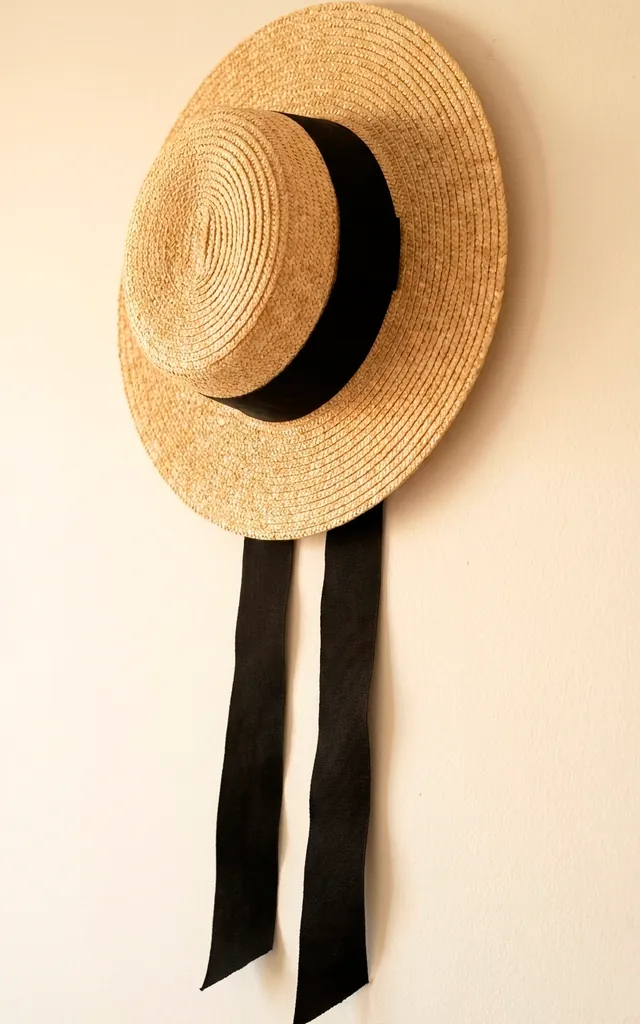
Who says art has to be framed? I decided to hang my collection of straw hats on the wall above my dresser. It’s a cheap and easy way to fill a large blank space while adding incredible texture. I love how the natural straw tones play off the pink paint. It gives off major ‘summer in Provence’ vibes, which is exactly what I need on a rainy Tuesday. FYI, this is also a great way to keep your hats from getting crushed in a closet! Have you ever considered using your accessories as home decor? It’s a total game-changer for small spaces where storage is tight but style is a priority.
Focusing on the Tiny Details
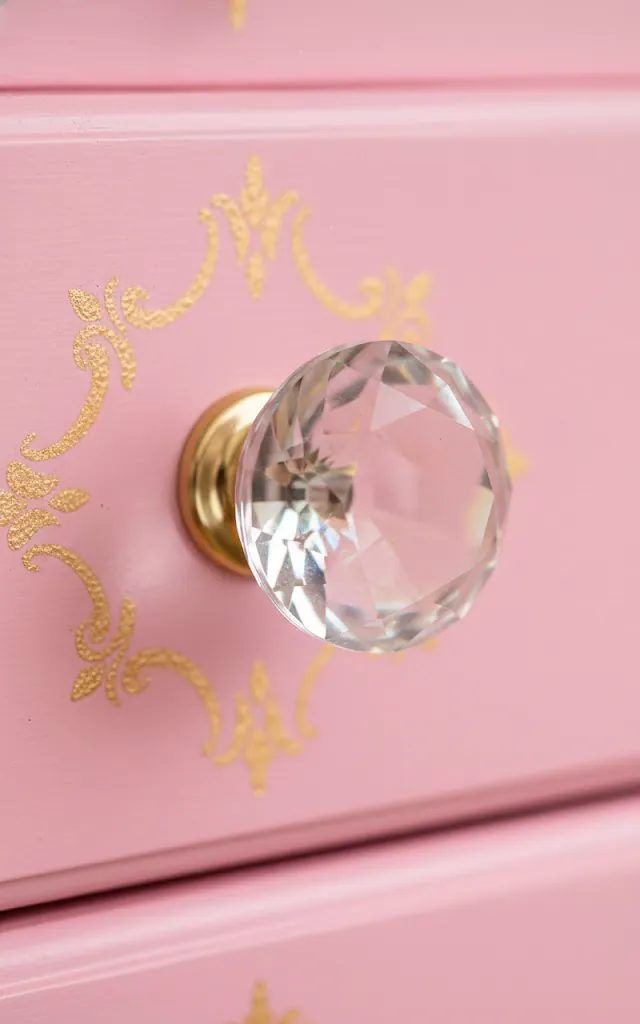
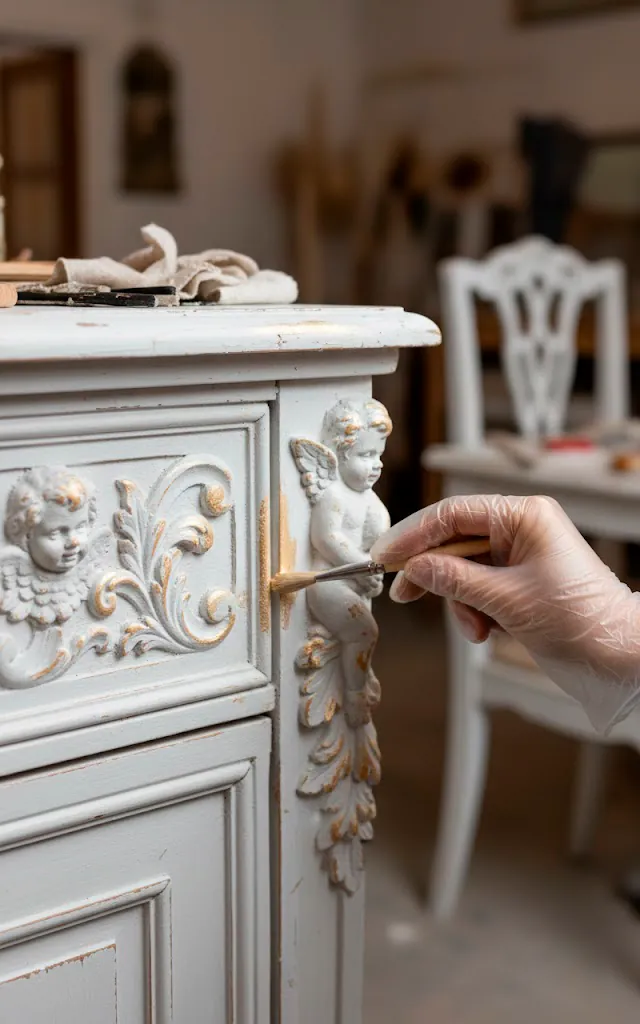
I’m a firm believer that the small things make the biggest impact. For my dresser, I swapped out the boring old pulls for vintage-style crystal knobs. They catch the morning light and throw little rainbows all over the floor—pure magic. I also added some gold leaf accents to the carved details to give it a touch of glam. You don’t need to be a master artist to do this; a little bit of gilding wax goes a long way. Why settle for basic hardware when you can have something that sparkles? It’s the easiest DIY project you’ll ever do, and the payoff is huge for your room’s overall aesthetic.
Layering Textures and Natural Elements
To keep the room from looking too ‘staged,’ I love layering different textures. I placed a stack of vintage books on top of the dresser, which adds height and a sense of history. Then, I added a blush pink vase filled with fresh yellow gerbera daisies. The contrast between the soft pink and the bright yellow is chef’s kiss. I find that bringing in natural elements like flowers or wood tones keeps a space feeling fresh and lived-in. Do you prefer fresh flowers or high-quality faux stems? I usually go for fresh because the scent is unbeatable, but a good silk flower can be a total lifesaver for the plant-challenged among us.


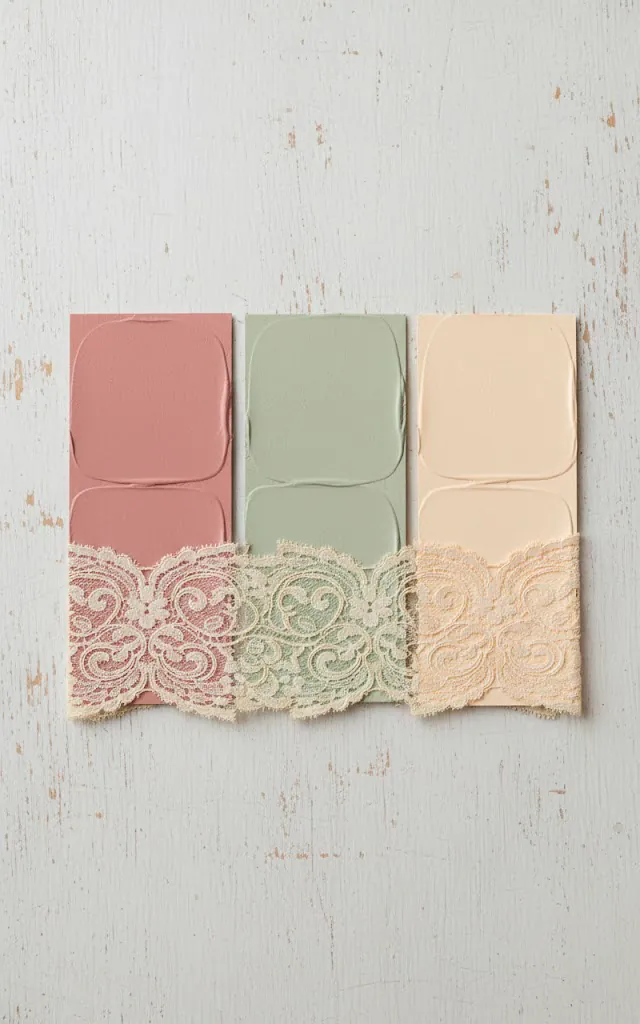
Choosing a Cohesive Color Palette
Mixing vintage pieces can get messy if you don’t have a plan. I stick to a palette of pastels and earthy neutrals. By keeping the walls a soft cream, the pink dresser really gets to be the star of the show. I avoid using too many competing colors; otherwise, the room starts to look like a flea market exploded. IMO, a cohesive palette is the difference between ‘eclectic’ and ‘cluttered.’ 🙂 Have you picked a signature color for your room yet? I find that choosing one ‘hero’ color and supporting it with neutrals makes the decorating process so much easier and less stressful.
Balancing Old and New
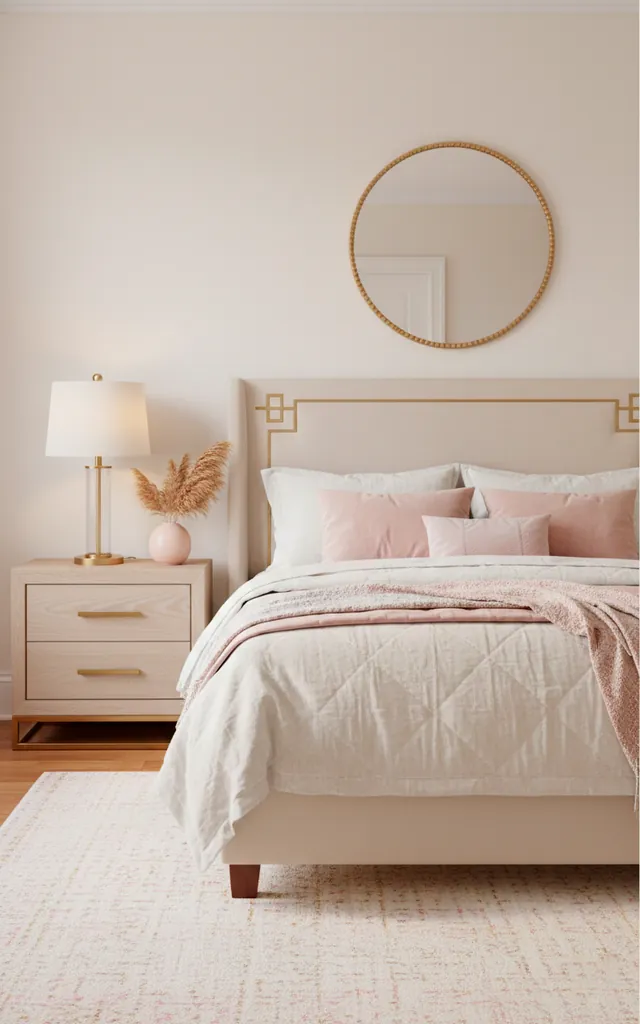
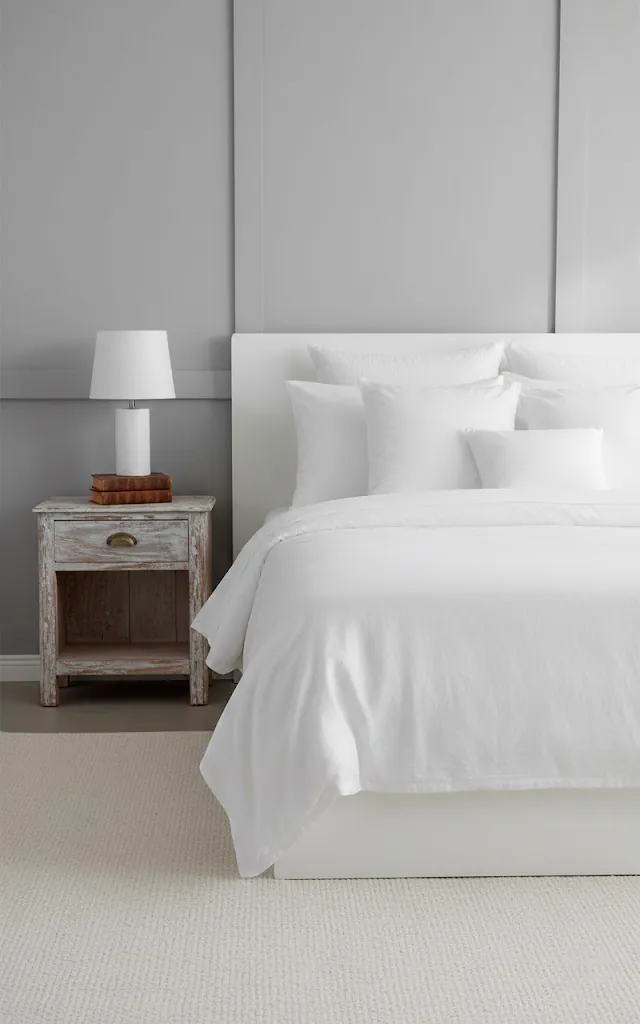
The trick to a successful vintage room is balance. I don’t want to live in a museum, so I mix my vintage finds with modern comforts. I’ll pair a hand-painted 1940s dresser with a brand-new, ultra-comfy mattress and crisp white linens. This keeps the look feeling current and intentional. I love the contrast of a sleek modern lamp next to a distressed wooden mirror. It creates a space that feels curated over time rather than bought from a single catalog page. Do you like a pure vintage look, or do you prefer a modern-retro mashup? I think the mix is where the real style magic happens.
Maintaining Your Painted Masterpieces
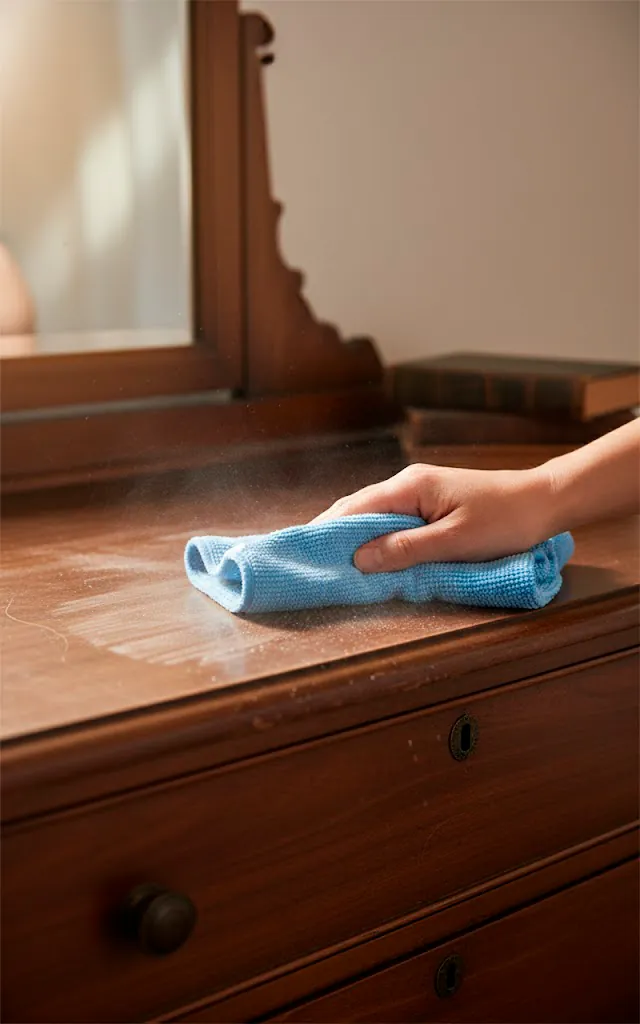
Once you’ve spent hours painting, you want it to last. I always finish my pieces with a high-quality clear wax or a matte polycrylic. This protects the paint from scratches and makes it easy to wipe down. I’ve learned the hard way that skipping the topcoat is a recipe for disaster—especially if you have a cat who thinks your dresser is a racetrack. Use a soft microfiber cloth for dusting to keep the finish looking pristine. Is there anything more satisfying than a freshly waxed piece of furniture? It gives the paint a beautiful depth and ensures your hard work stays beautiful for years to come.
Ready to Start Your Makeover?
Styling a vintage bedroom is all about following your heart and not being afraid of a little paint. Whether you’re hanging hats on the wall or breathing new life into an old dresser, the goal is to create a space that feels like home. I hope these tips inspire you to grab a brush and start your own transformation. Just remember: there are no mistakes in DIY, only ‘accidental distressing.’ I’d love to see what you create! Why not start with one small corner and see where your creativity takes you? Happy decorating, and I’ll catch you in the next project. 🙂
Related posts
See AllEarthy Terracotta Sunroom Ideas for a Mediterranean Vibe
Transform your space into a sunny European retreat. Discover simple, earthy terracotta sunroom ideas that bring authentic Mediterranean vibes straight …
Read more15 Playful Memphis Style Attic Loft Ideas with Graphic Shapes
Transform your attic loft with playful Memphis style decor! Discover 15 bold ideas using graphic shapes, vibrant colors, and quirky …
Read more15 Custom Built-In Bed Ideas for a Luxury Kids Room
Ready to transform that chaotic playroom into a high-end sanctuary? Discover 15 jaw-dropping built-in bed ideas that blend luxury, smart …
Read moreA Step-by-Step Guide to Total Laundry Room Organization
Transform your chaotic laundry space into an organized, functional oasis with this step-by-step guide. We share smart storage hacks, sorting …
Read more