


Tired of staring at blank walls but physically repulsed by the price tags on large-scale art? Same. You absolutely do not need to drop a small fortune to make a massive impact in your space. Let me show you my favorite trick: crafting a gorgeous, custom fabric wall hanging that looks totally high-end for pennies on the dollar.
The Ultimate Large-Scale Hack
Big walls demand big art, but massive framed canvases practically require a second mortgage. Fabric wall hangings completely solve this problem. They bring incredible warmth, acoustic dampening, and glorious visual texture to a room without draining your savings account. Plus, you get to play interior designer and dictate the exact pattern you want. Ever wondered why chic boutique hotels feel so incredibly inviting? They use layered textiles everywhere! We can absolutely replicate that luxurious vibe at home. Just grab a free afternoon.

Sourcing Affordable Materials
Before we tear the house apart, let’s grab what we actually need. 🛠️ You probably have half this stuff hiding in a forgotten junk drawer already.
I highly recommend hitting up a local hardware store for the wooden bits. They usually cut things to size for free if you ask nicely!
Materials list:
- Your chosen fabric: At least one to two yards.
- A wooden dowel: Slightly wider than your fabric width.
- Hemming tape: The ultimate no-sew secret weapon.
- Twine or leather cord: For suspending the piece.

Picking the Perfect Pattern
IMO, finding the right fabric is honestly the best part of this entire project. You can scour local thrift stores for vintage bedsheets or dig through the clearance bins at regional craft stores. I once found a spectacular mid-century geometric shower curtain for four dollars, and it currently looks like a million bucks hanging above my sofa.
Always look for thicker, woven materials. Upholstery remnants, heavy canvas, or even structured linen drape beautifully on a wall. Thin cotton just looks flimsy and sad unless stretched tight. For more inspiration, check out our tapestry trend guide.

Elevating the Hardware
The dowel is the literal backbone of this operation.
Please do not leave it raw! A quick coat of rich wood stain or matte black spray paint elevates the entire look instantly.
I learned the hard way that an unfinished pine rod screams “middle school craft project.” So, take five extra minutes to give it some mature character.
You can even use a cool, sturdy branch from your backyard if you want an earthy, bohemian vibe. Just make sure you bake it in the sun to evict any uninvited outdoor bugs!

Iron-On Tape Is Everything
Not a skilled seamstress? Me neither. This is exactly where iron-on hemming tape saves the day and keeps you sane. Simply fold the top edge of your fabric completely over the dowel, slip a strip of the tape right underneath the fold, and press it down with a hot iron.
It magically creates a perfect, sturdy pocket in mere seconds. Make sure you leave enough wiggle room. The dowel needs to slide in and out relatively easily. Double-check your measurements before committing with the blazing heat!

Making the Perfect Pocket
Creating a straight, flawless edge is critical for a high-end look. Lay your fabric completely flat on a large table or the floor. Use a ruler to ensure your fold is mathematically even all the way across. A lopsided pocket means a lopsided wall hanging, and nobody wants to stare at a crooked geometric pattern every day. I recommend pinning the fabric temporarily while you maneuver the iron. It stops the layers from shifting maliciously right when you press down. Precision here pays off massively in the final reveal.

The Secret to Straight Edges
Wait, does your fabric look a bit curly at the bottom hem?
Woven textiles have a nasty habit of rolling up, especially if they were tightly folded at the store for months.
You can completely fix this annoying issue by adding a second, slightly thinner dowel to the bottom edge. Just repeat the exact same hemming tape pocket method on the lower hem and slide the secondary weight right in.
This instantly pulls the whole piece beautifully taut, giving it that crisp, gallery-worthy tension we all crave.

Securing the Hanging Cord
Now, you just need a reliable way to actually suspend this masterpiece. Cut a generous, long length of leather cord or thick, rustic jute twine. Tie a sturdy double knot securely on both ends of the exposed top dowel.
FYI, nobody wants a beautiful DIY project unexpectedly crashing down on their head at two in the morning. I usually add a tiny dab of hot glue directly over the knot to ensure it absolutely never slips off. Hang it firmly on a simple brass nail or a heavy-duty Command hook.

Fringing and Tassel Details
Want to add a little extra dramatic flair? Fringing the bottom edge of your fabric is incredibly easy and looks outrageously chic. Just make a straight cut across the bottom and use a needle to pull out the horizontal threads one by one. It creates a lush, bohemian fringe that catches the breeze perfectly. If you prefer a more tailored look, grab some chunky decorative tassels from the craft store and stitch them onto the bottom corners. It adds a playful, customized touch that totally disguises its budget-friendly origins.

Styling in Your Space
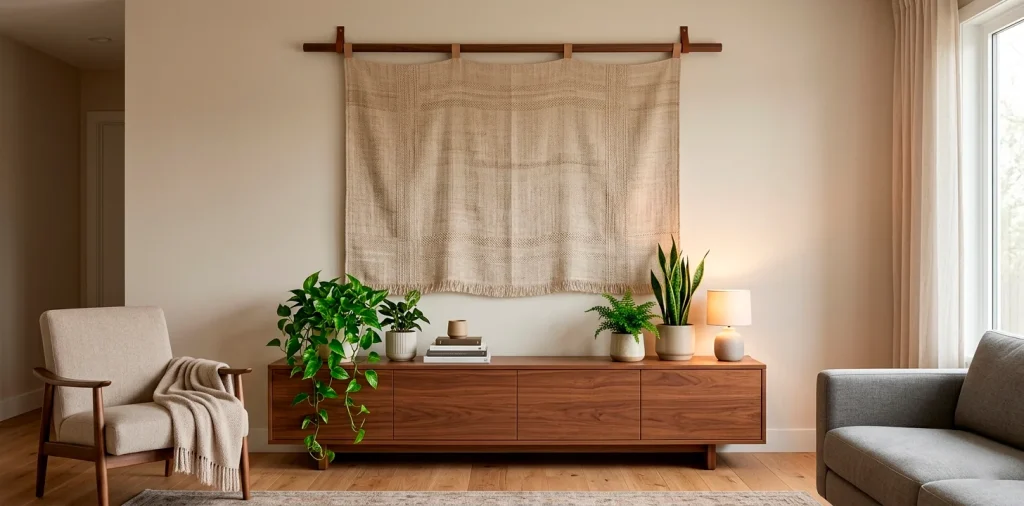
Now for the absolute best part! These custom fabric hangings look completely killer centered right above a bed, anchoring a bland dining room, or filling up that awkward, empty hallway wall.
Because they sit beautifully flush against the drywall, they work exceptionally well in narrow spaces where framed glass might protrude too much.
Layer in some potted houseplants nearby. The organic, cascading green leaves contrasting against a bold printed textile creates a stunning dynamic. For more cozy ideas, browse our boho bedroom designs.

Long-Term Maintenance Tips
Household dust happens, but maintaining your new bespoke art is super easy. Just run a sticky lint roller gently over the surface every couple of weeks to lift away any pet hair or debris. If it gets a noticeable spot, treat it quickly with a damp microfiber cloth.
Never toss the whole assembled thing into the washing machine unless you want a tangled disaster. If deep wrinkles ever mysteriously reappear, just hit it with a handheld garment steamer right there on the wall. It stays looking pristine for years!

Conclusion
Creating custom fabric wall hangings on a budget is honestly one of the most satisfying DIY projects you can tackle. You get massive scale, incredible texture, and totally customized artwork for a fraction of what a gallery piece costs. Plus, you get those sweet bragging rights when guests ask where you bought it. Which room in your house desperately needs one of these right now? Let me know in the comments! 👇
Related posts
See AllEarthy Terracotta Sunroom Ideas for a Mediterranean Vibe
Transform your space into a sunny European retreat. Discover simple, earthy terracotta sunroom ideas that bring authentic Mediterranean vibes straight …
Read more15 Playful Memphis Style Attic Loft Ideas with Graphic Shapes
Transform your attic loft with playful Memphis style decor! Discover 15 bold ideas using graphic shapes, vibrant colors, and quirky …
Read more15 Custom Built-In Bed Ideas for a Luxury Kids Room
Ready to transform that chaotic playroom into a high-end sanctuary? Discover 15 jaw-dropping built-in bed ideas that blend luxury, smart …
Read moreA Step-by-Step Guide to Total Laundry Room Organization
Transform your chaotic laundry space into an organized, functional oasis with this step-by-step guide. We share smart storage hacks, sorting …
Read more